

Quadramas are a fantastic way to consolidate learning at the end of a unit. They also work great as a reading response activity. Because each quadrama has four sections, you can have your students represent one aspect of the book or unit in each quadrant. For example, if you’re using this for reading response, you might have each quadrant represent one part of the book. For a research about animals, you might have each quadrant represent an interesting fact about that animal.
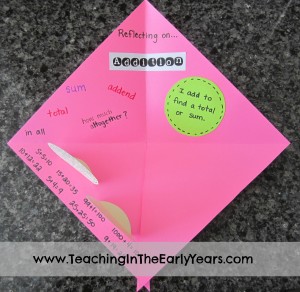
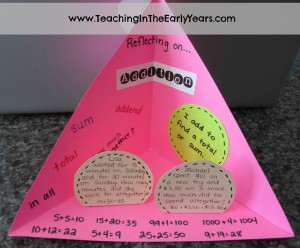
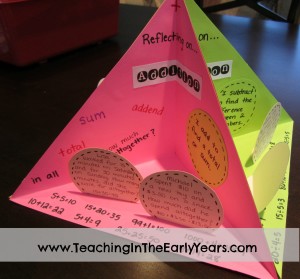
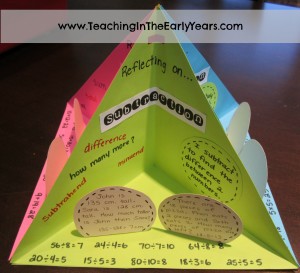
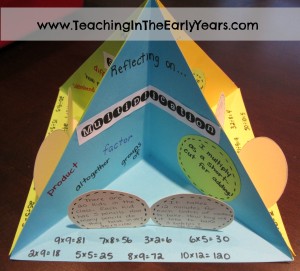
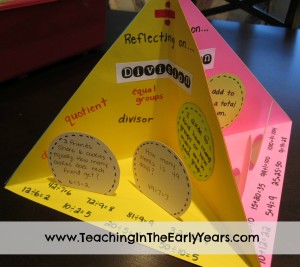
For this example I created a quadrama about the four operations: addition, subtraction, multiplication and division. Each quadrant represents a different operation and gives students an opportunity to reflect. As you can see, each quadrant involves key words, an explanation of when the operation should be used, equations, and two story problems.
Here are the instructions for making a quadrama:
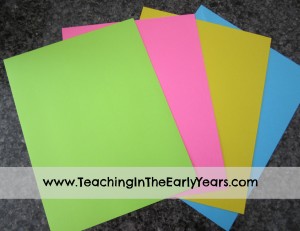
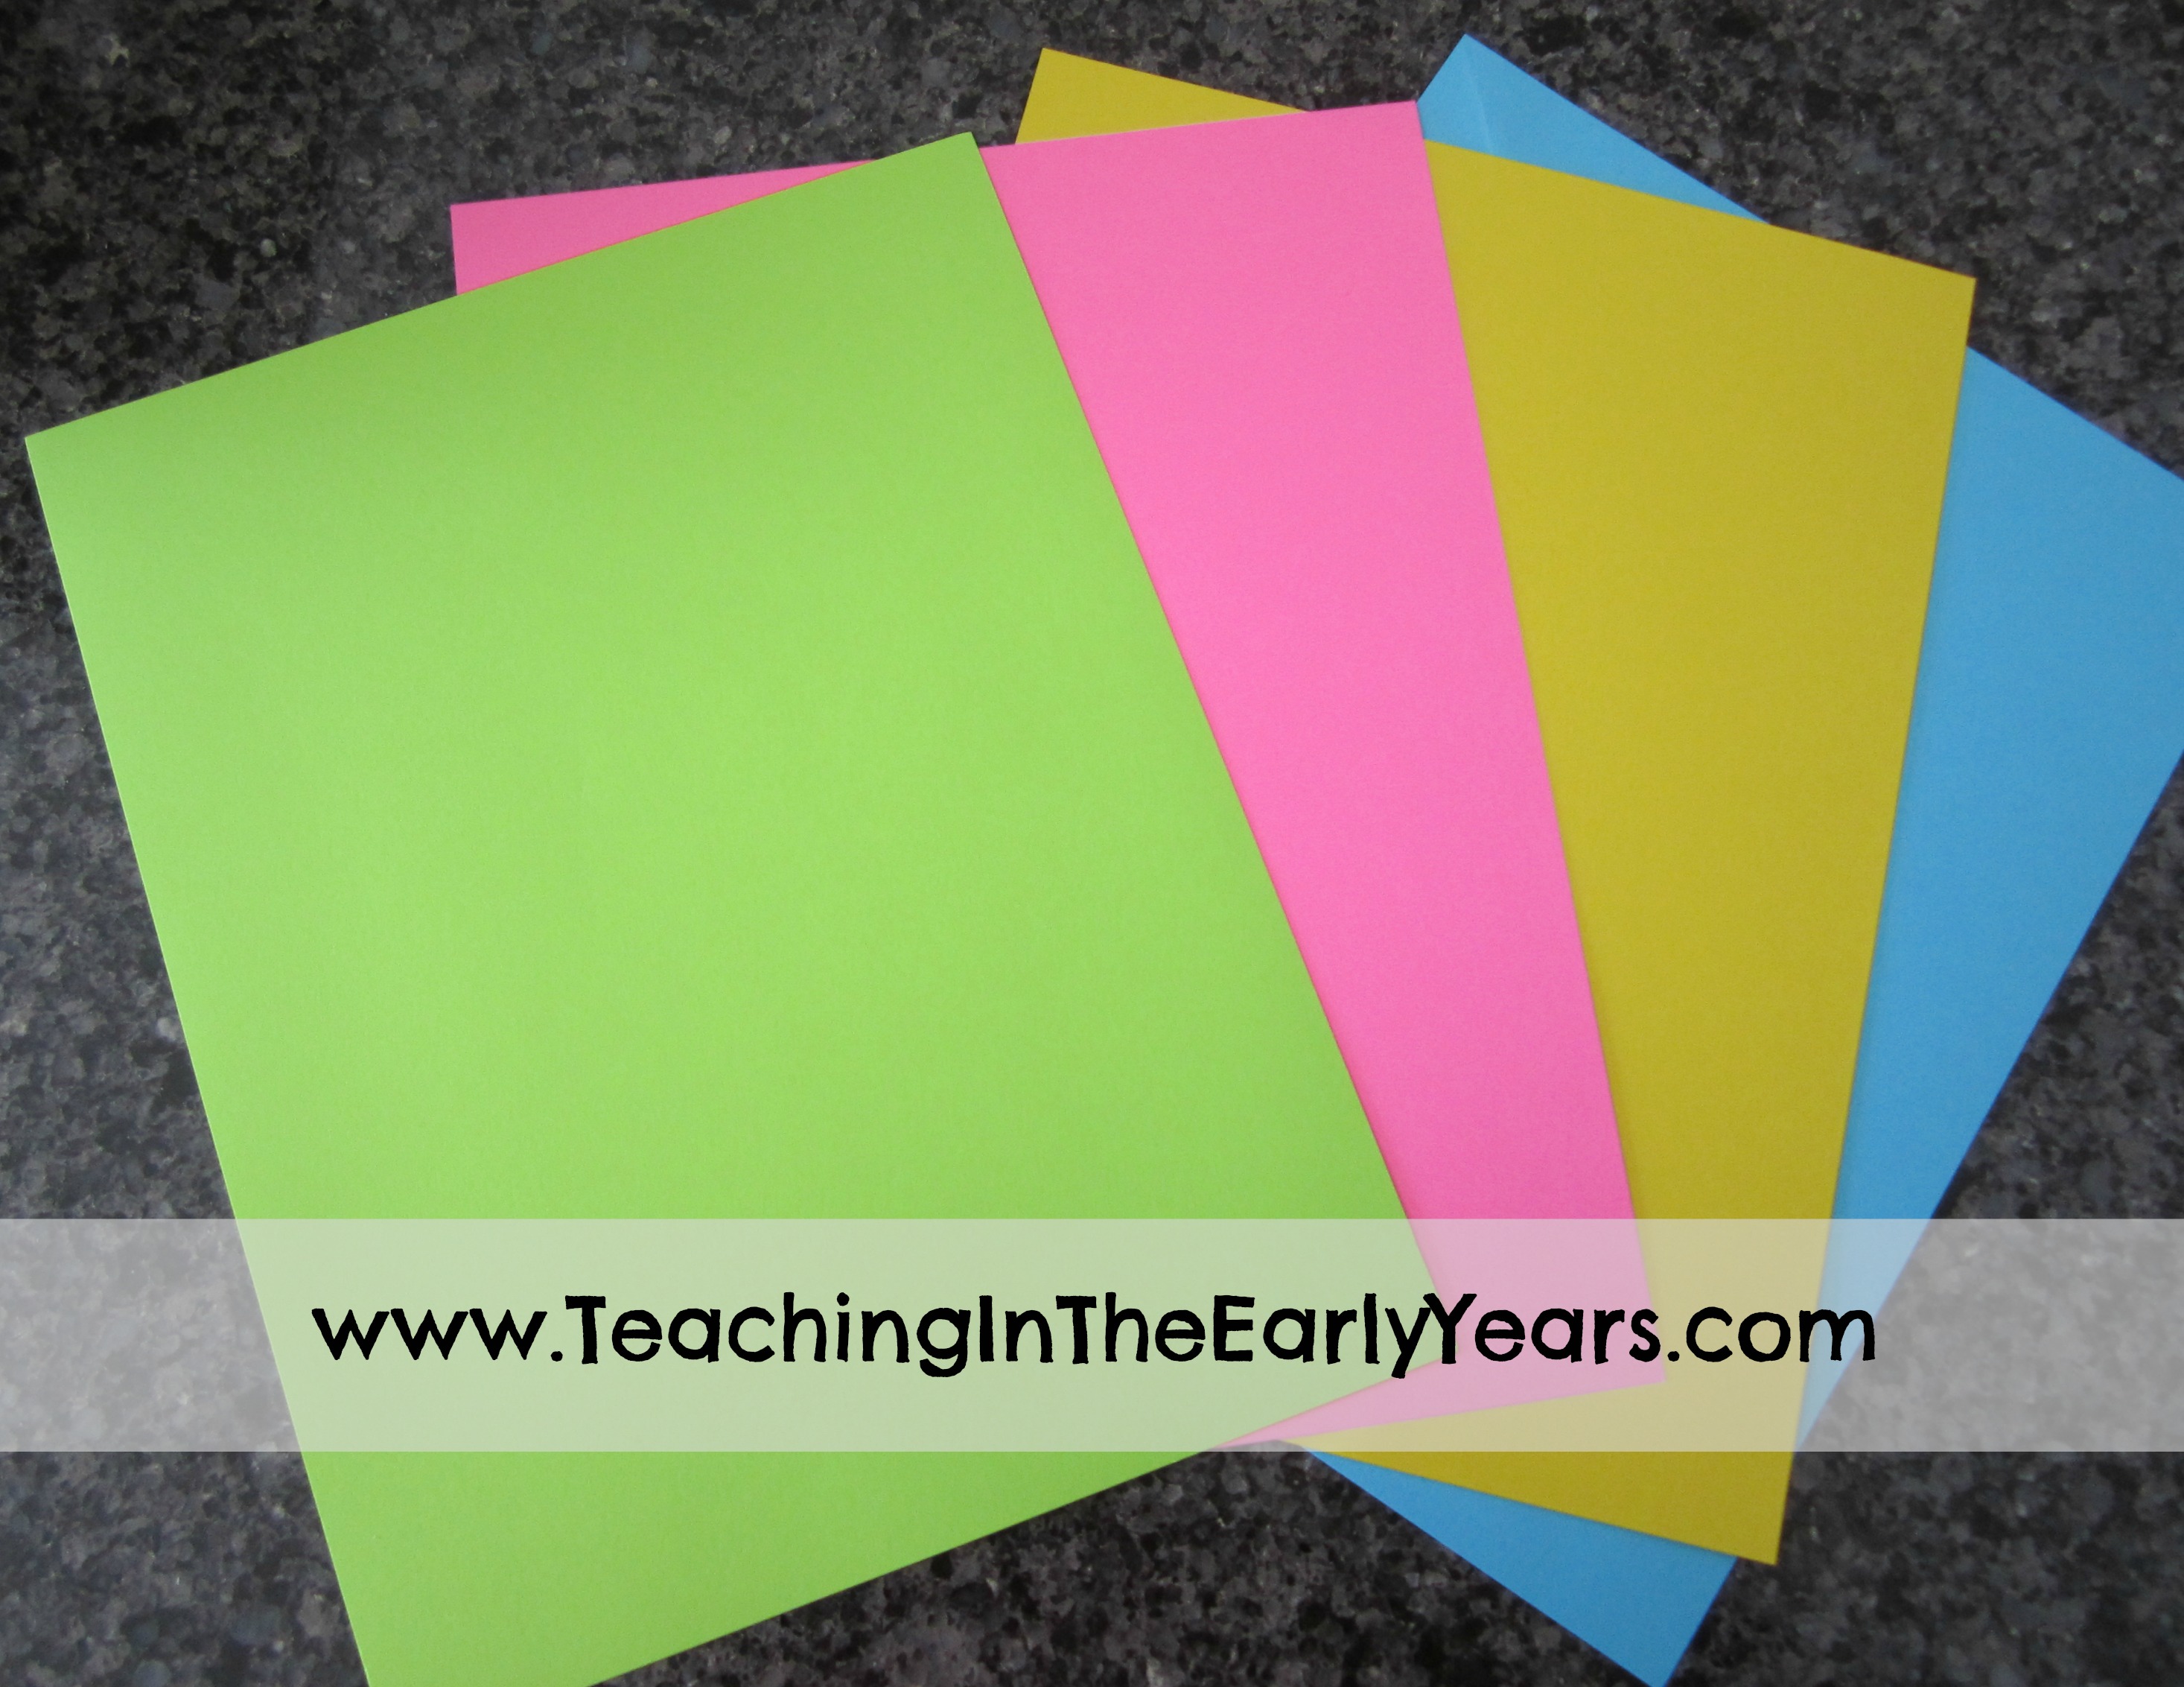
Begin with 4 pieces of cardstock paper. I love using different colors to brighten it up, but plain white looks great too!
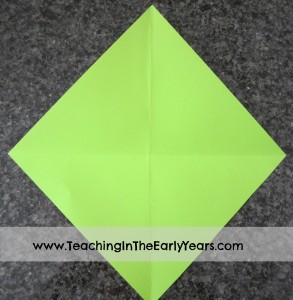
Next, each piece needs to be cut into a perfect square. To do this, fold the paper as shown below, and cut off the bottom rectangle.
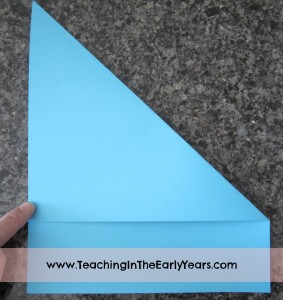
When you unfold the piece of paper after cutting, you will get a nice square.
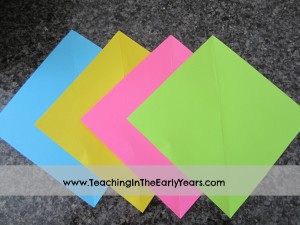
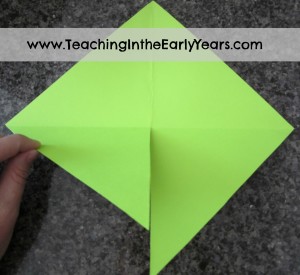
Each square will already have one crease in it from the previous fold, but we need a crease going the other way as well. Fold the square in half like this to make the next crease:
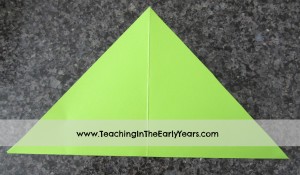
When you unfold you will see two distinct creases.
Now you need to cut on one of the creases, just to the middle of the square:
Now, you layer the flaps one on top of the other to make one “quadrant.”
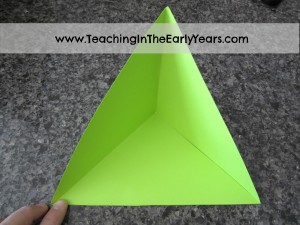
You will need to glue one flap to the other so that the quadrant stays set up; HOWEVER, it is important to do your decorating first, as it is much easier to do before your quadrama is put together.
When you are finished decorating one quadrant, glue the flap down so that is stands up like this:
Once all four quadrants have been created, they can be glued together to form the quadrama:
Here is a view from the top:

Have a great day!
Shelley
6 Comments
I LOVE this idea! We’ve just finished our class reader and I can think of two different ways to use this. Just have to decide which idea to go with now 🙂
This is a great idea! I think I could even make it work for 2nd grade. Thanks for sharing Shelley!
What a great IDEA! I would LOVE to try this with my 2nd graders!
Christina 🙂
This is such a cool idea! Thank you for sharing!
yup really cool idea thank you for sharing this awsome idea
Thank you for this! It is a brilliant resource that I foresee using across many topics! (I teach art and STEAM, so this will hit all kinds of marks!)