This past Friday I had the opportunity to present at the Manitoba Social Science Teacher’s Association conference for
SAGE. The session I presented was about integrating Social Studies into the Grade 1-4 classroom, and let me tell you – I had the most creative group of people and we had so much fun! If you are interested in hearing about what we did, read on! Oh, and get your notebook handy, because you are going to get
a ton of great ideas!
As all of you know who teach Social Studies along with other core subject areas, integration is crucial if you want to get through the entire curriculum during the year. Teaching outcomes in isolation is not as efficient as addressing outcomes from multiple subject areas in the same lesson. Along with integration, this session focused on keeping students highly engaged, because we all know that learning is happening at its full potential when students are engaged!
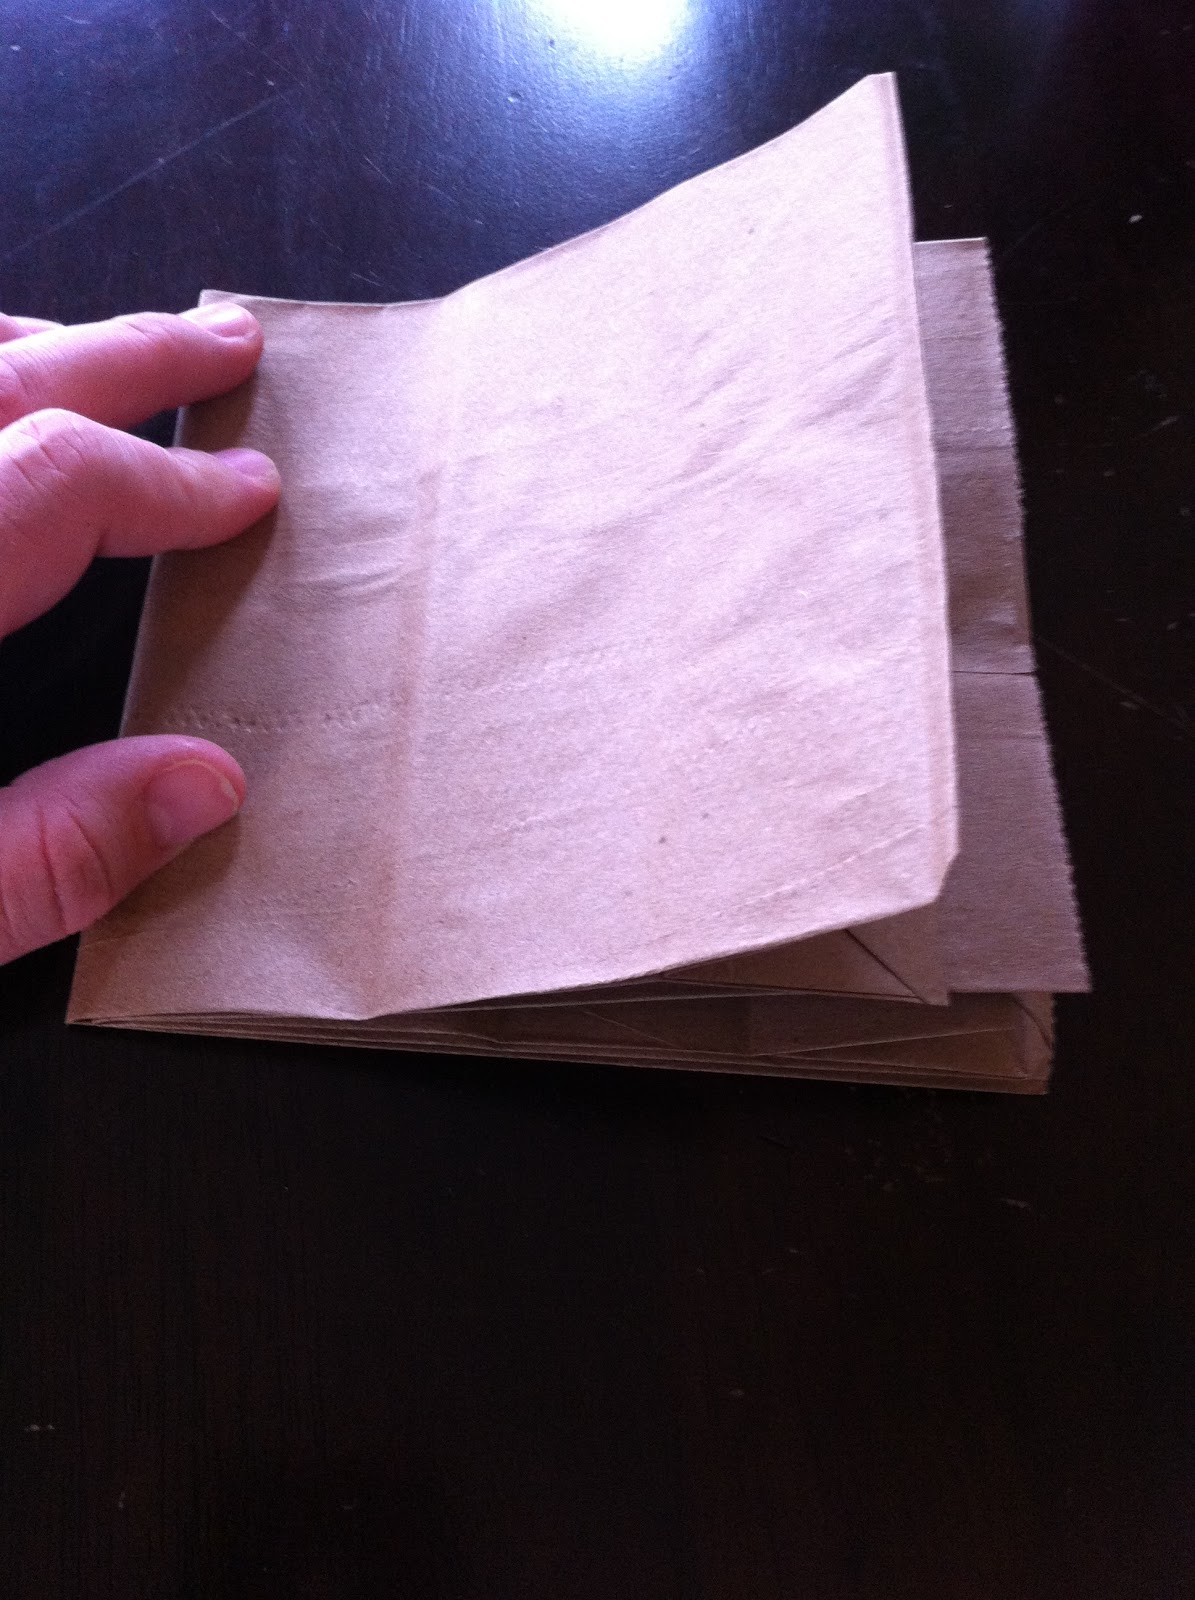
We began by making paper bag books, and used them to keep our notes in during the session. They are SO cute, and SO easy to make. Seriously, two minutes and you’re done creating. And the greatest part, any age of students could make these books. All you need is two paper bags and an elastic band for each person.
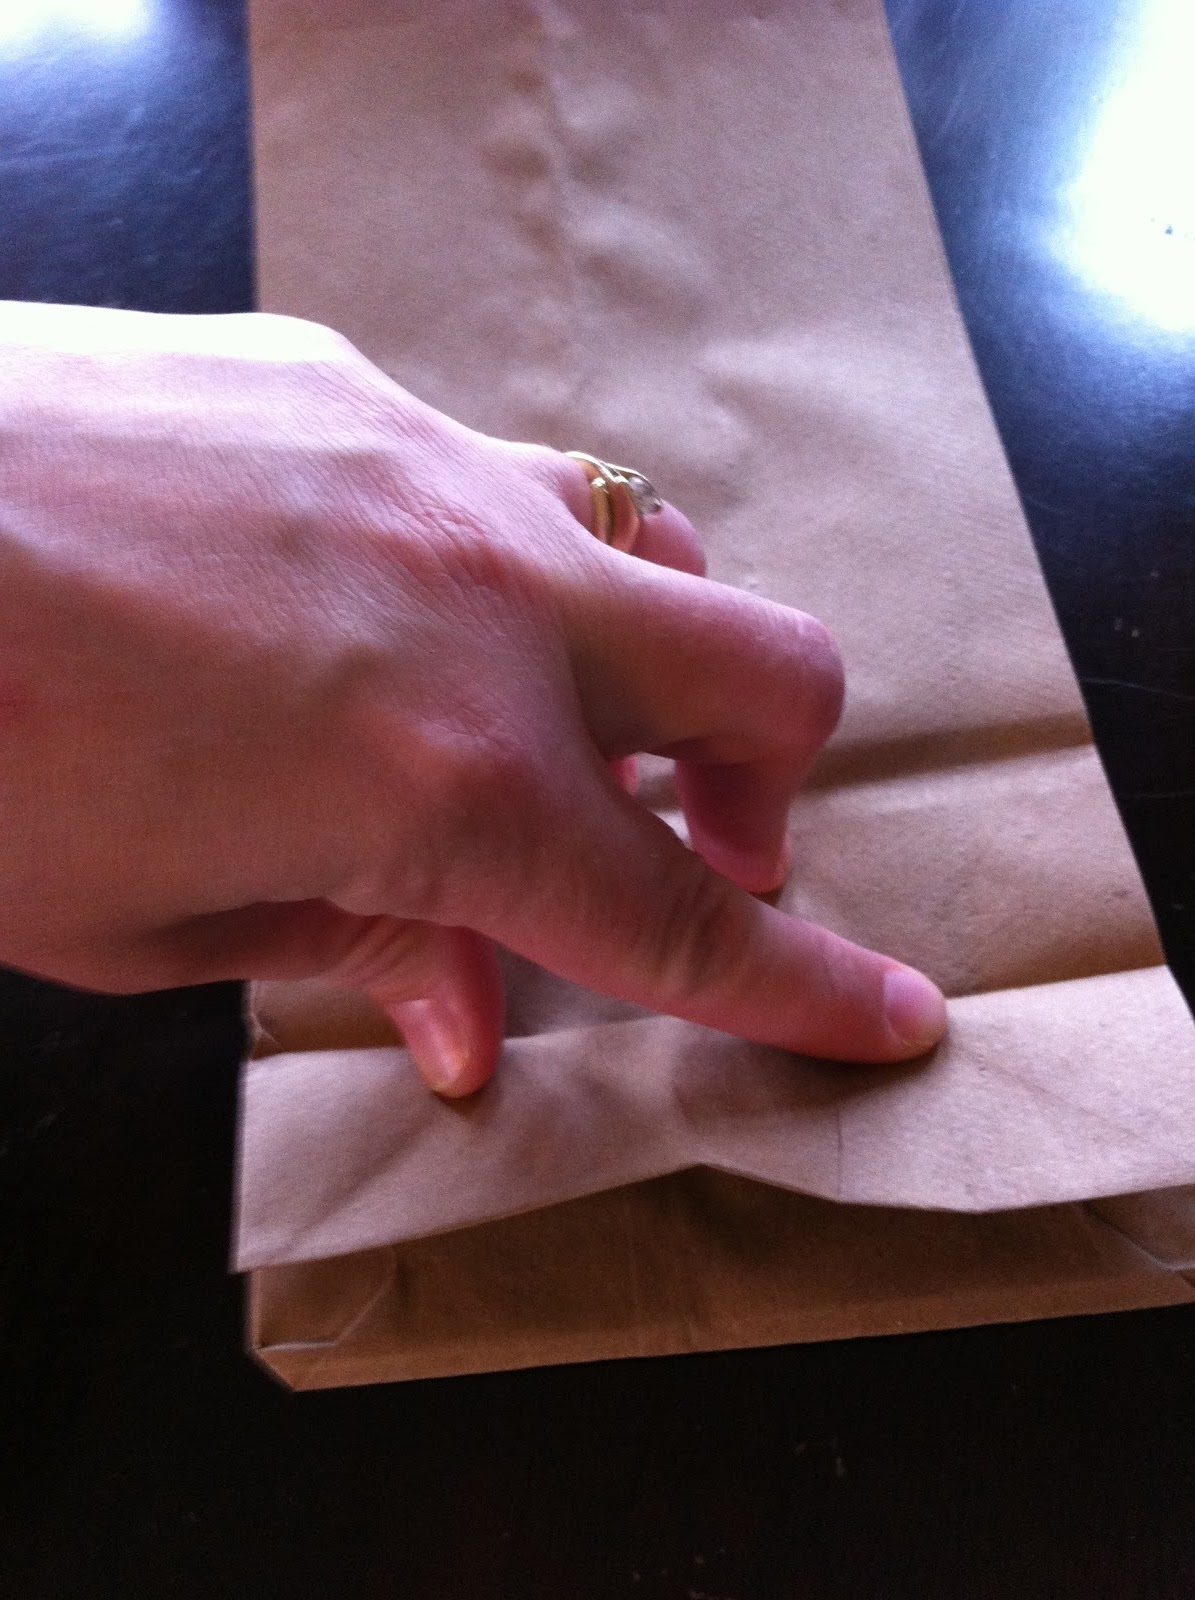
Begin by folding the end of each bag over so that you have a flat surface. The end will be folded over as shown in the picture below.
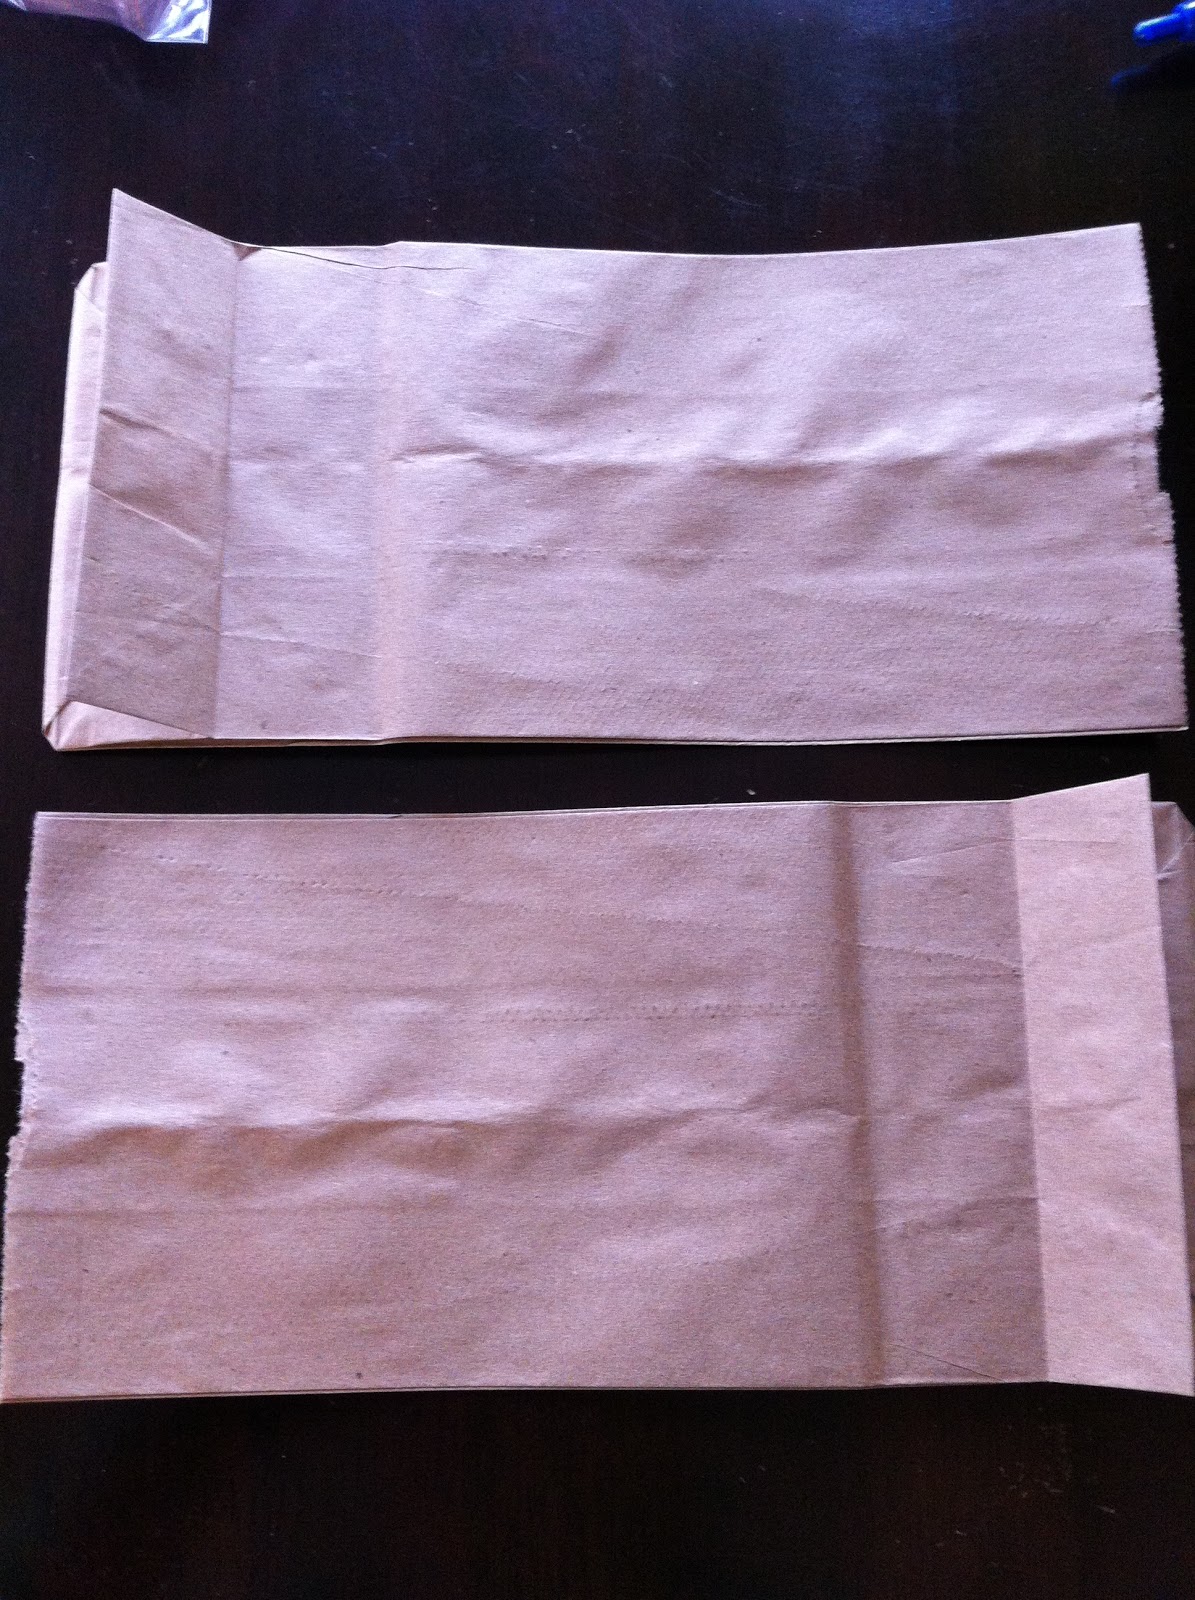
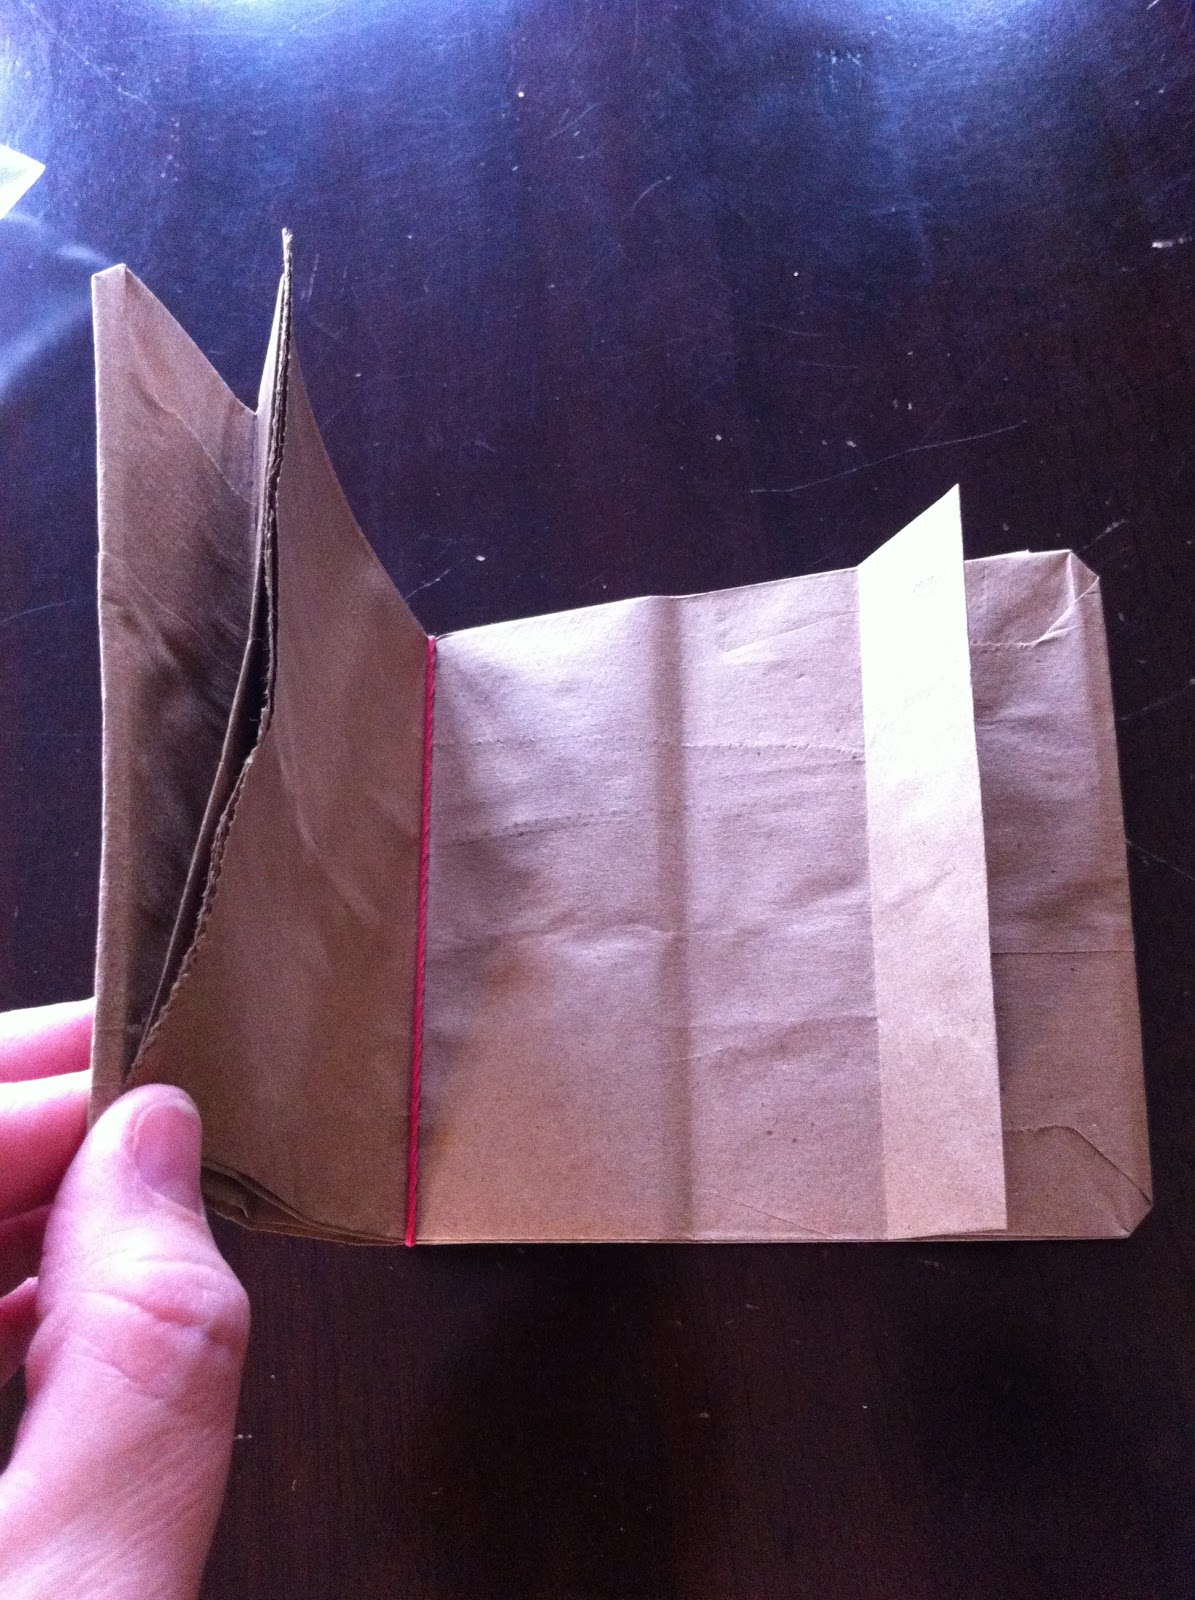
Then you put the bags on top of one another (with the ends at opposite sides) and fold them in half .
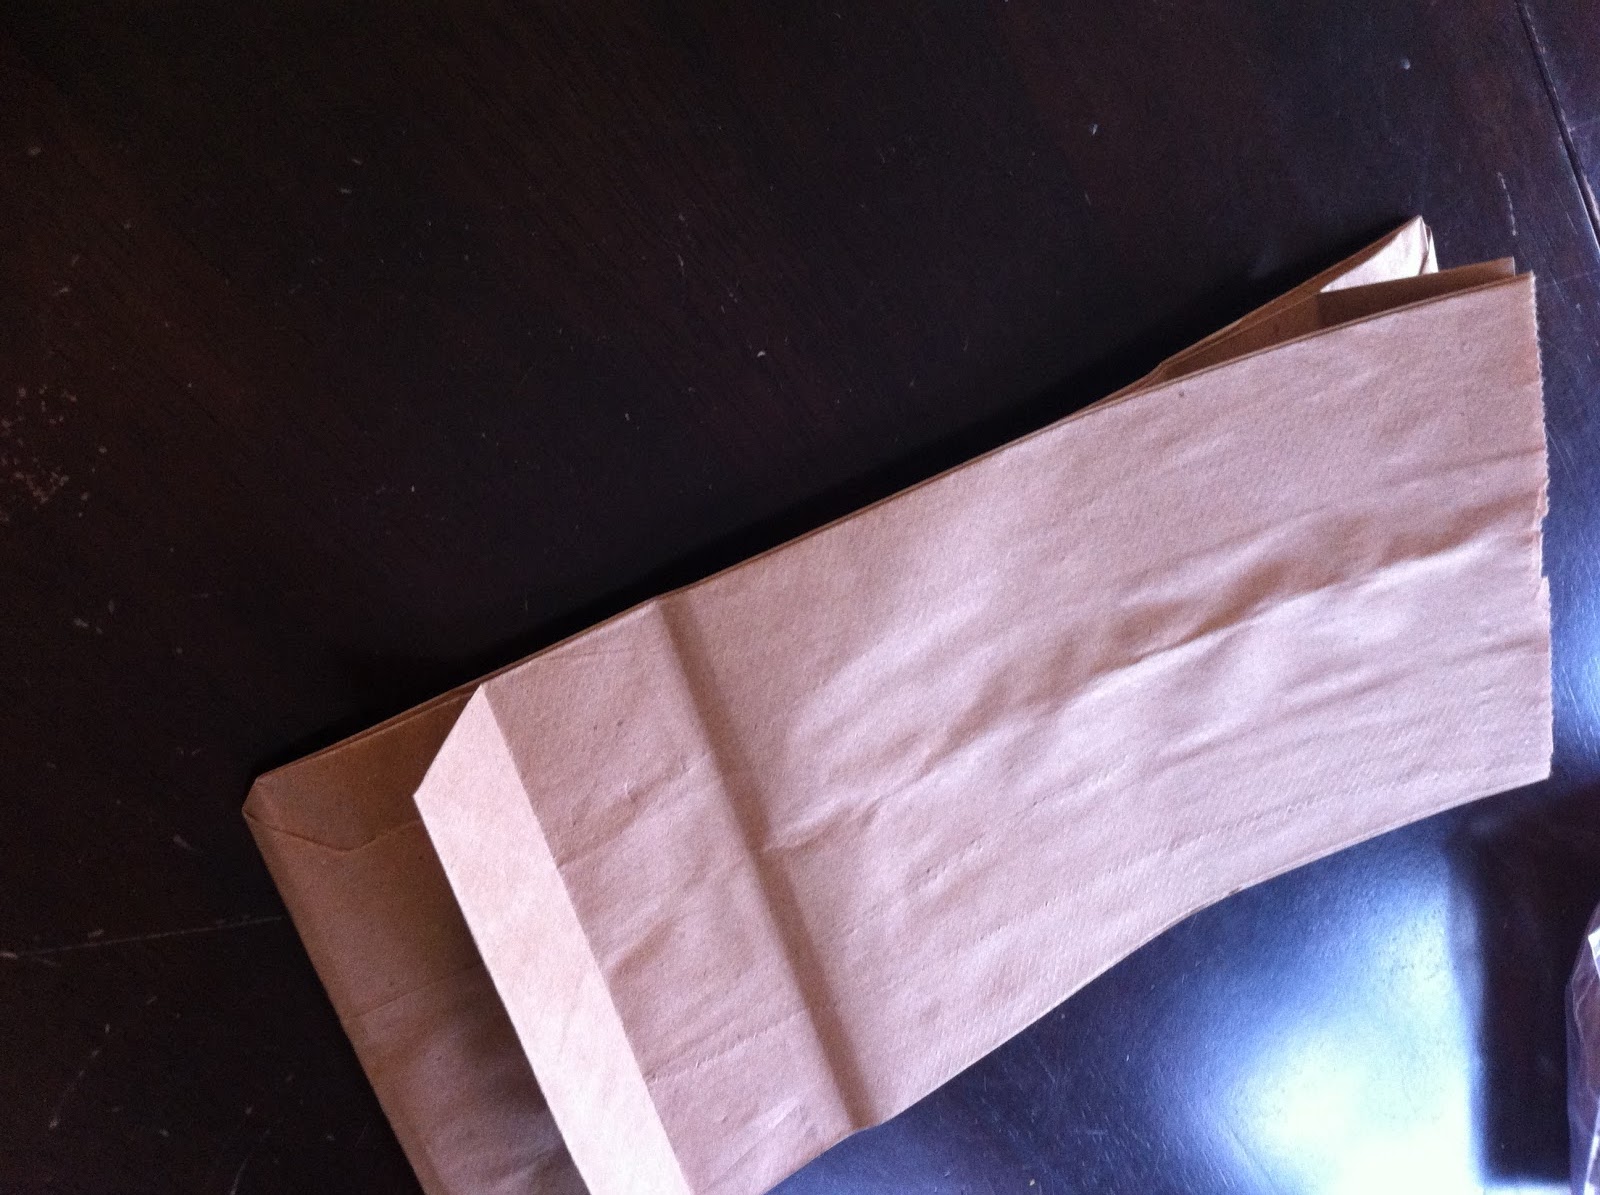
Ok, not so sure why this next picture is upside down, but you get the idea!
Place an elastic around the center and ta da! You’re done!
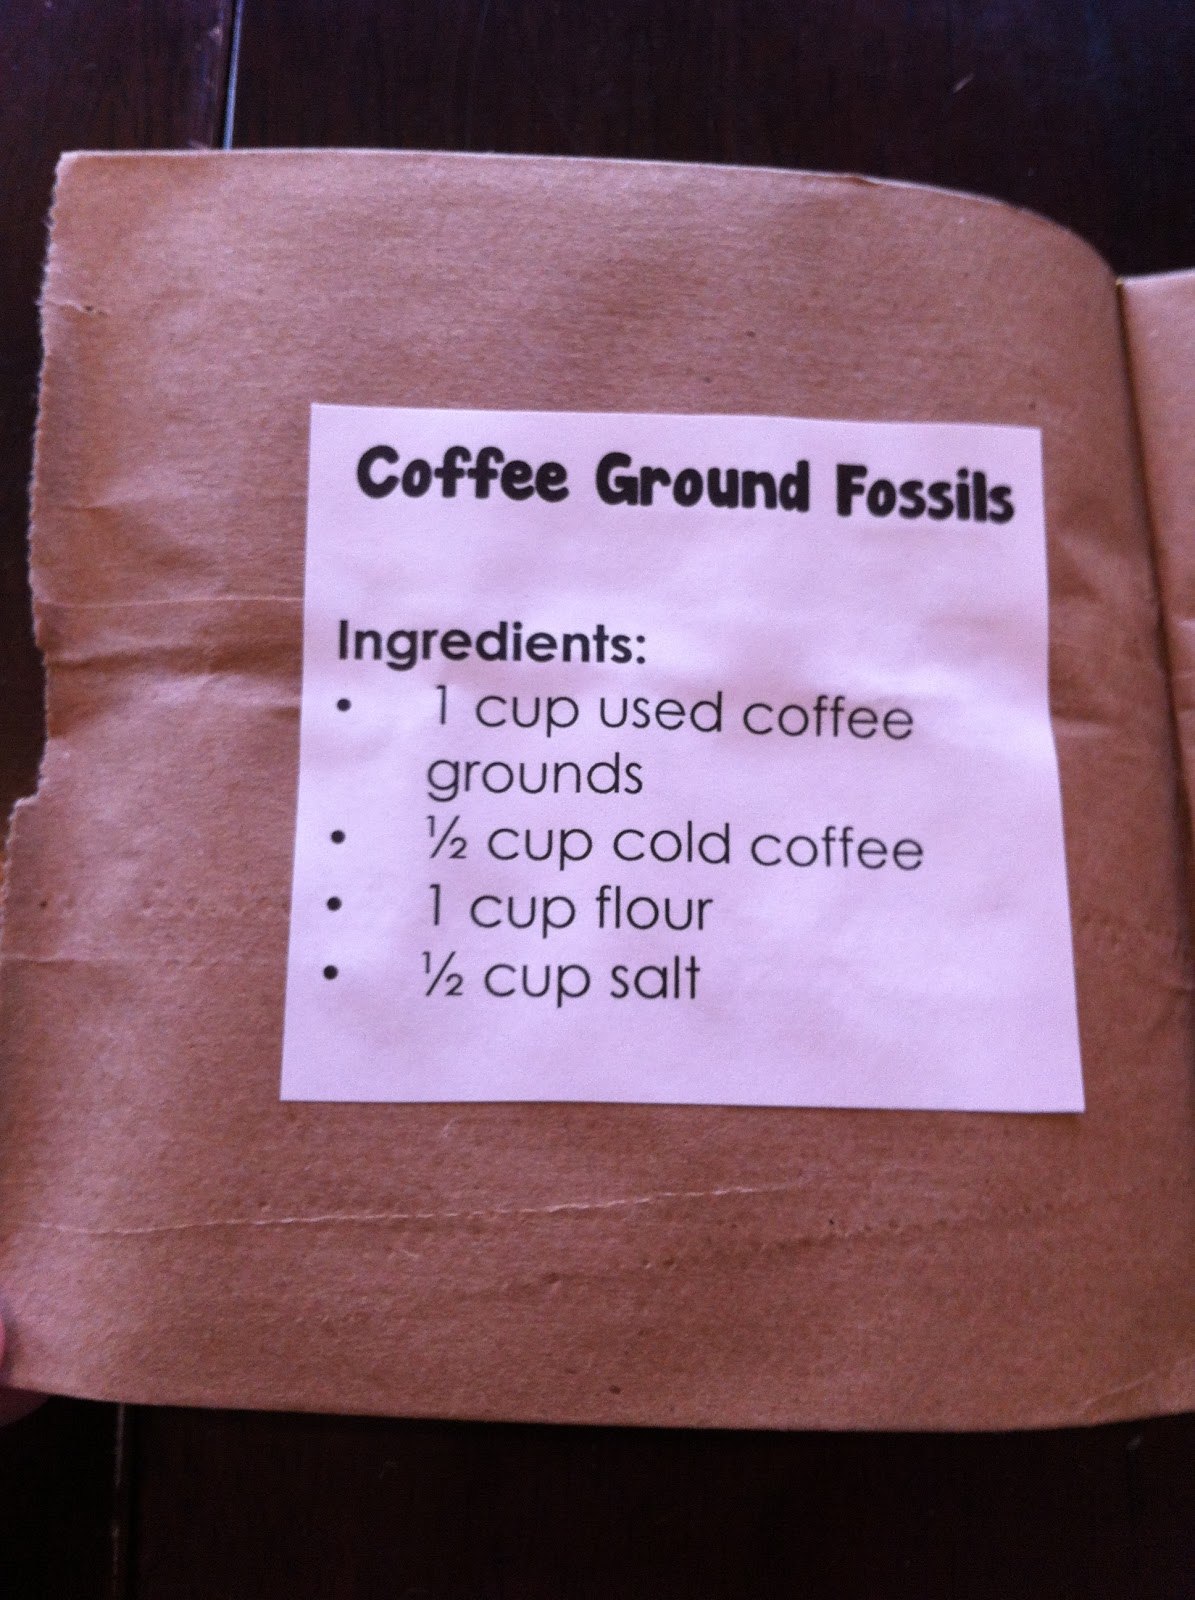
Our first project was making fossils. This is a great fossil recipe that I got from a friend a few years ago. She did this with grade 8 students, I did it with grade 4’s, and I have also done it with my 2-year-old and 5-year-old. It is great for any age! We glued the recipe in our paper bag books…..
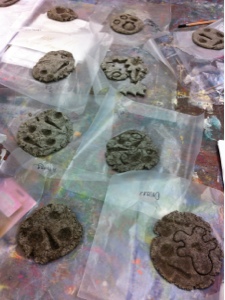
….and then made the fossils! Everyone was so creative. Some used seashells, some used cookie cutters, and others used toothpicks to create leaf designs. The sea shells worked really well! By the time our session ended, the fossils were already starting to dry out. As you can see, once they begin to dry, the imprints show up really well.
A few notes/tips if you are doing this project with your class:
- Leave a pail in the staff room and collect coffee grounds for a week or two before the day that you make fossils. Be sure to stir the grounds frequently or they will go moldy. And we don’t want that. Ew.
- Allow your students to bring their own artifacts from home to add a personal touch.
- When I did this with my grade 4’s, I put the students into groups of three. Within each group, each person brought one thing. One person brought the salt, one person brought the flour, and one person brought the mixing bowl and spoon. I supplied the coffee and coffee grounds. It worked really well like that. Each batch will make about 4 or 5 fossils, depending on how big you make each one.
- Drying time is about 2-3 days. They will need to be flipped a couple of times as well.
After doing the fossil project, we split into small groups to discuss how this project could be integrated into other subject areas. 18 minds are always better than one, and wow, did everyone have some great ideas! Obviously, this project can be directly related to art, but here are some other ideas for how it could be integrated into other subject areas:
- use fossils to create national symbols
- study of animals/tracks
- coins
- use the “dough” to create ten frames
- use it to stamp letters or form letters; talk about things that begin with that letter
- make an imprint of your country or continent
- use it as a respect agreement; each student places and thumb or hand print in the dough to symbolize belonging (ties into Health)
- plant imprints for Science
- form community landmarks
- study shapes in Math
- as a reading response idea, make something from the book
- read about prehistoric life and/or paleontologists
- dramatize a fossil find in the classroom
- use it as an “under the sea” theme unit; examine sea life, develop vocabulary, etc
- use it for print-making in art
- fossilize arrow heads for a history lesson
- sort figures, such as leaves
- tie it into a Science unit on habitats
- discuss texture in Art
- represent the beginning, middle and end of a story
- make math patterns
- use in a Science unit on rocks and minerals
We also discussed alternatives that could be tried. What would happen if we replaced the coffee with dyed water? Could we varnish them to make ornaments? There is lots of experimenting that can be done here!
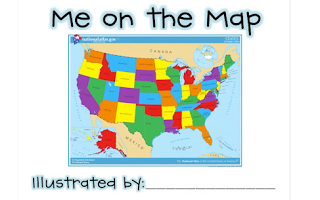
Next on the list was a little read-aloud! I read the book “Me on the Map” by Joan Sweeny. It is a really great way to explain to students how their street relates to their town, how the town relates to the country, how the country relates to the world, etc. As a little sidenote, this book is written with a US audience in mind, but a couple of very small changes can be made so that it appeals to citizens of other countries as well.
After reading the book, I handed out this great little package by Erin Eberhart of Eberhart’s Explorers. There are lots of wonderful activities that can be used in conjunction with the book. To download Erin’s “Me On the Map” package (for people in the USA), please click
here or on the image below. For my session, Erin was kind enough to create a Canadian version as well. {Thanks, Erin! You’re the best!} I’m pretty sure she is planning on uploading it to TpT, and when she does, I will be sure to add a link here as well!
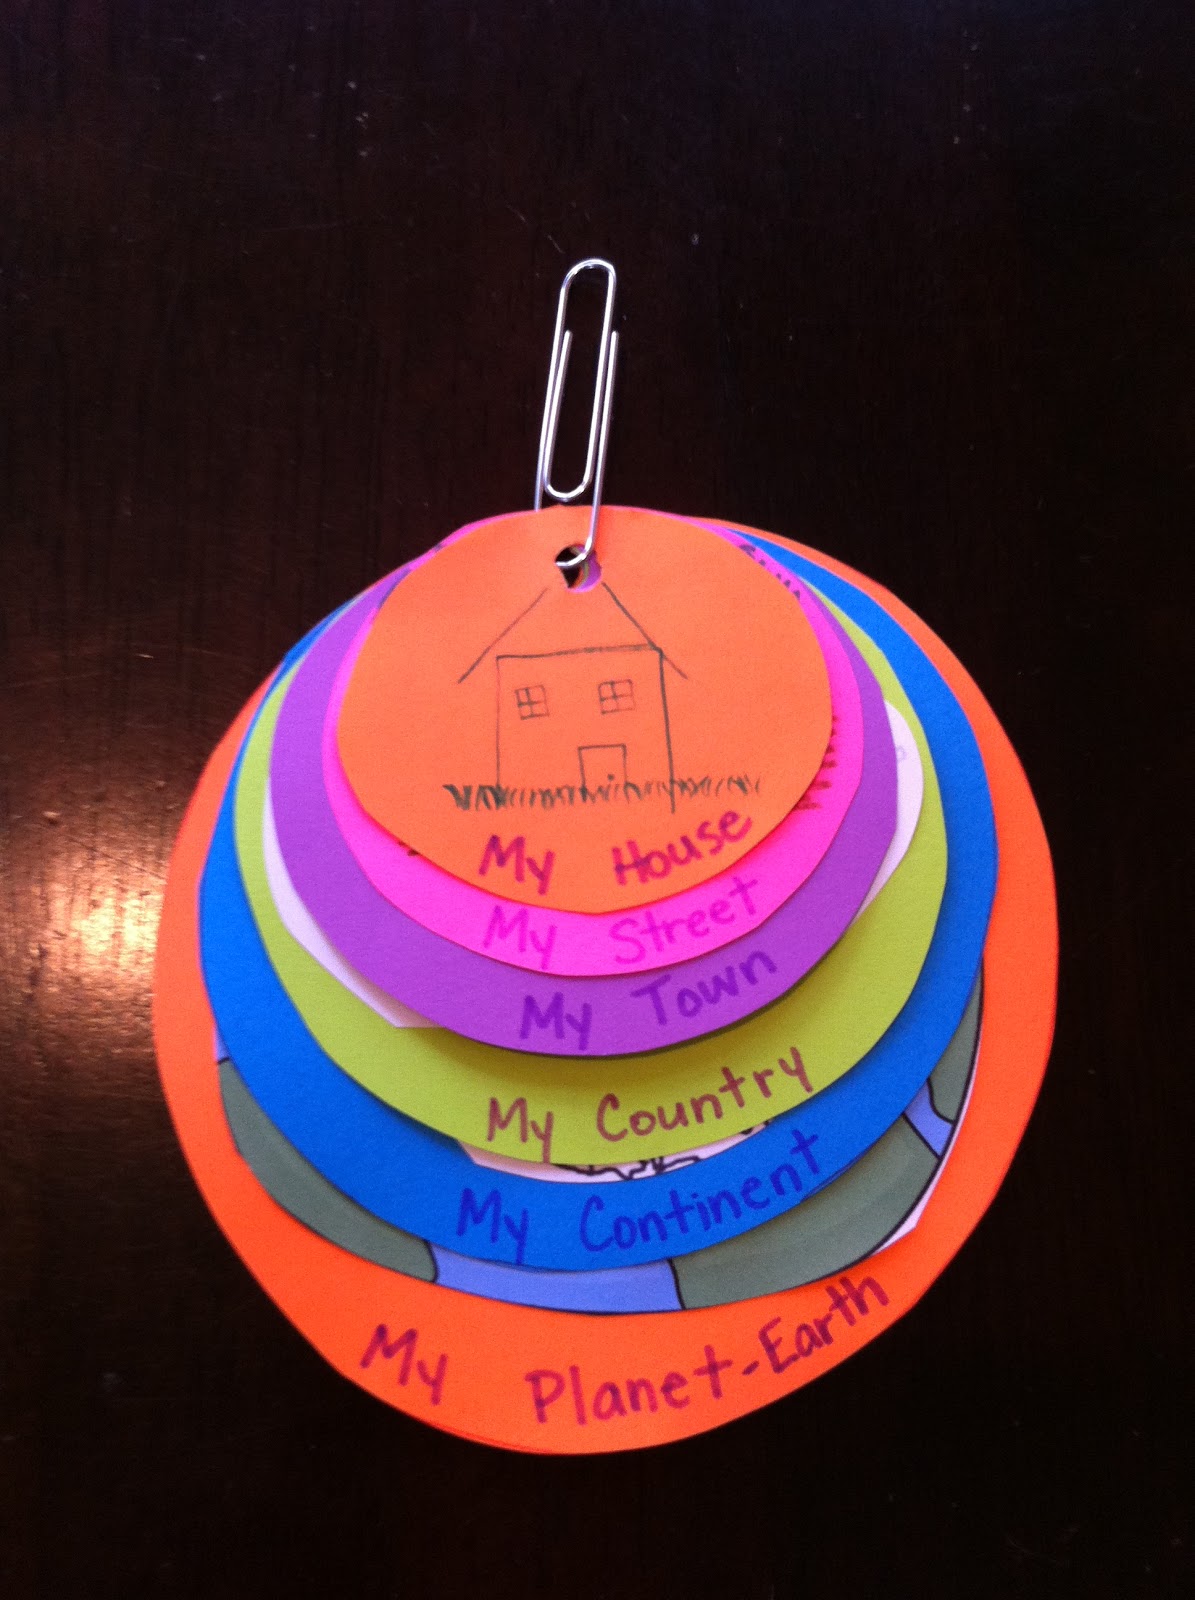
The next activity that we did was an AWESOME Me on the Map activity that I learned about from the amazing Jenn Bates of
Finally in First. I know I say this a lot, but I am in love with this activity. Seriously.
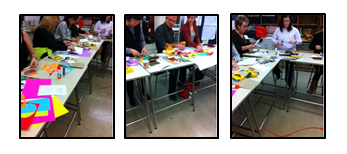
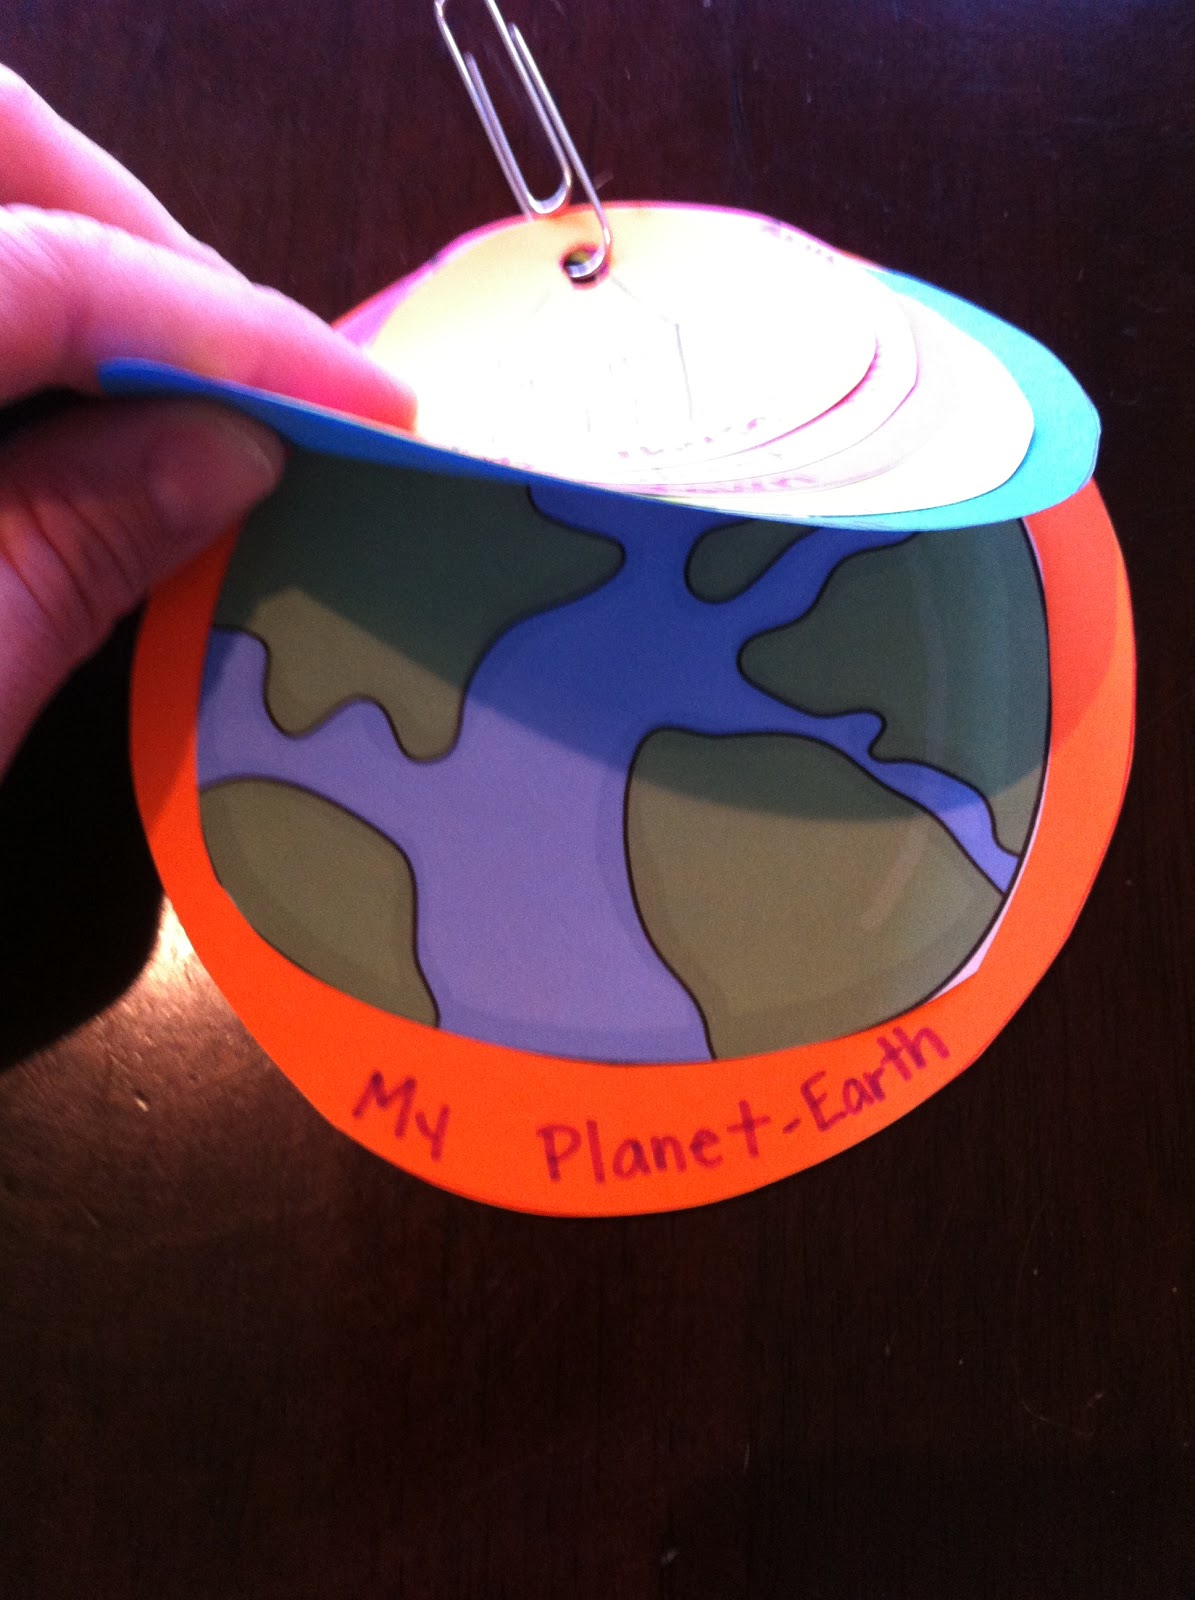
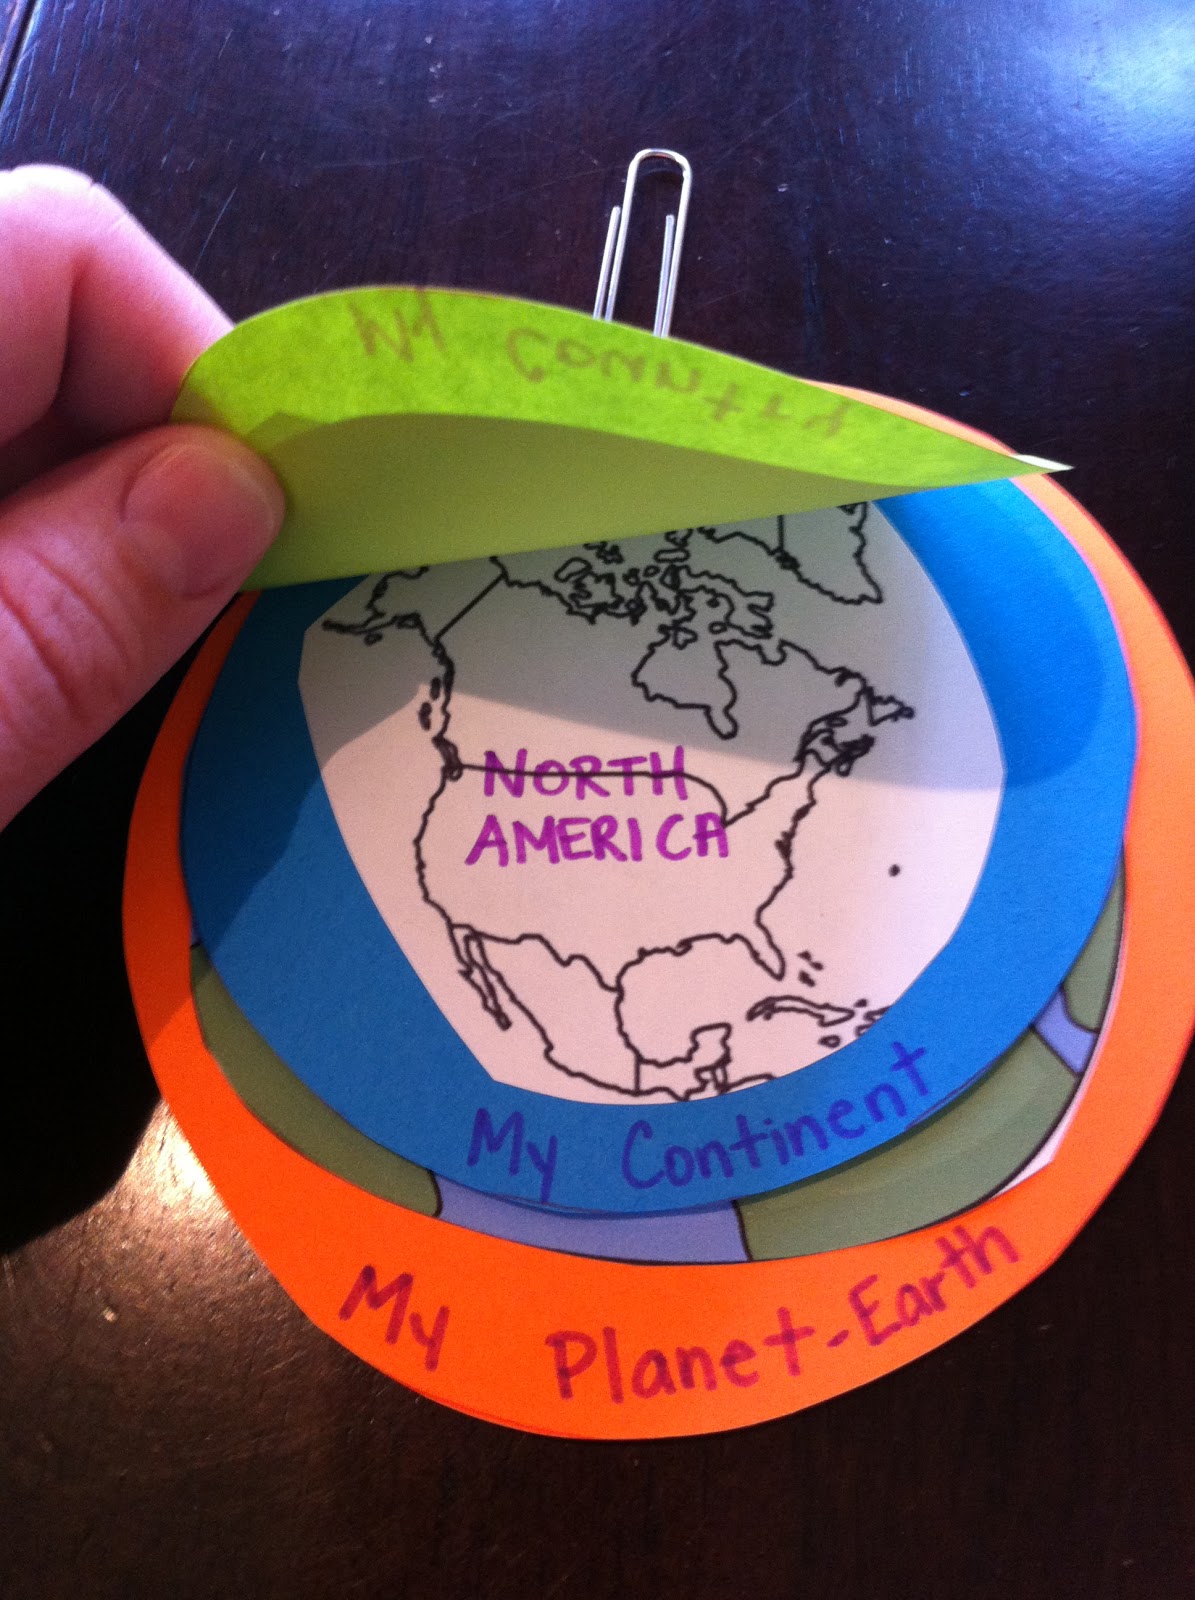
So basically you need six circles that gradually increase in size. The first (smallest one) is labeled “My House.” The rest are labeled “My Street,” “My Town,” “My Country,” “My Continent” and “My Planet.” Simply punch a hole at the top of the circles and fasten them together. We used a paper clip so that they could be hung, but you could also use a staple or a brass fastener. Then have your students draw or paste pictures on each circle to illustrate the particular location. Here’s everyone, hard at work! And when I say hard at work, I really mean it…they didn’t even want a coffee break!
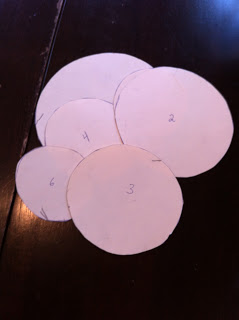
I had stencils prepared for everyone to trace. This is definitely a good idea, especially if you are doing this with young students. Depending on the age, you may even want to have the circles pre-cut and hole-punched.
To download a copy of these tracers, please click
here or on the picture below. Just as a sidenote, you may find these tracers a bit small. It may be a good idea to enlarge them with your photocopy machine.
Here are some pictures of what the different pieces of the finished product might look like. You could also get a bit more creative and add objects such as mini flags or stickers.
And please, make sure to check out Jenn’s Me on the Map activities from Finally in First {
click here}. There are also some really good examples on Counting Coconuts {
click here}. Speaking of Counting Coconuts, one of my favorite ideas from the author there is to have students write five facts on the back of each circle. For example, on the back of the “Planet” circle, write, “Five Facts about Earth.”
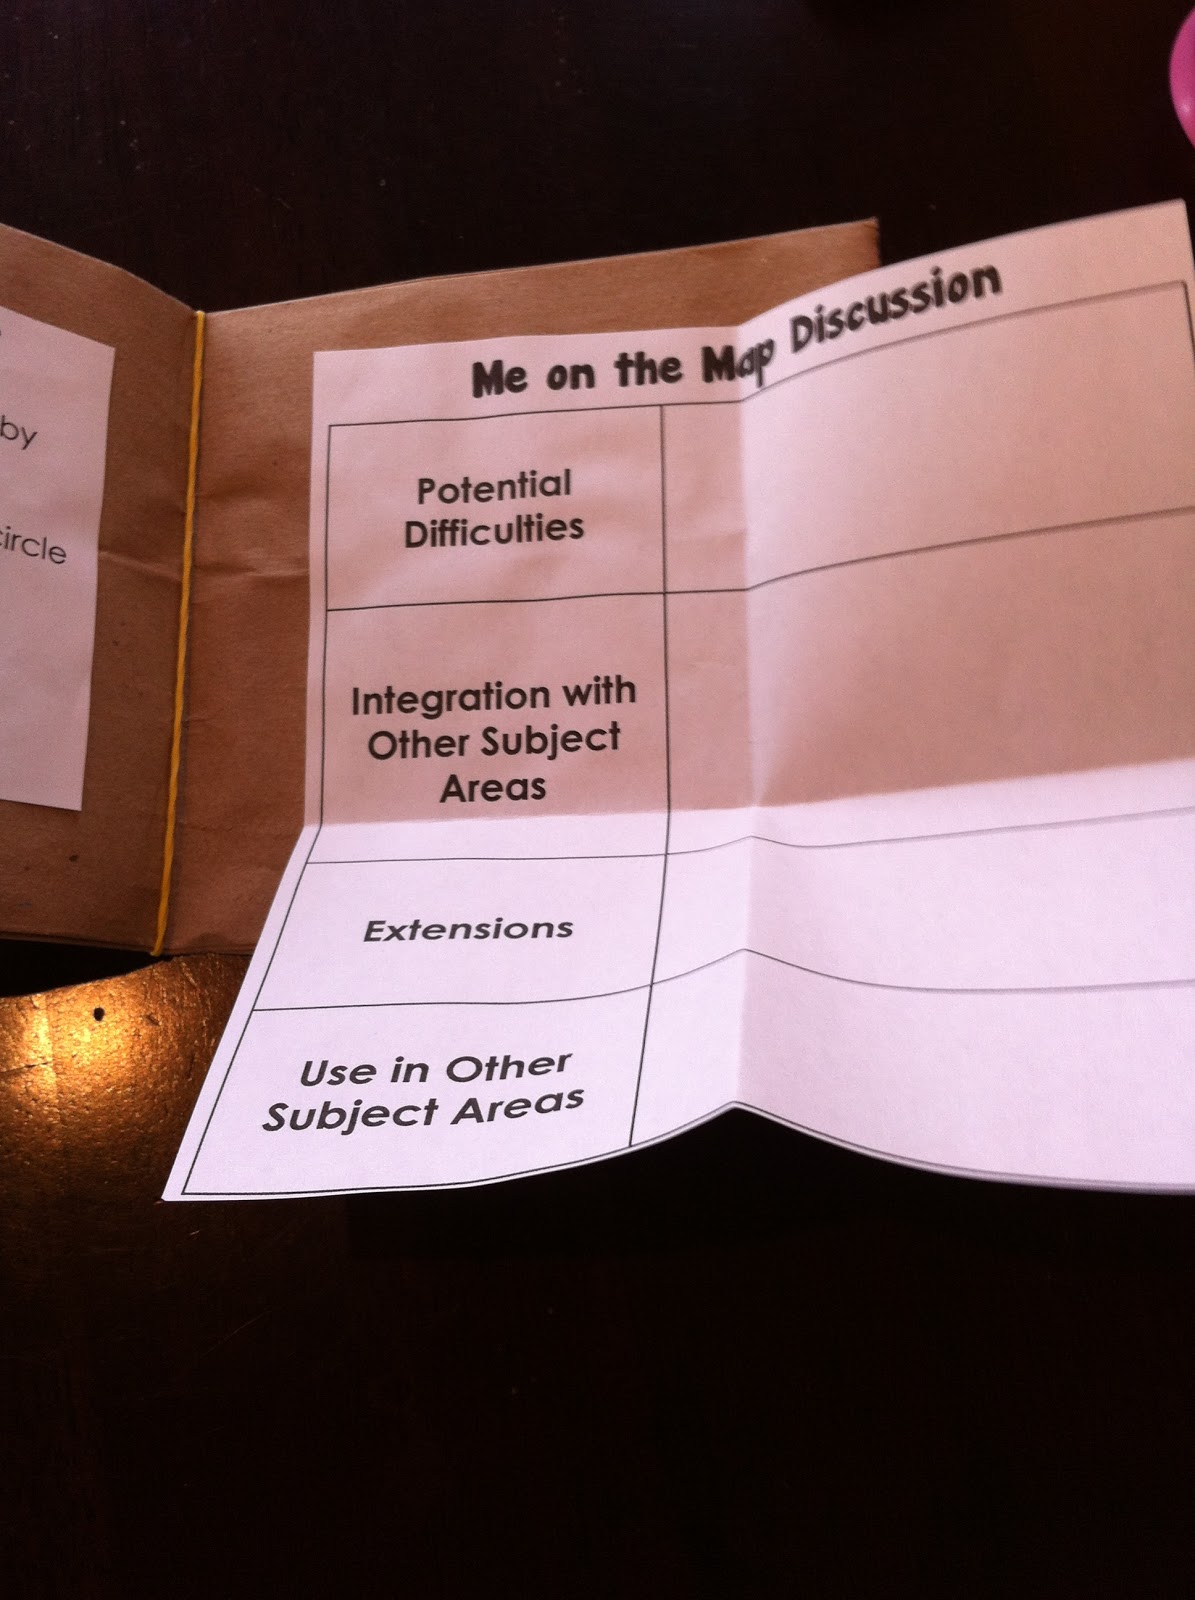
Next we did a carosel to discuss four different topics regarding this activity: Potential Difficulties, Integration with other Subject Areas, Possible Extensions, and How it Could be Used in Other Subject Areas.
{Quick sidenote} If you haven’t used a carosel before in your classroom, it’s a great way to get students up and moving around in a structured manner. Place a few pieces of chart paper around the room, clearly labeled with the question that you want answered. Then have groups of students rotate from paper to paper, answering the question on the paper. The key here is not to allow too much time at each piece of paper. You don’t want students getting bored, and you want to leave some ideas for the next group as well.
Below are the ideas that the group came up with in each of the four discussion areas:
Potential Difficulties {and solutions}
- cutting/hole punching too difficult for young students (solution: pre cut and pre hole punch)
- time consuming prep (solution: ask parent volunteers to help)
- too small (solution: enlarge the circles so that the largest circle is about the size of a paper plate)
- mix-ups in order and labeling (have a clearly labeled, accessible model for students to refer to)
- steps may be confusing (solution: set up a workstation for each step; example: tracing is done at one station, cutting at another, etc.)
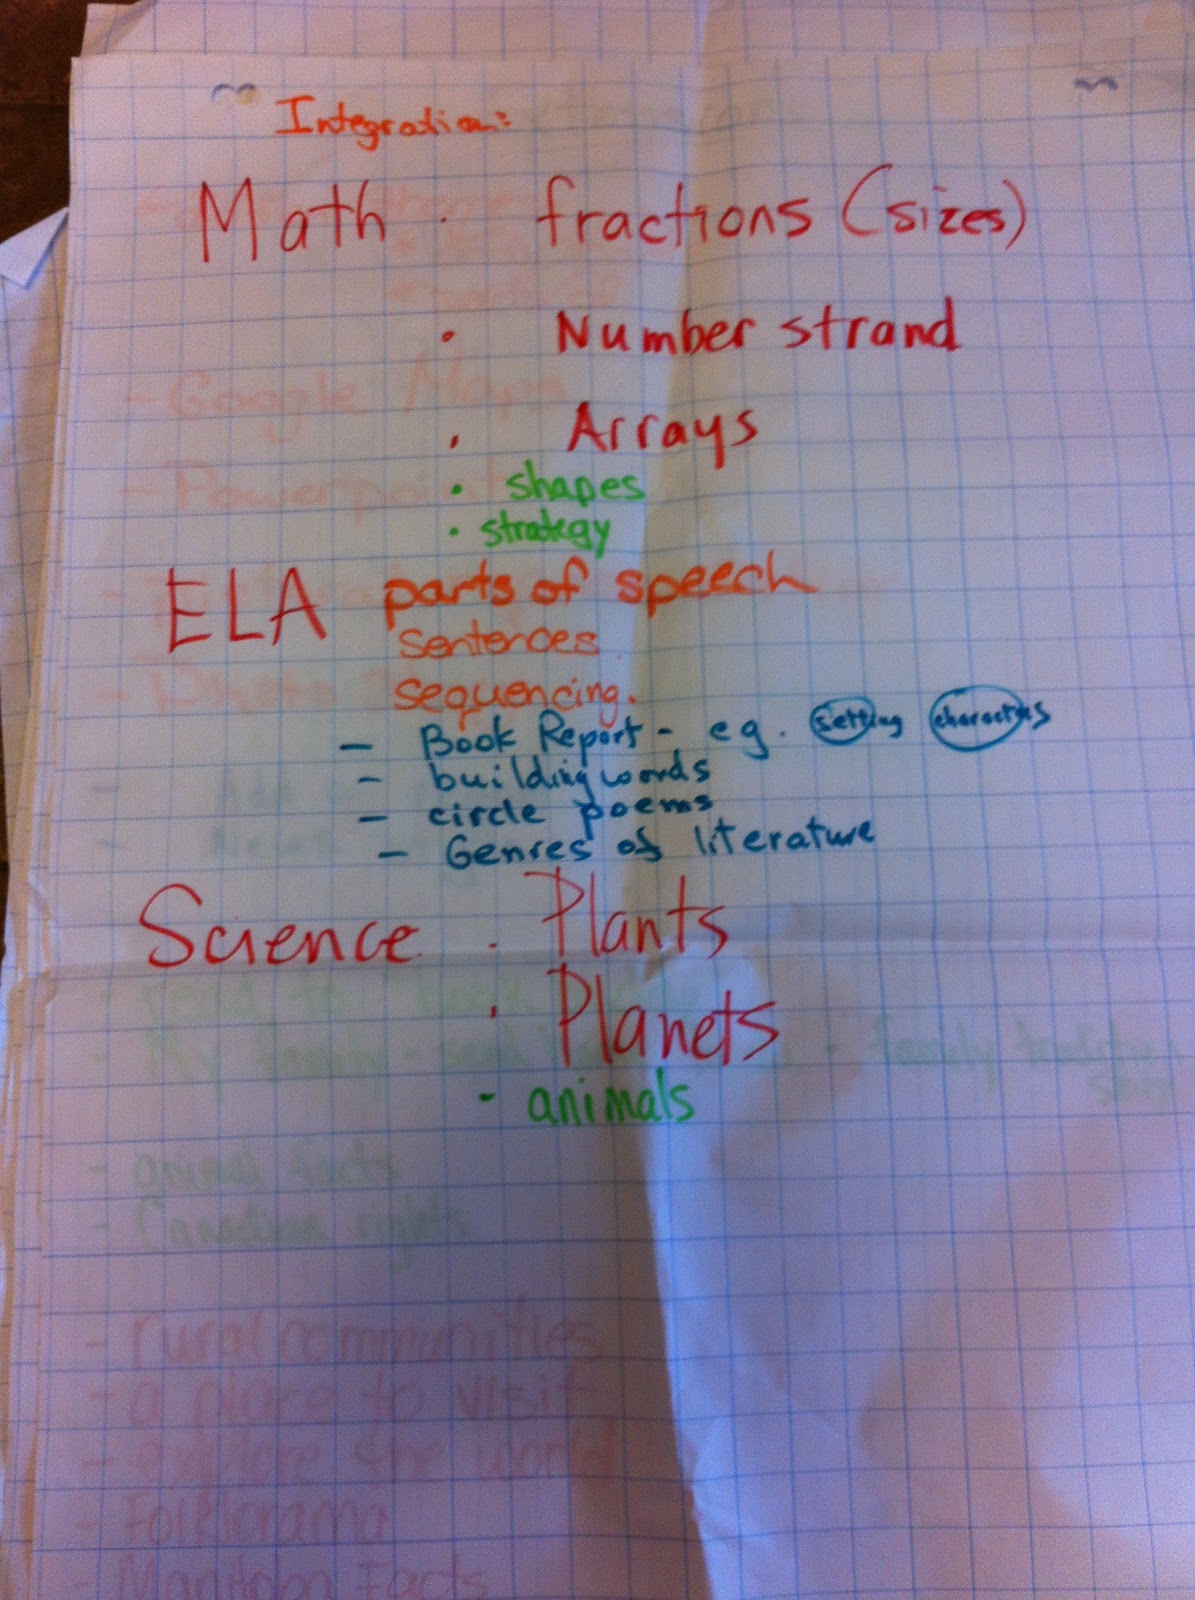
Integration with other Subject Areas
- Use in Math:
- fraction book
- make a strategy book of different strategies for addition, etc.
- Use in ELA:
- parts of speech
- sequencing
- book report (one circle for setting, one for characters, etc)
- genres of literature
- building words
- Use in Science:
- study of planets, animals, plants, etc
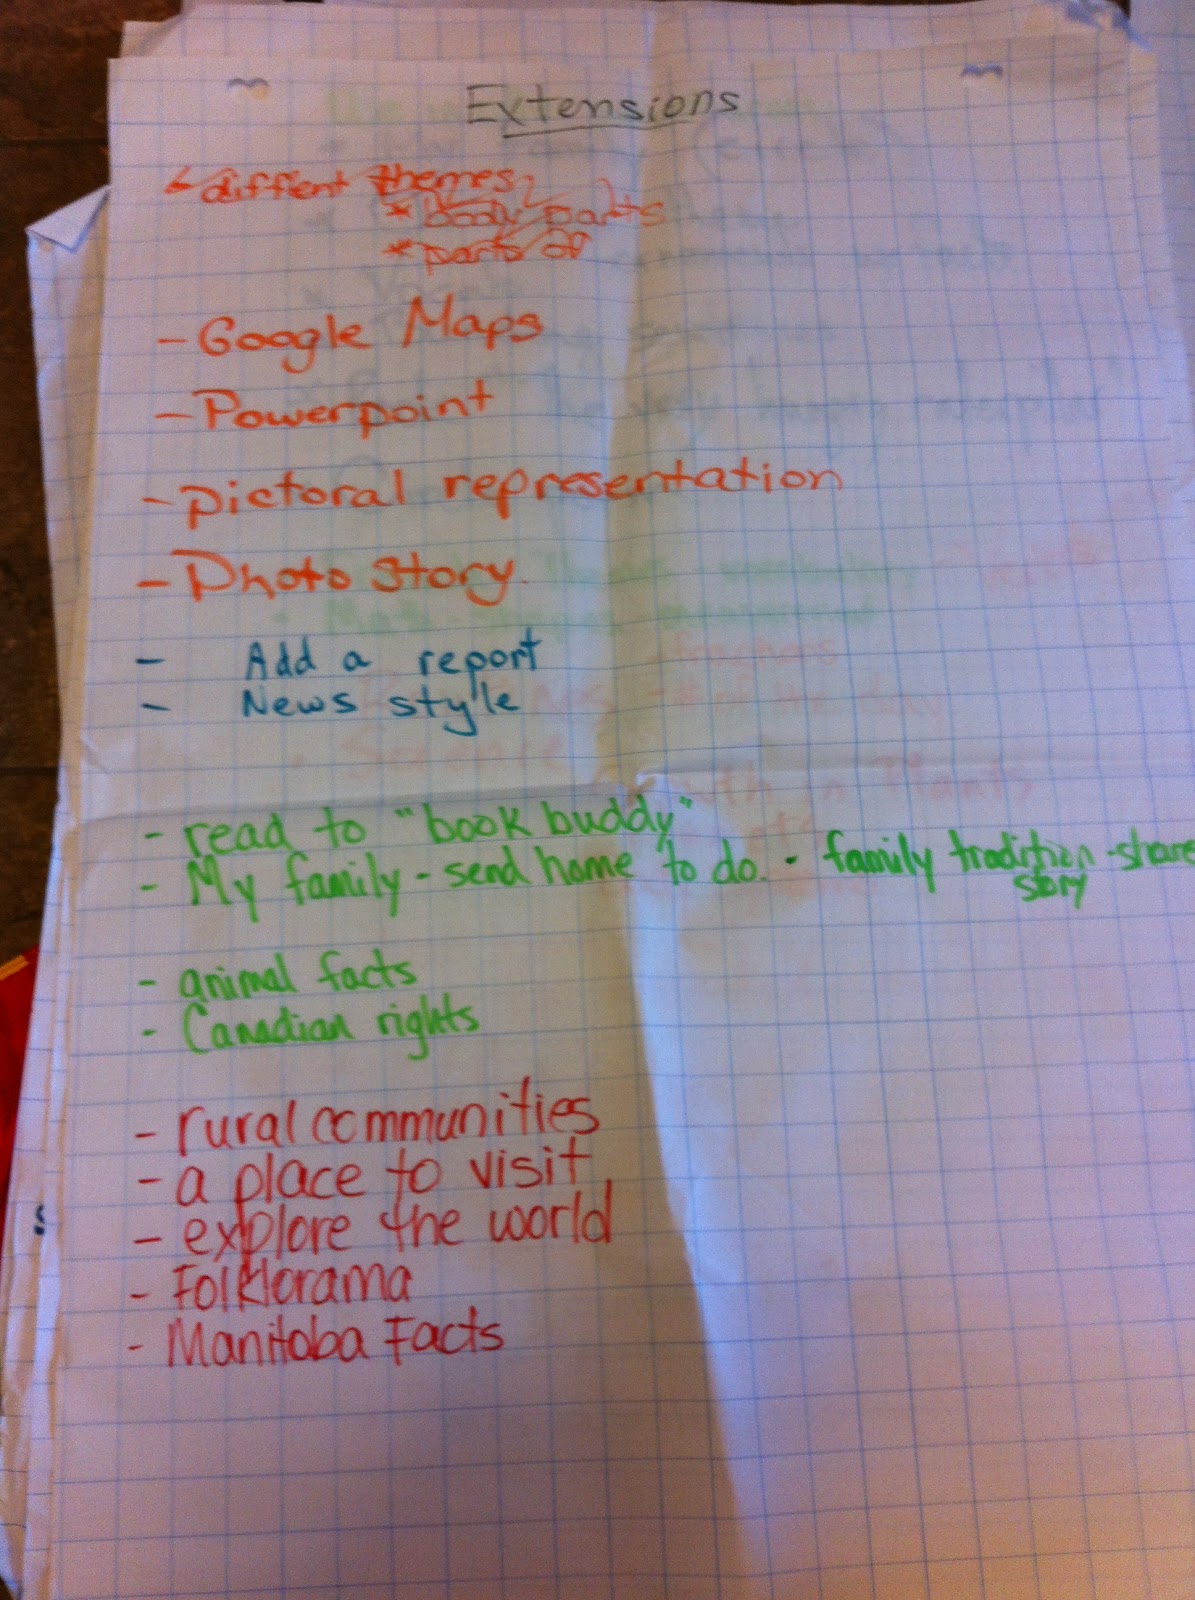
Possible Extensions
- Use Google Maps to find your country, town, street, etc.
- Make it into a PowerPoint presentation
- Read to a book buddy
How this activity could be used in other subject areas:
- Do a “My Family” project
- Christmas theme (each circle in an ornament; place a fact on each ornament)
- Use the circles for vocabulary or number of the day (for example, represent a number differently on each circle)
- Use it as a response to reading assignment; summarize one part of the book on each circle.
- Building sentences (a different part of the sentence on each circle)
- Classroom routines (summarize a different one on each circle)
- Editing (LOVE this idea!) One circle represents punctuation, one represents uppercase letters, etc. As students edit, they look at the circles and place a sticker on each one once they’ve completed the task. For example, after editing for punctuation, add a sticker to the punctuation circle.
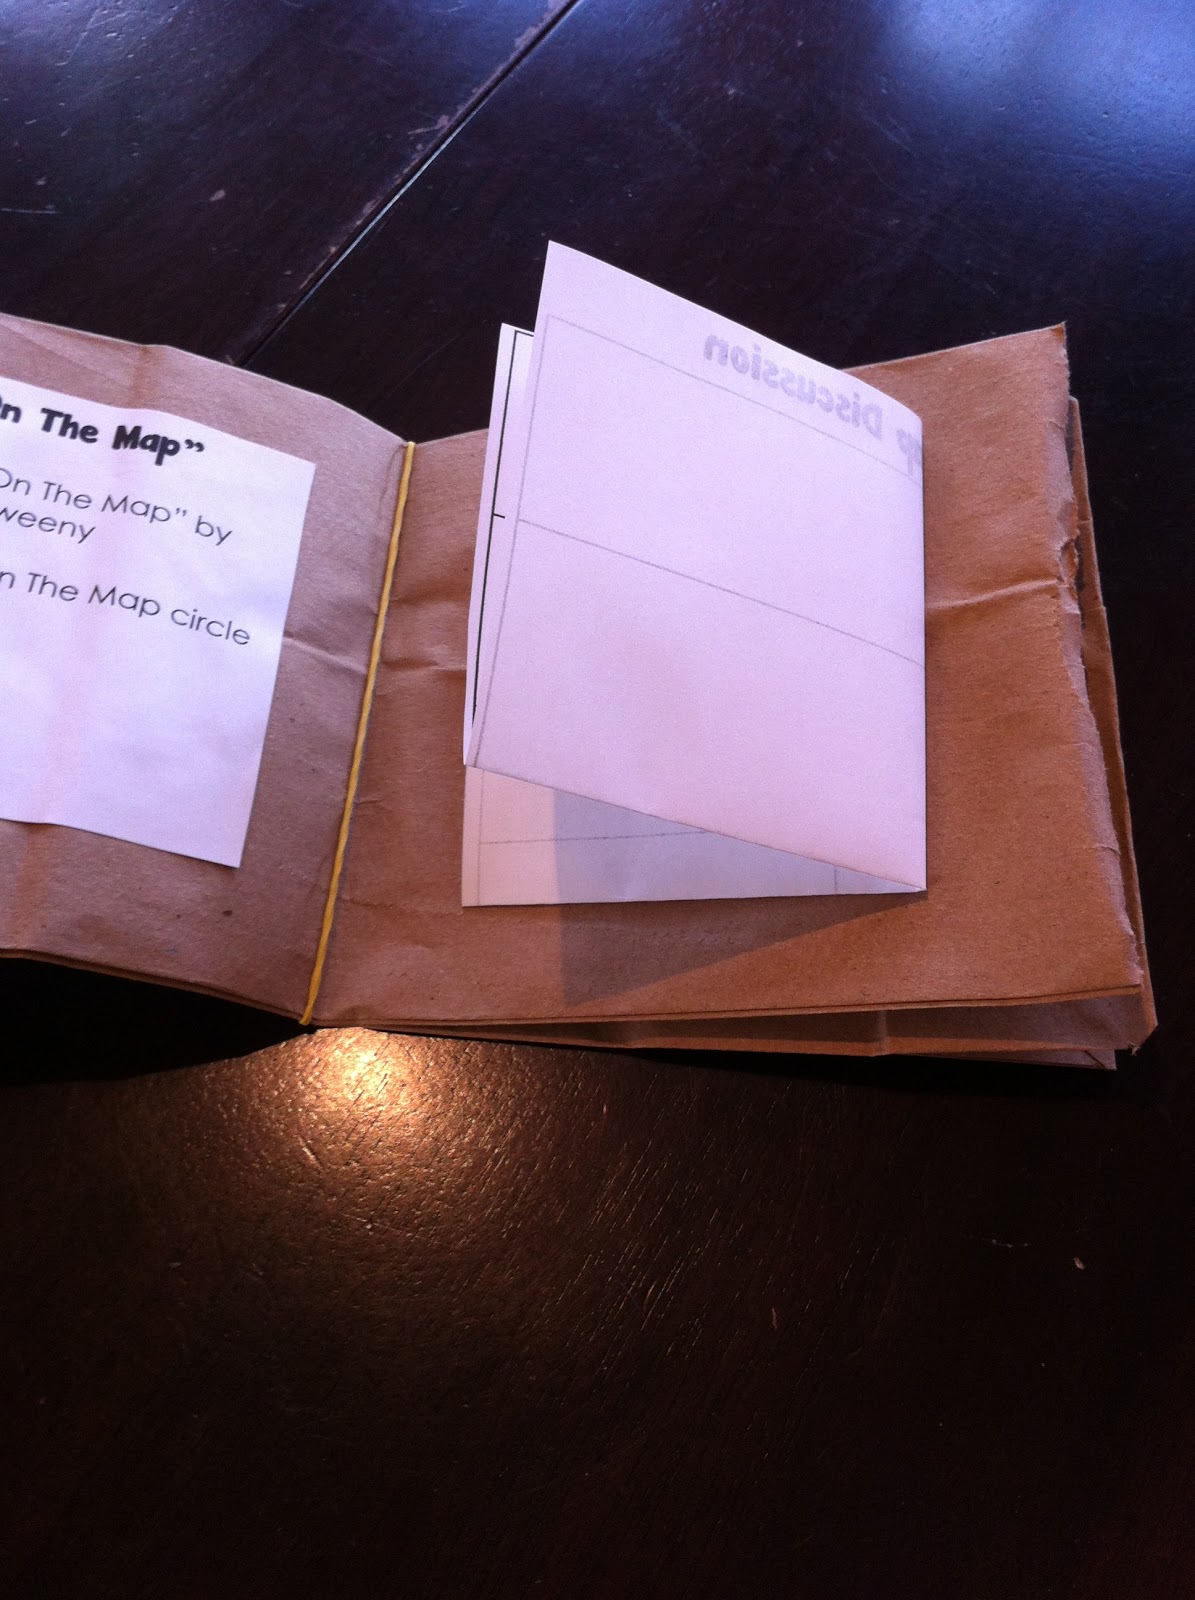
Everyone then recorded the discussion ideas on their templates and glued them into the paper bag book. Notice that you can glue larger pieces of paper into these books simply by folding into quarters and placing glue on just one of the quarters.
Although our session was quickly winding down to a close, I really wanted to show the attendees one of my favorite projects for any subject area – a quadrama! I have done these before in Social Studies, but also as a reading response project. You know those outcomes/standards that you teach where you think to yourself, “How in the world am I going to make this fun?” Quadramas are your answer! Basically, they are a three-dimensional project. You make four quadrants, and then glue them together to form it. In each quadrant, students can create colorful background images as well as 3-D pop-ups or anything else that fits the assignment. Below I will give you a quick little how-to for this project.
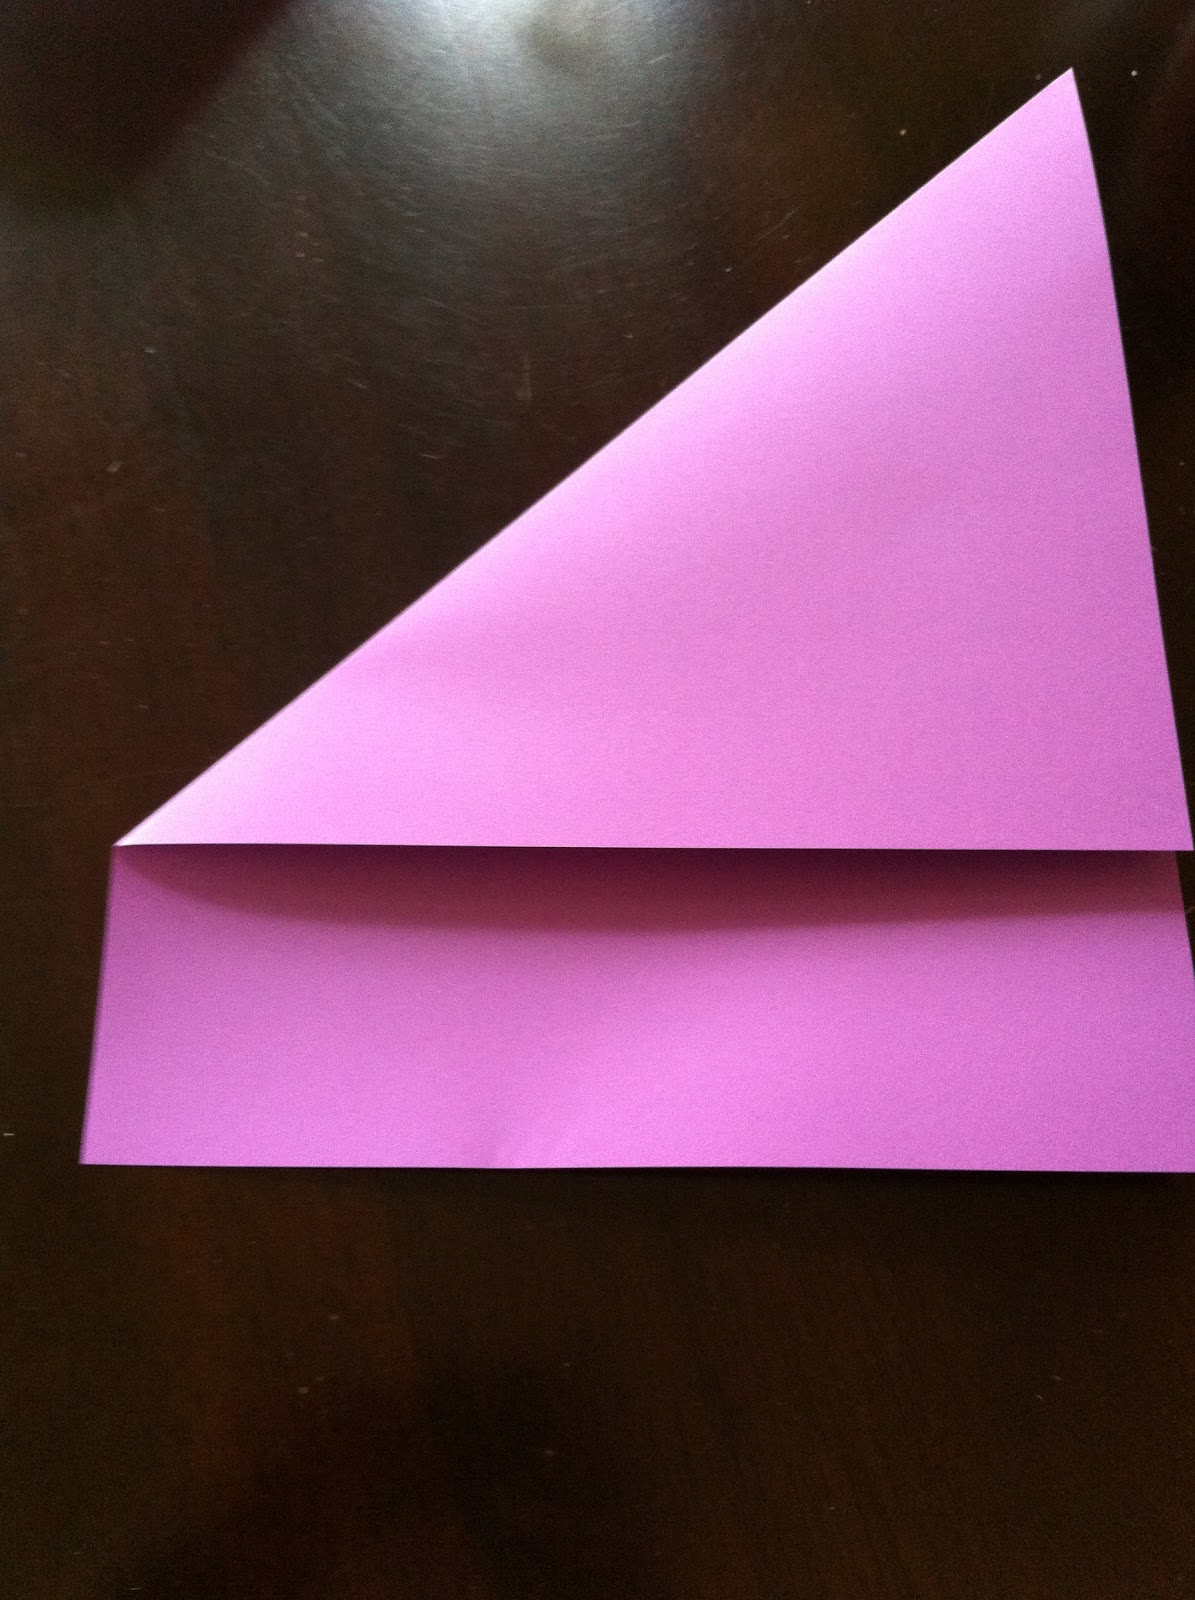
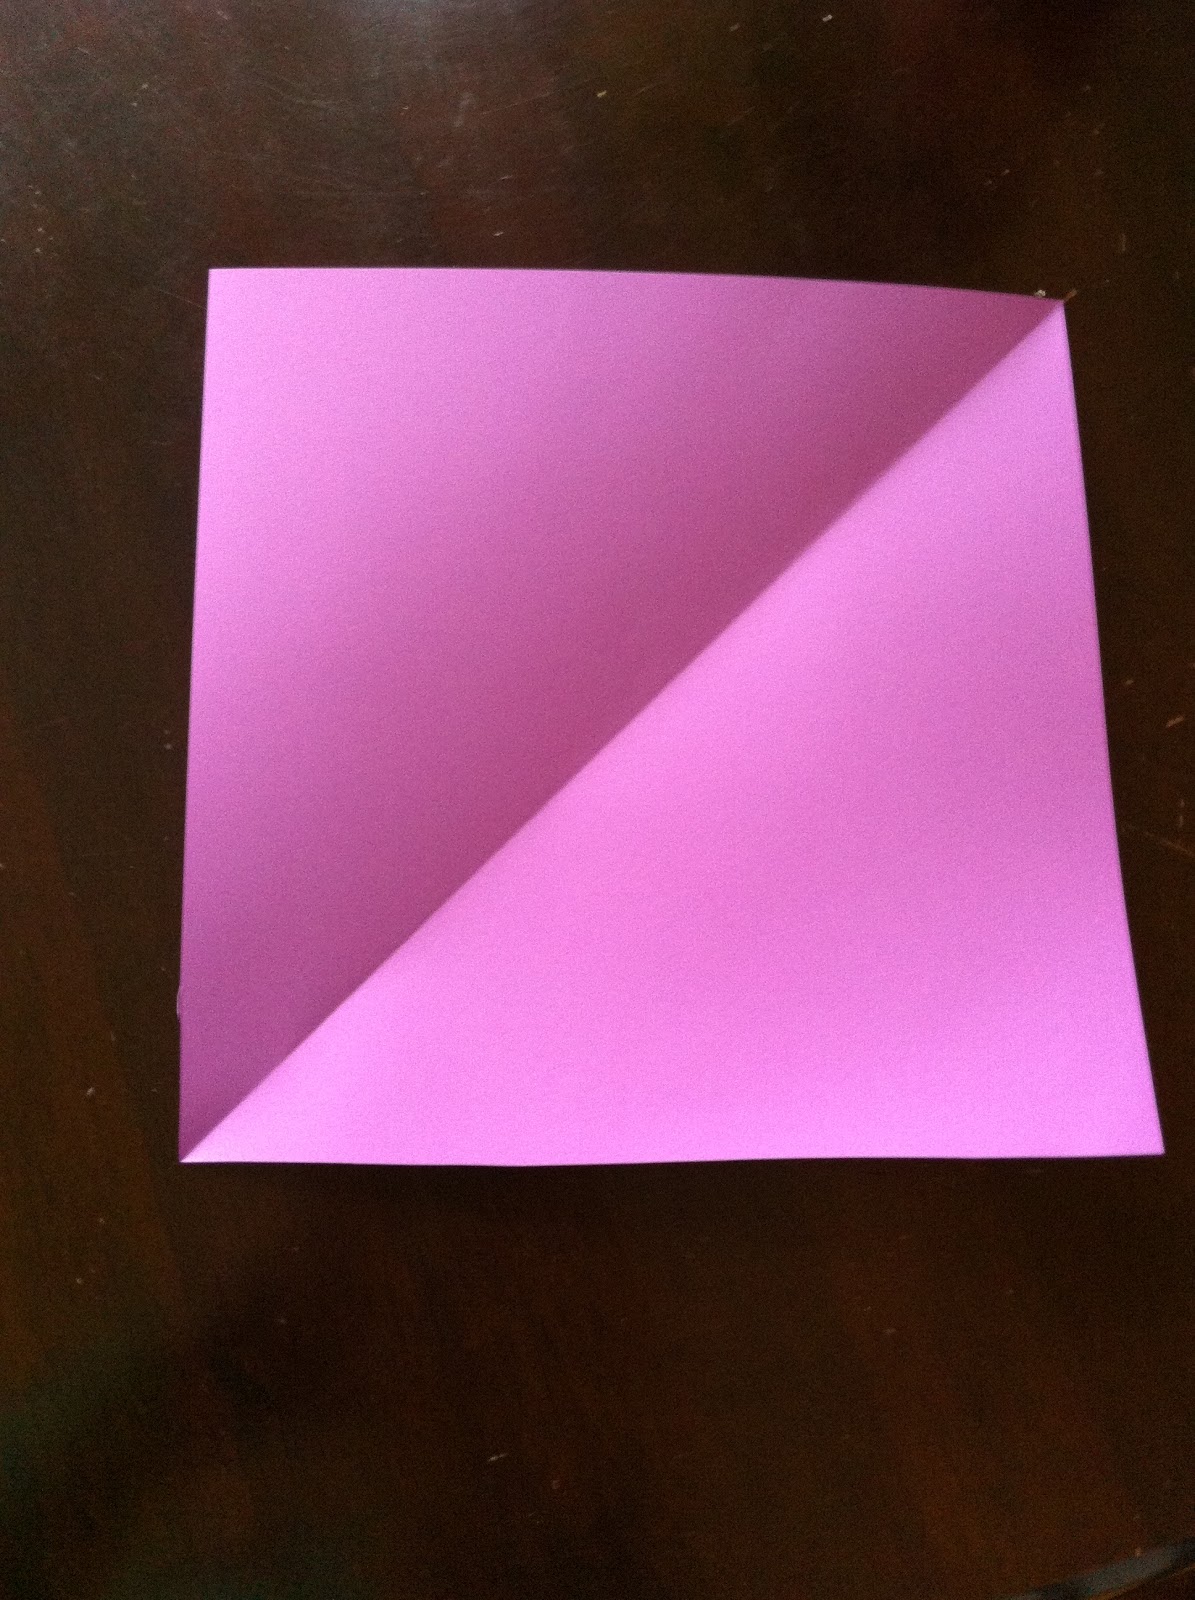
First, you will need to make your paper into a perfect square. To do this fold is as shown in the picture below.
Then trim off the extra paper at the bottom.
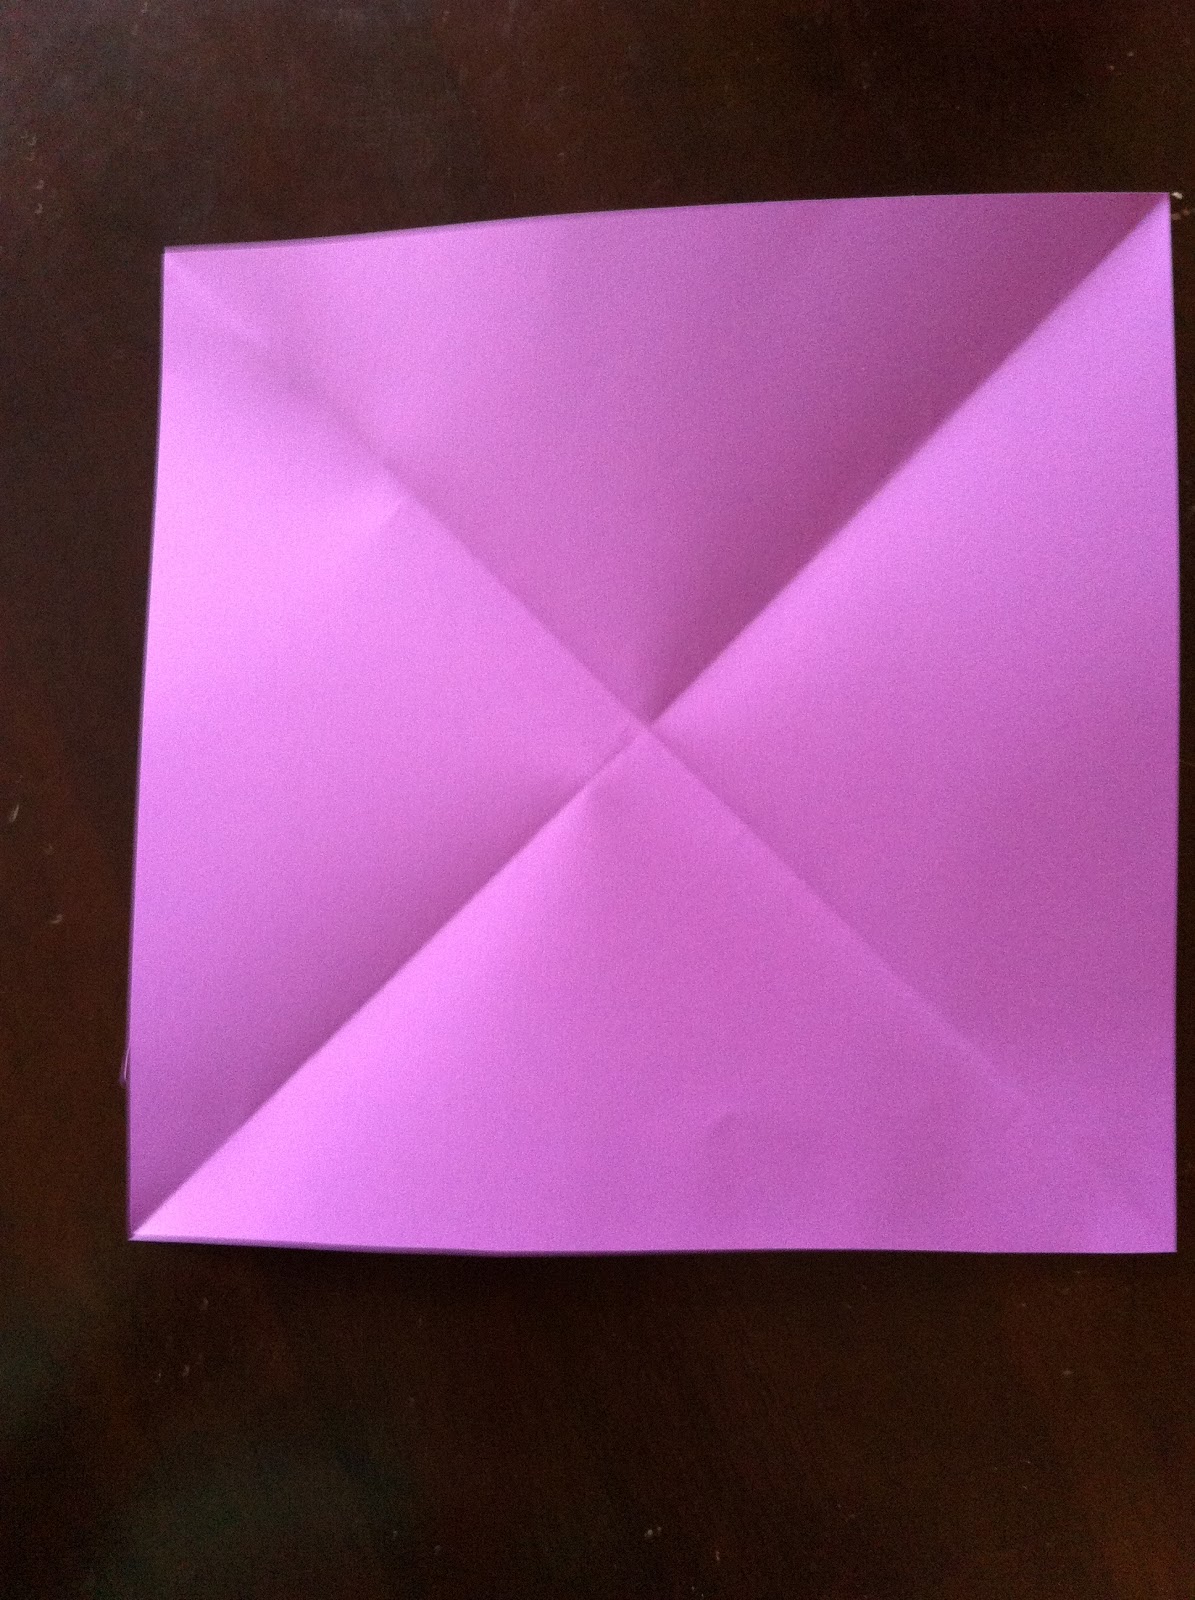
When you unfold the paper, it will look like this:
Then fold it diagonally the other way so that you have two creases in your paper.
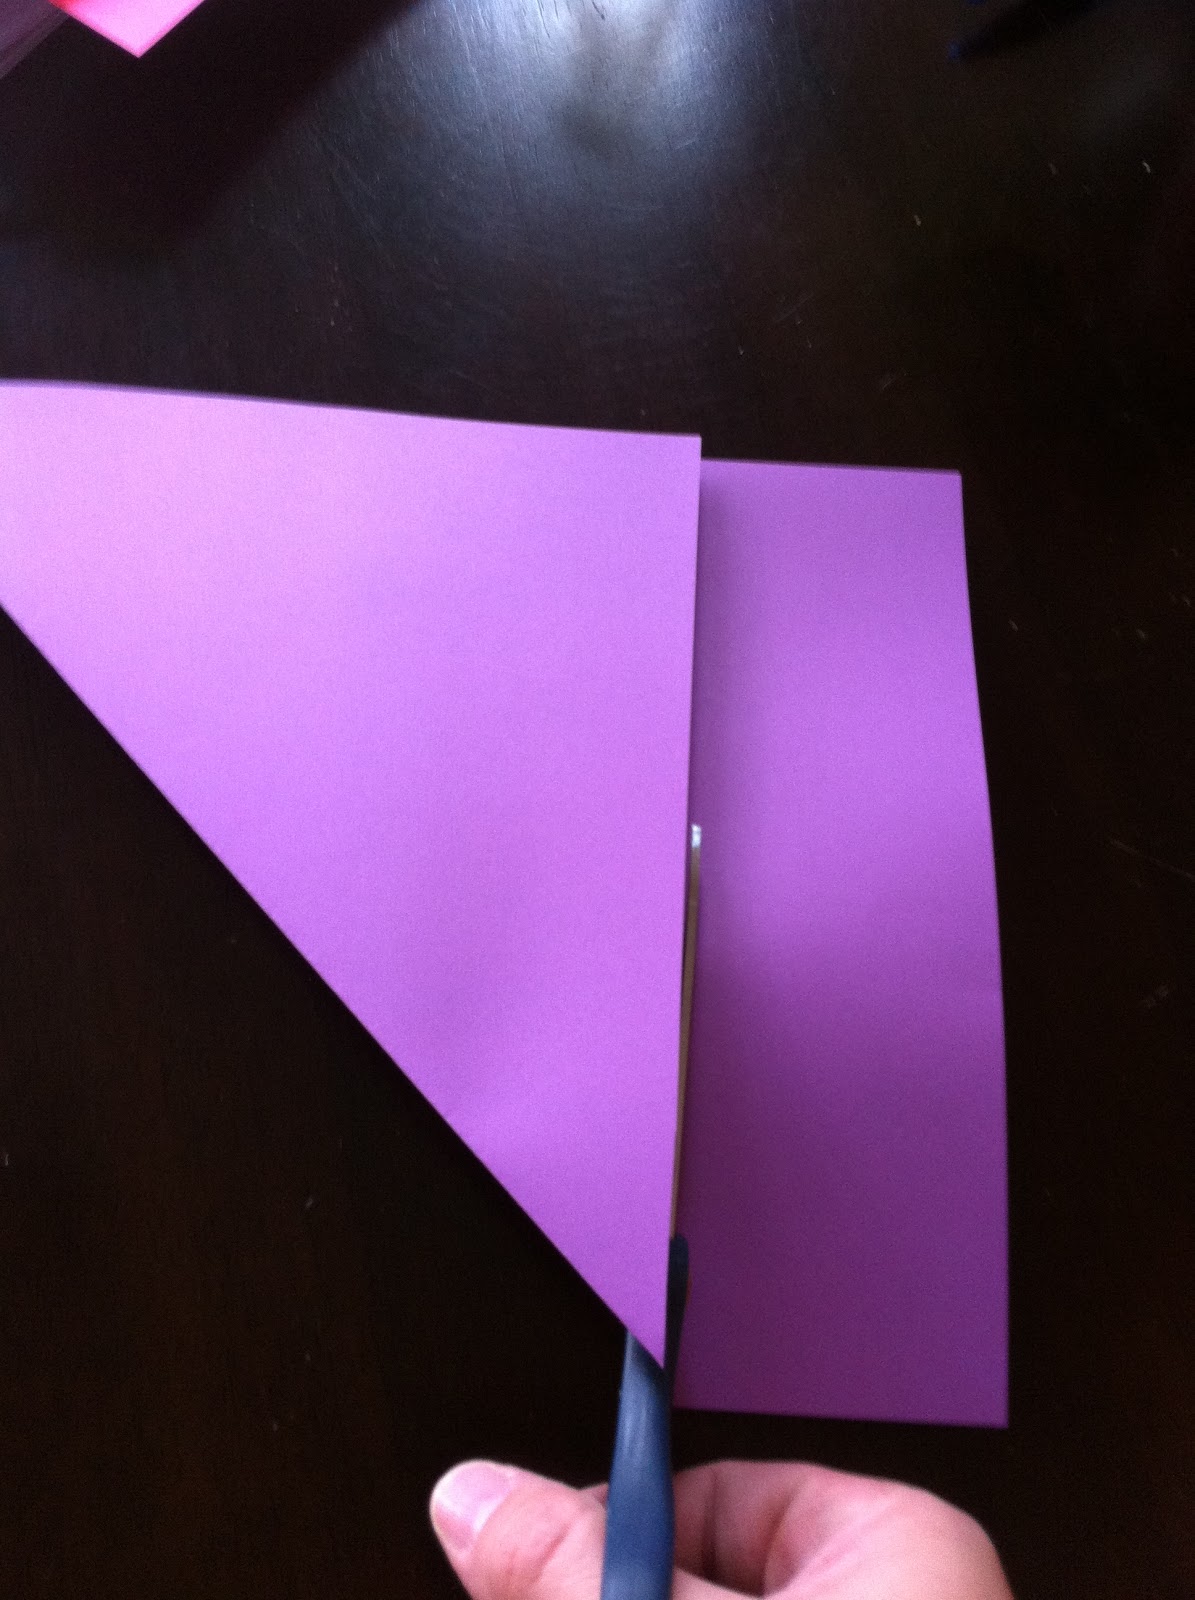
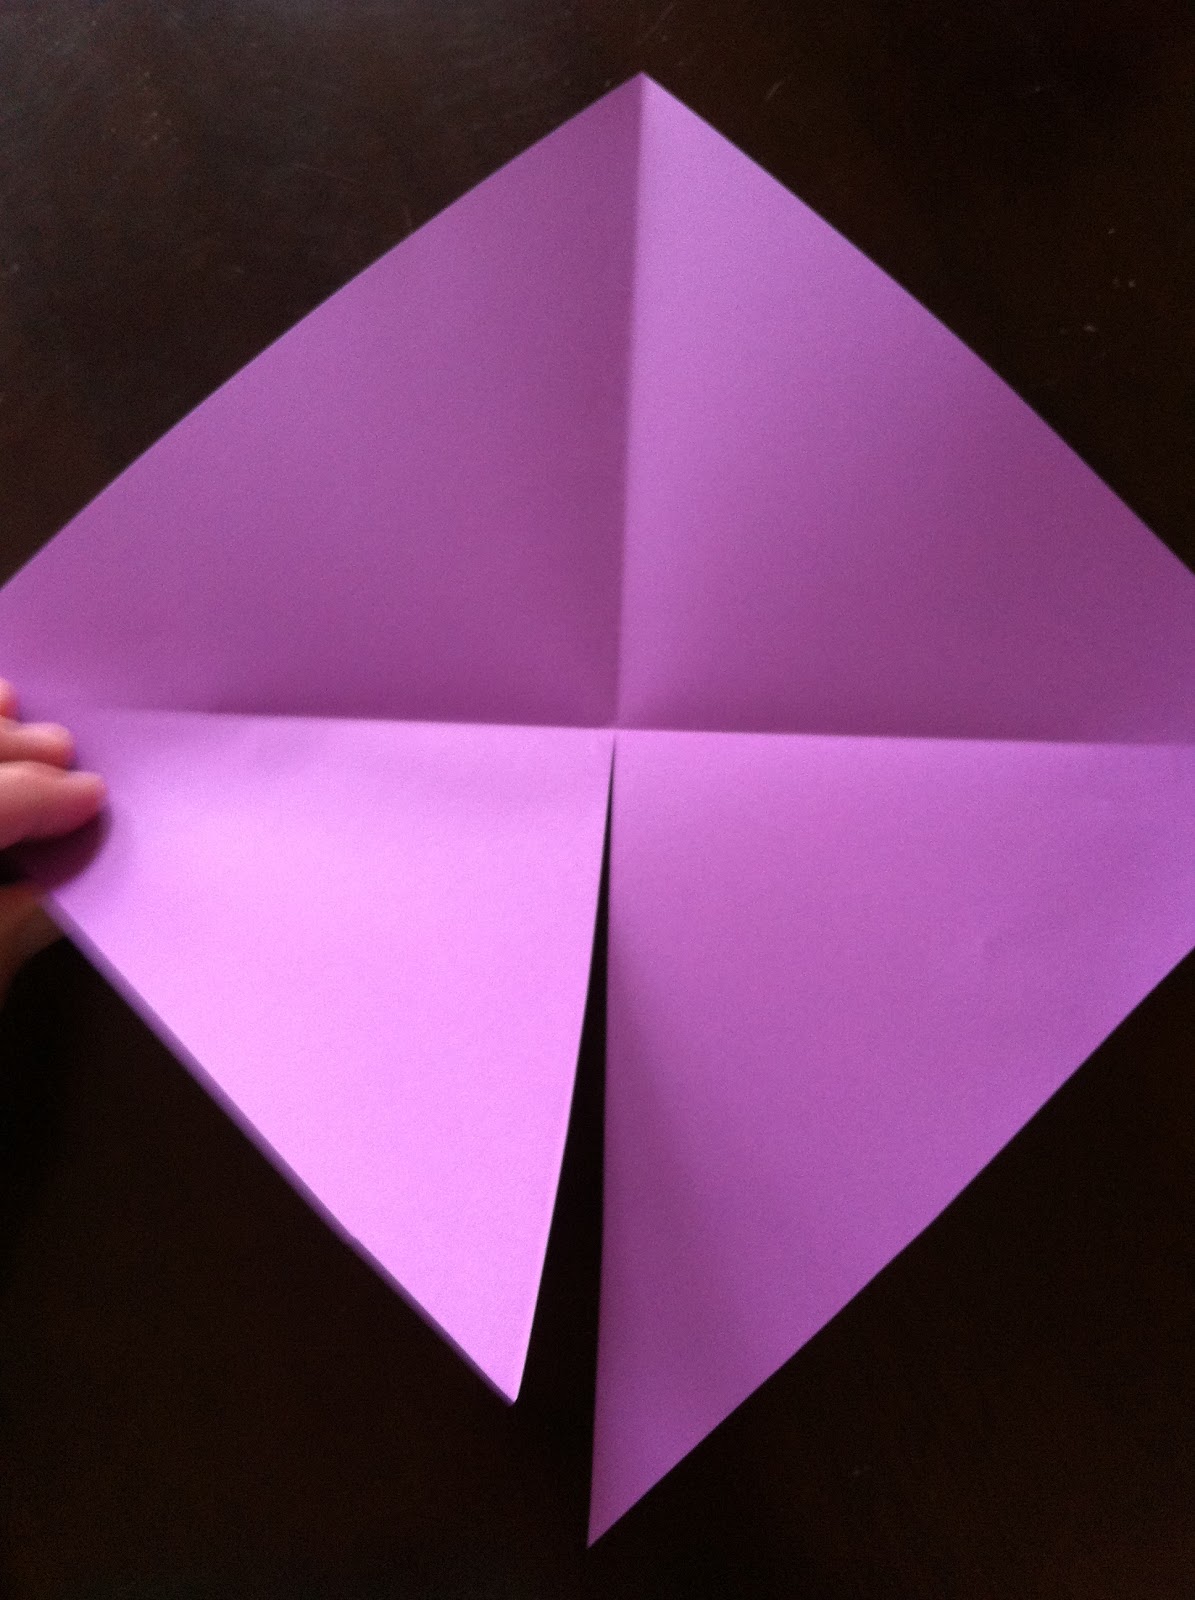
The next step is to cut on one of the creases, but only up to the center.
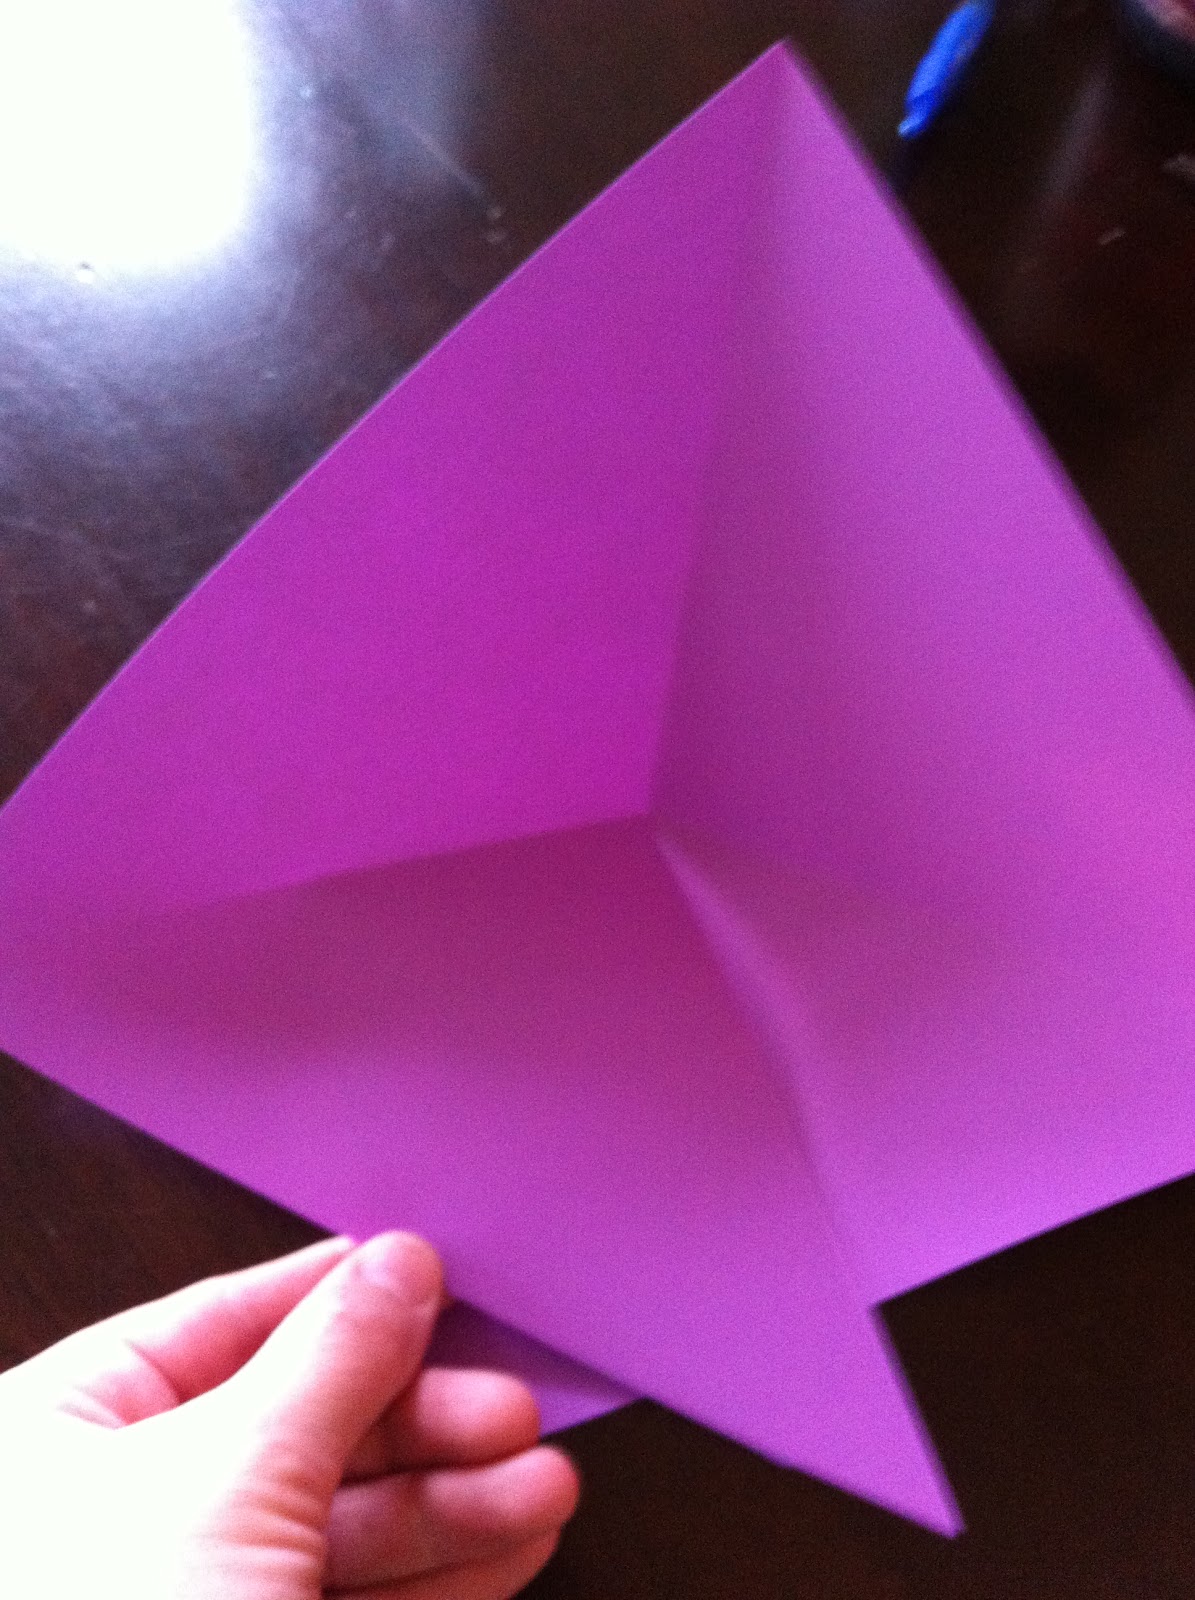
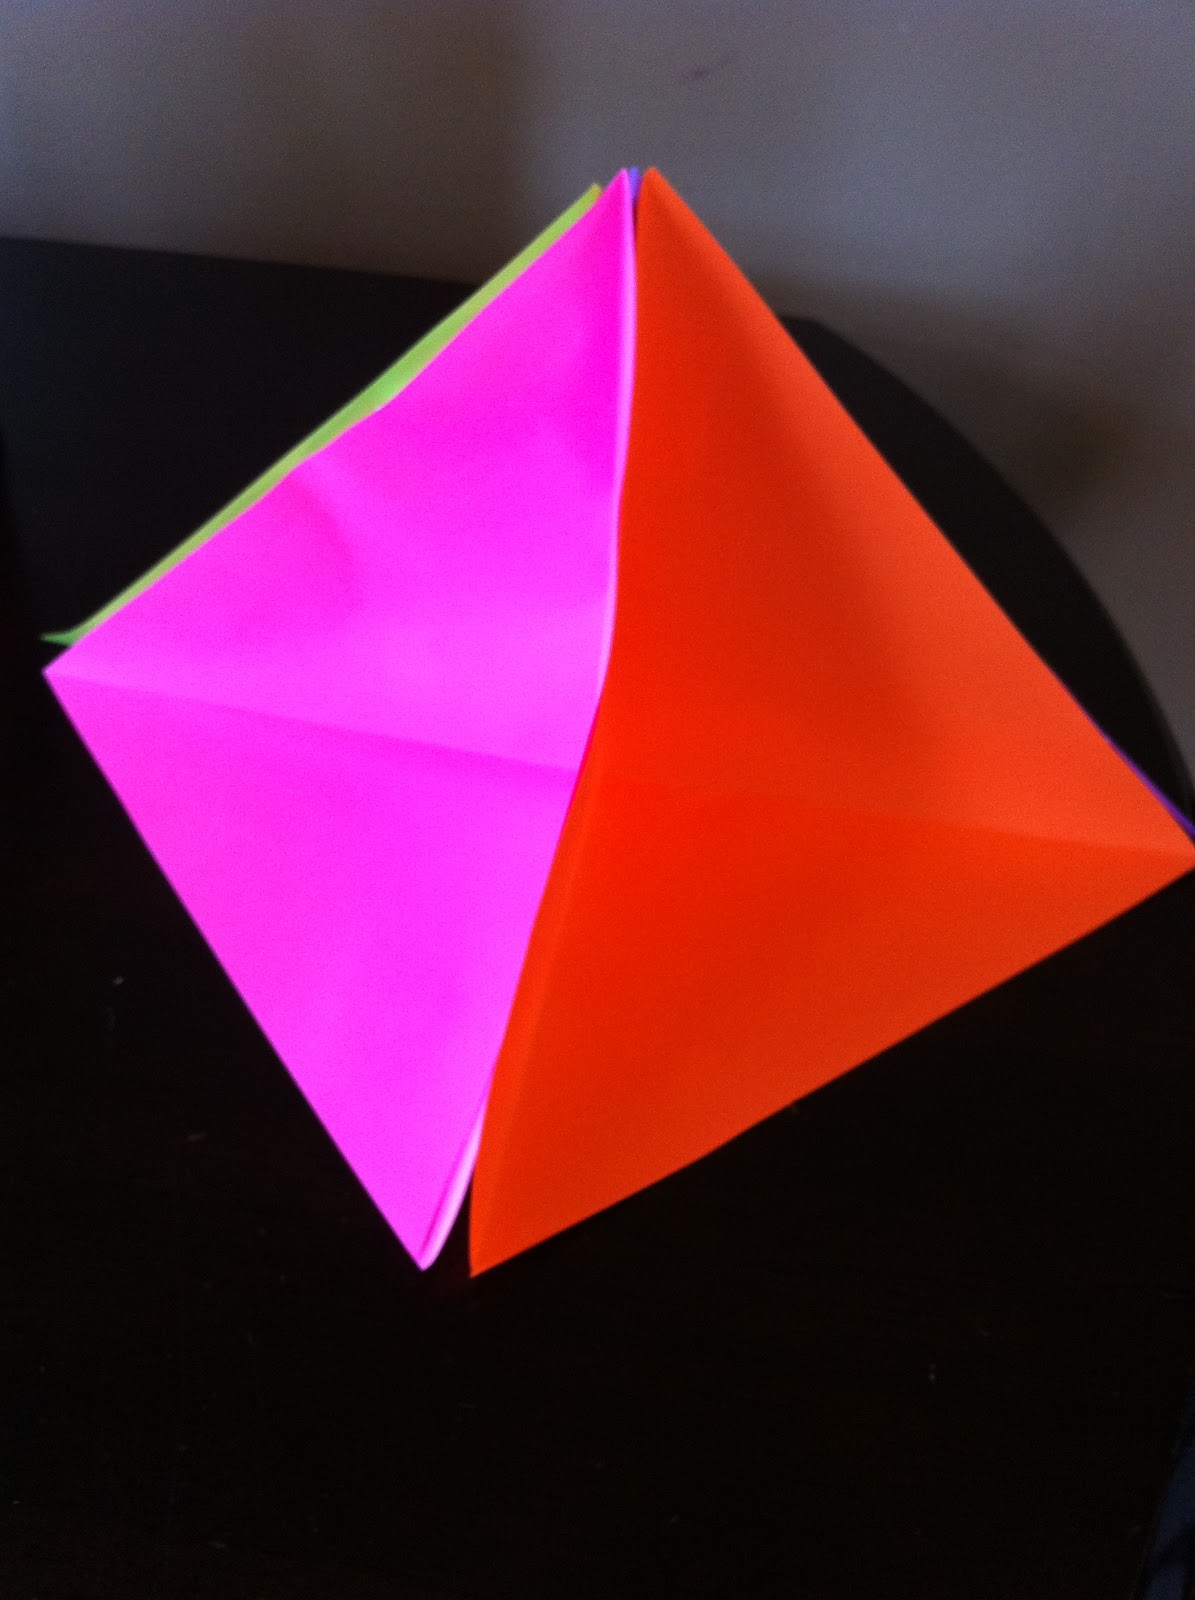
Now you place one flap on top of the other and glue them down to make one of the quadrants.
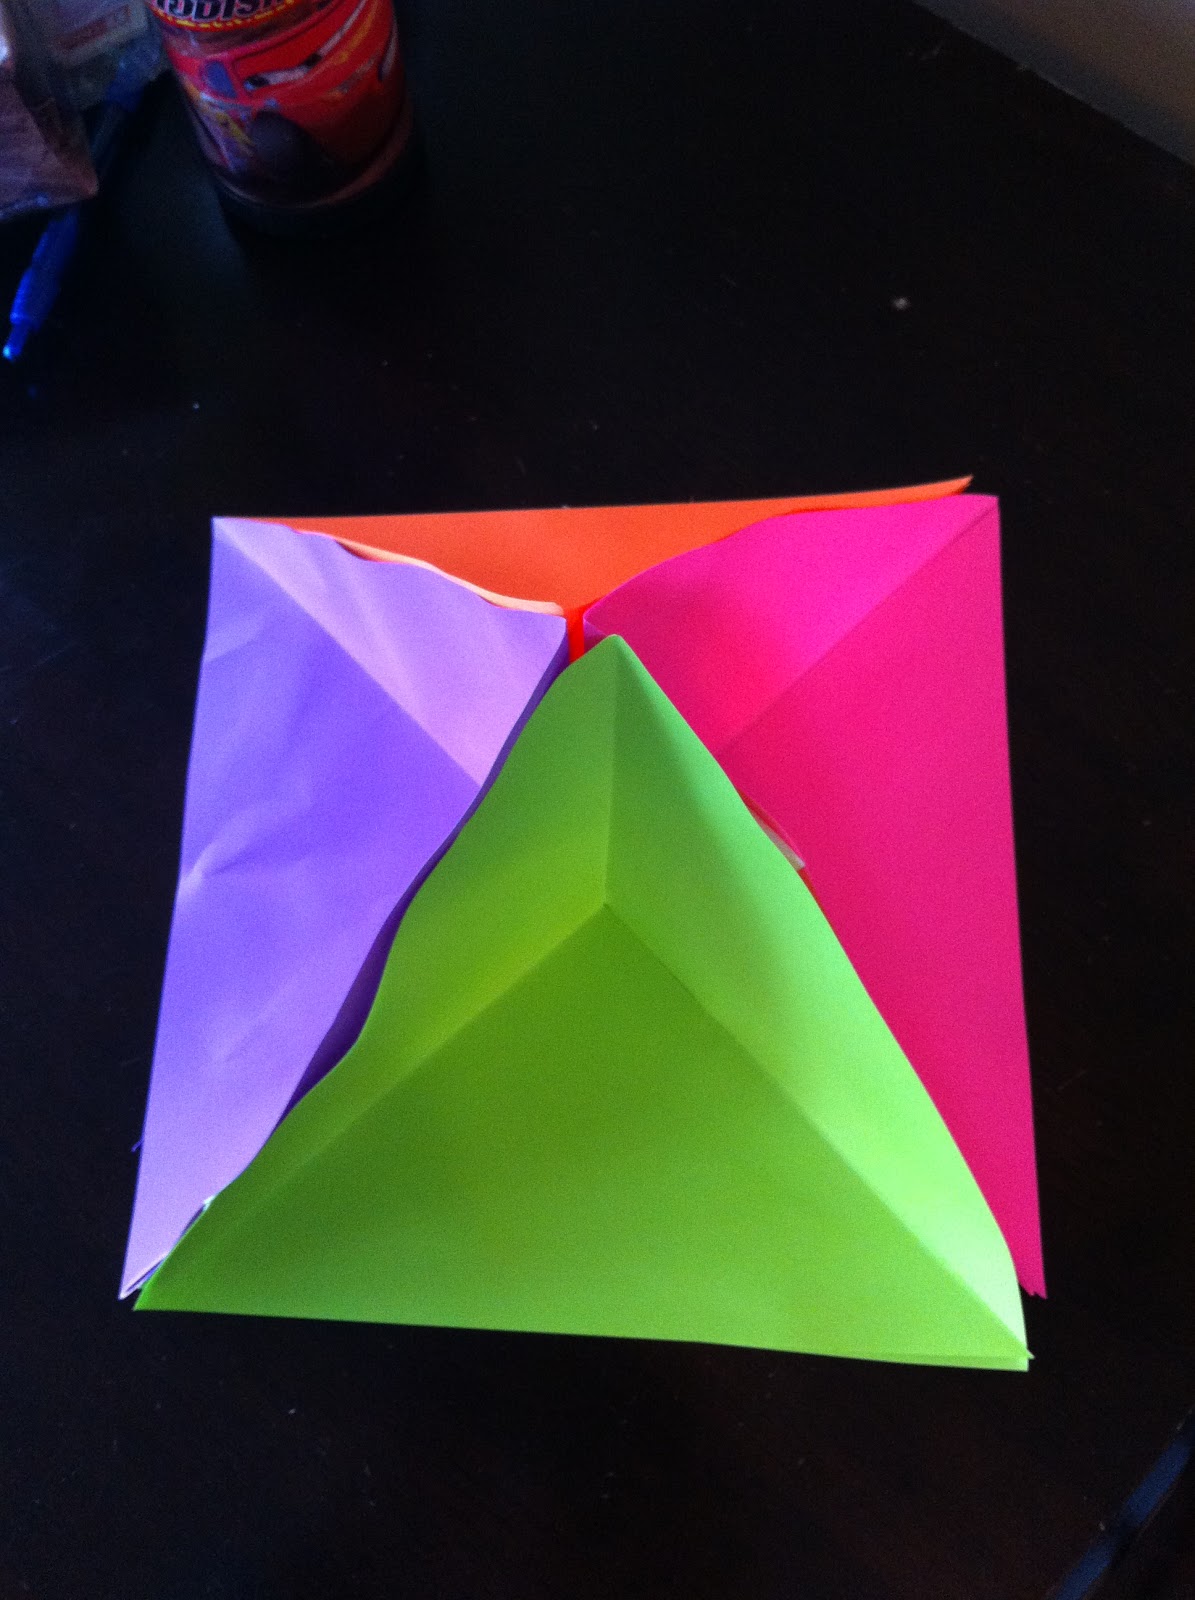
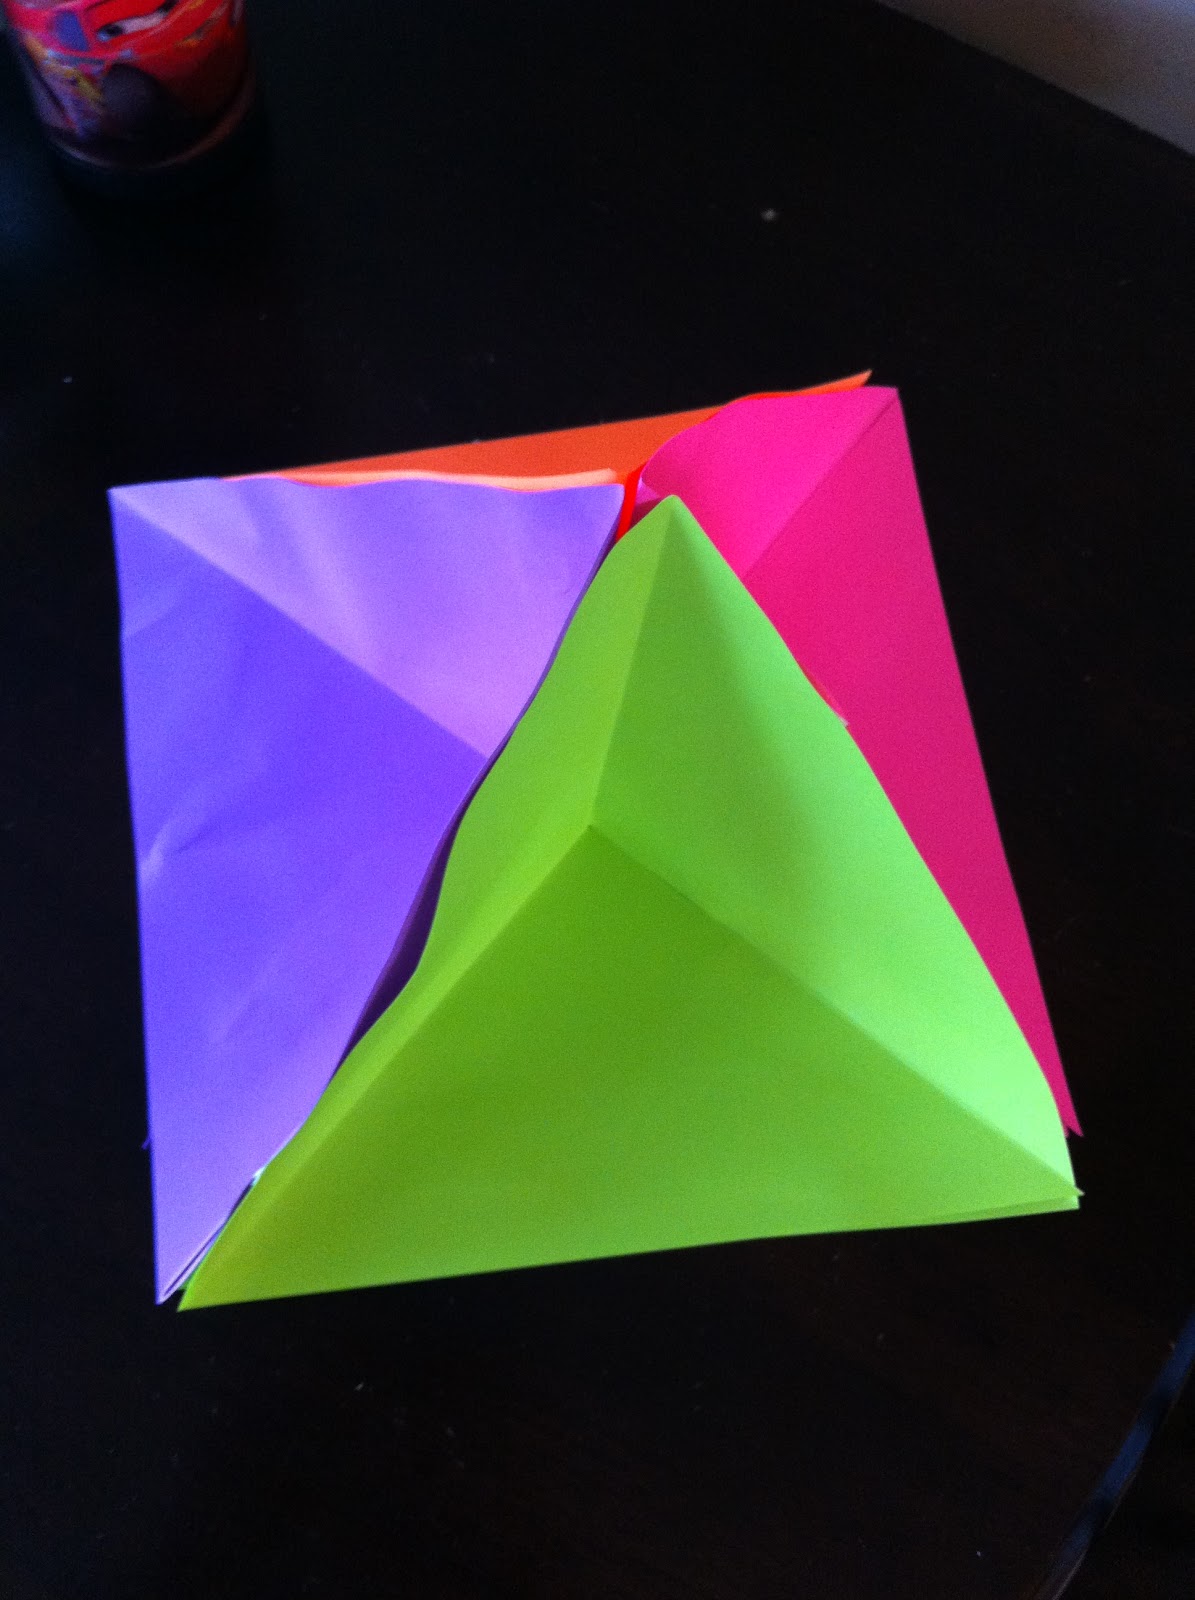
Then you can glue four of these quadrants together to form the quadrama. Colored paper makes for a neat effect.
Here’s a view from the top. Notice the paper wrinkled a bit; cardstock generally works better for these and will eliminate any wrinkles.
In each quadrant, students can create three-dimensional representations of any topic! You could represent a different country in each quadrant, facts about animals, parts of a story, and the list goes on. The possibilities for this project are endless!
{Helpful Tip!} If you make quadramas with your students, be sure to have them color the backgrounds and do any drawing BEFORE gluing the quadrant to make it stand. It will be very difficult to draw on after the bottom has been glued.
Last but not least, we had a very quick chat about wax museums. When I used to teach Grade 4 we did a wax museum each year, and they were always a hit! Each student dresses up as a famous person (in our case, we did famous Canadians). They each research their “person,” develop a monologue, and get a costume together. On the day of the wax museum, students dress up as their character and stand completely still in one area of the classroom. Students from other classes, as well as parents, can then wander around and press each person’s button (drawn on a piece of cardstock by each student). The student then becomes “unfrozen” and recites his/her monologue. This is always a blast and is very well received by parents and other students in the school.

9 Comments
Shelley! I cannot believe that I missed this SAGE session – and i'm even in the same city too! 🙁 Your ideas look fabulous and go with my "Me On A Map" unit that i'm doing right now. I can't wait to get my hands on Erin's booklet for Canada 🙂
Kaleigh
✿ Kaleigh's Klassroom
Hi Kaleigh! Thanks so much for your compliments 🙂 I will be presenting at SAGE again next year, so be sure to get in touch with me and I'll let you know which session I'm doing. It would be great to meet you!
Shelley
Thanks for the shout out, Shelley! I wish I could have been there! You shared so much information! 🙂 You are fabulous, friend!
Love the layered 'me on the map' activity!
I love the planet activity, thank you for sharing!
Thank you for sharing your fantastic teaching resources and ideas.
You’re very welcome Cheryl! Thanks for stopping by!
Thank you for sharing your fantastic teaching resources and ideas.
I really love that you show the variations your group came up with for each of these ideas, it’s wonderful to see all the different directions you can go with just one core idea!