

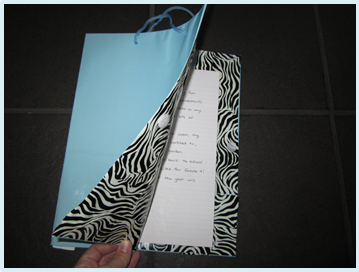
What do you get when you cross a gift bag with a few brass fasteners, some duct tape and a stack of lined paper? Why, a gift bag journal of course!
This really is one of the neatest projects that I have ever done with my students. I did it with a group of grade fours, and I will warn you, that some of the steps were a bit difficult even for them, but if you have classroom volunteers at your disposal, this is a great project!
This project is exactly as it sounds. It is a regular old gift bag, transformed into a journal that students will love to write in! I have outlined the entire process of making the journal below, with about a zillion pictures. Enjoy!
Would you rather watch the video tutorial? View it on YouTube here:
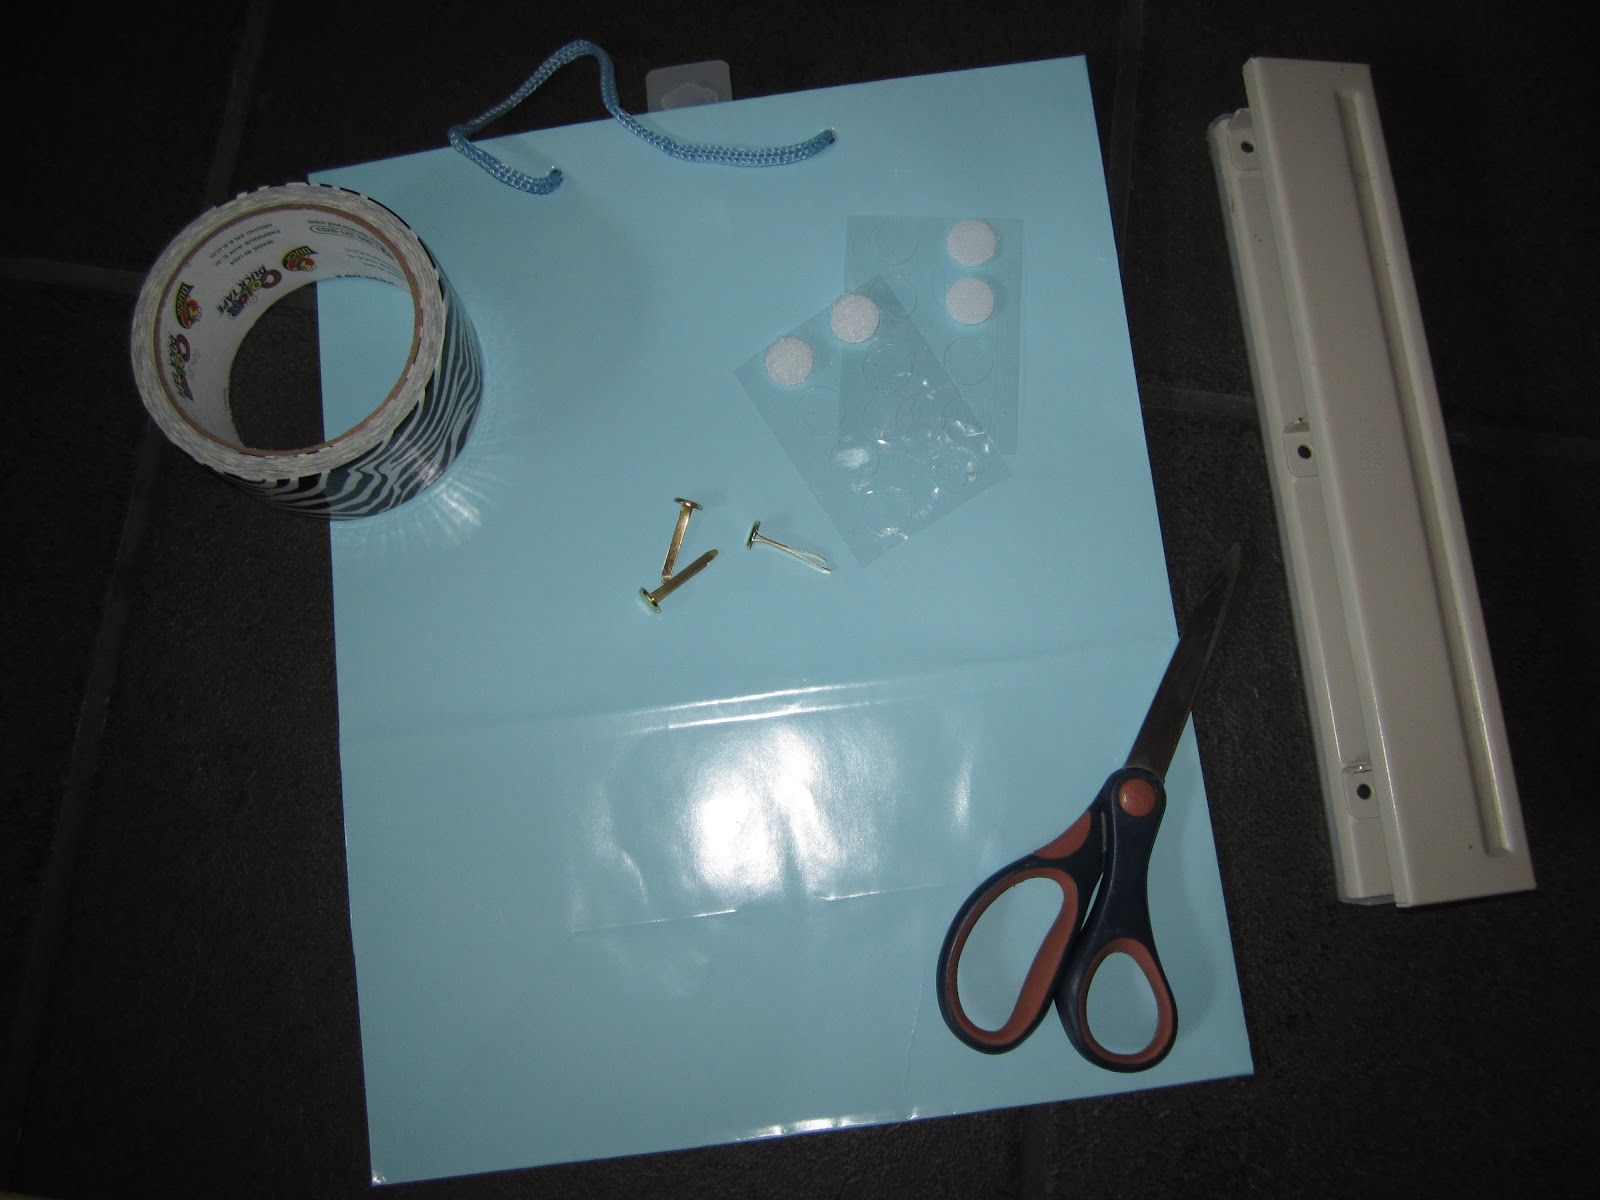
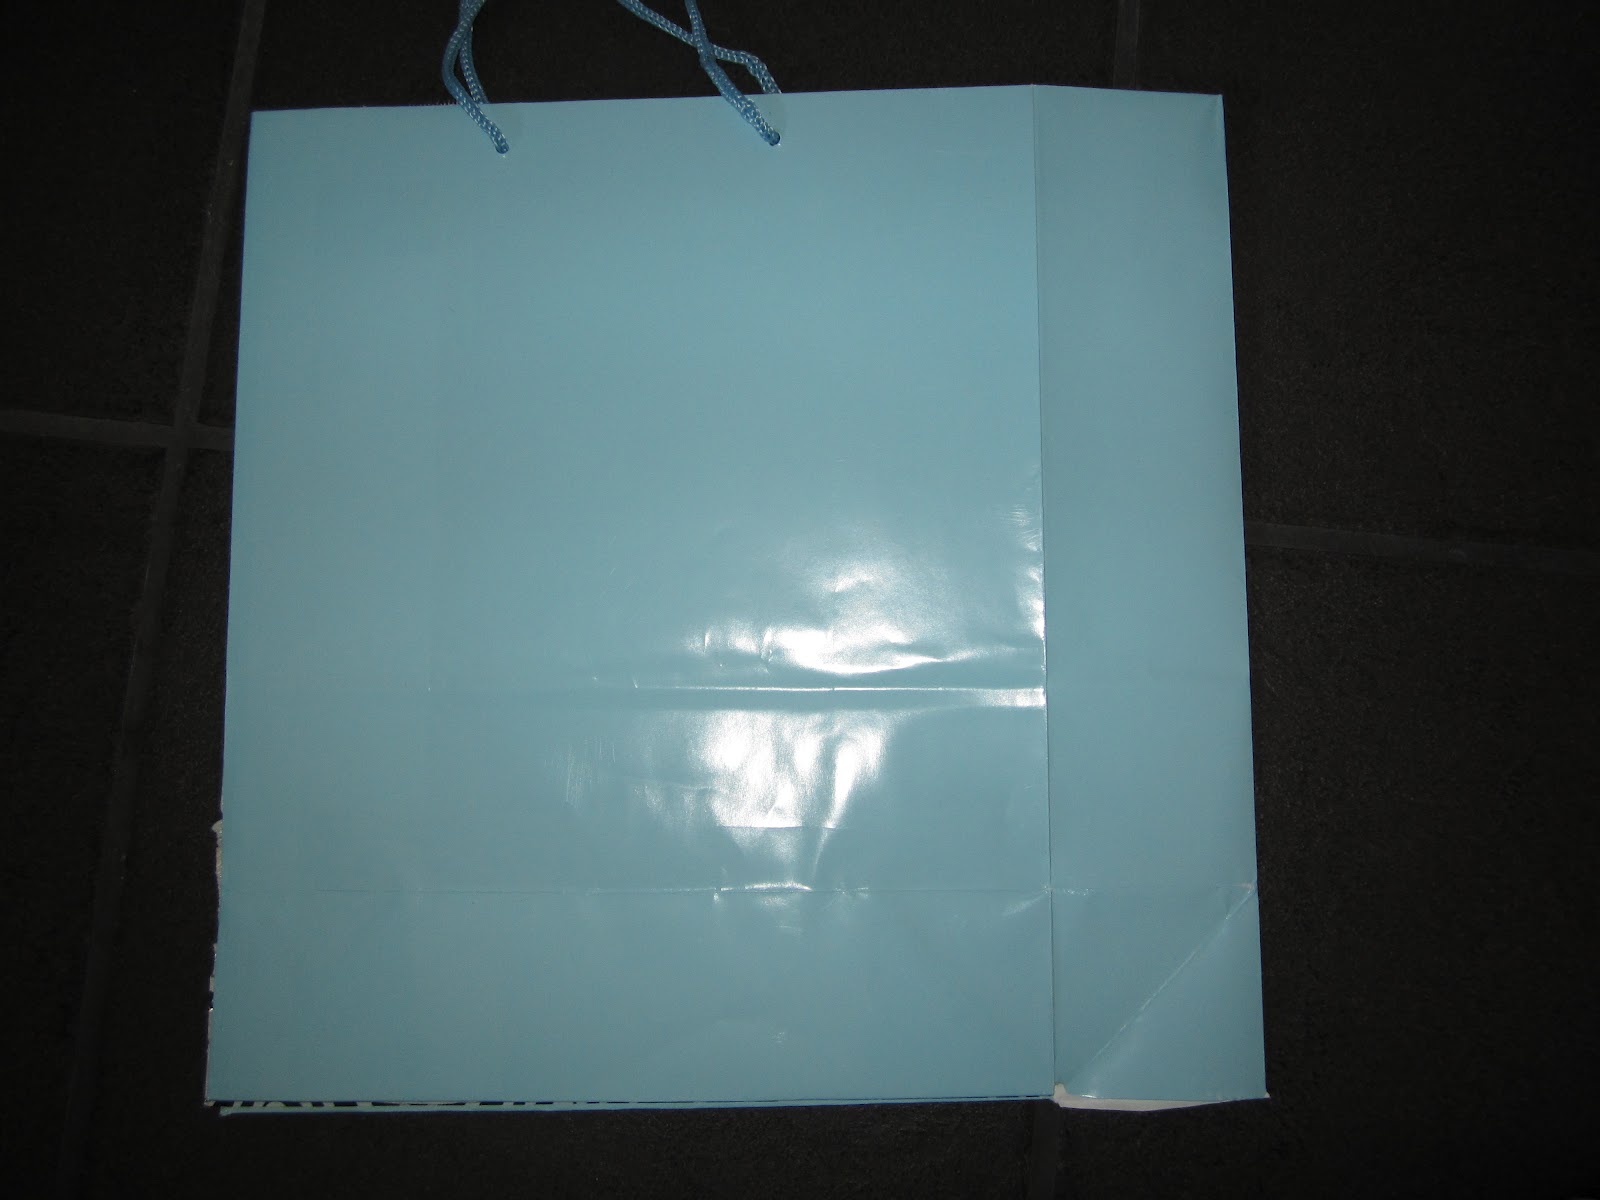
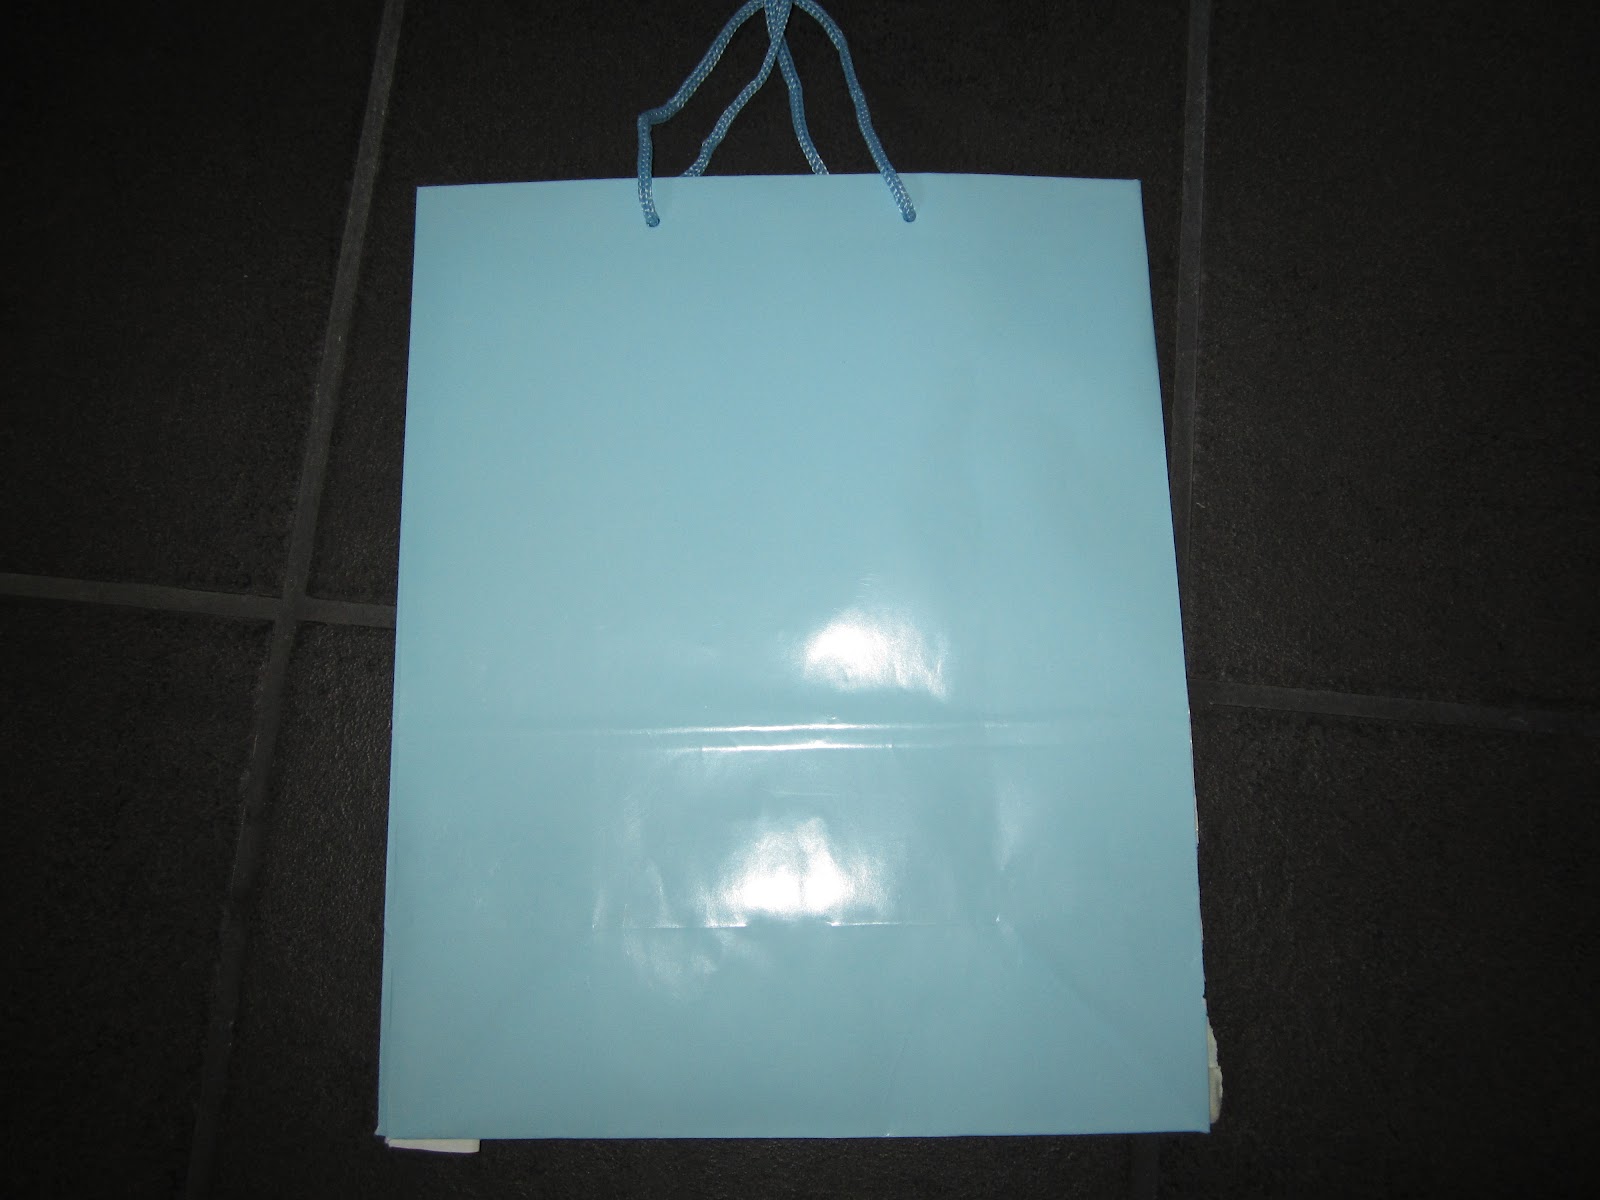
First things first, you will need to gather your supplies. Of course you need a gift bag. If you want your journal to hold regular lined paper, you should use a gift bag that is approximately 11 inches wide by 13 inches tall. You will also need three brass fasteners, a piece of Velcro, and some duct tape. I like to use the decorative duct tape rather than the plain old grey color. Because really, who doesn’t love zebra-striped duct tape?
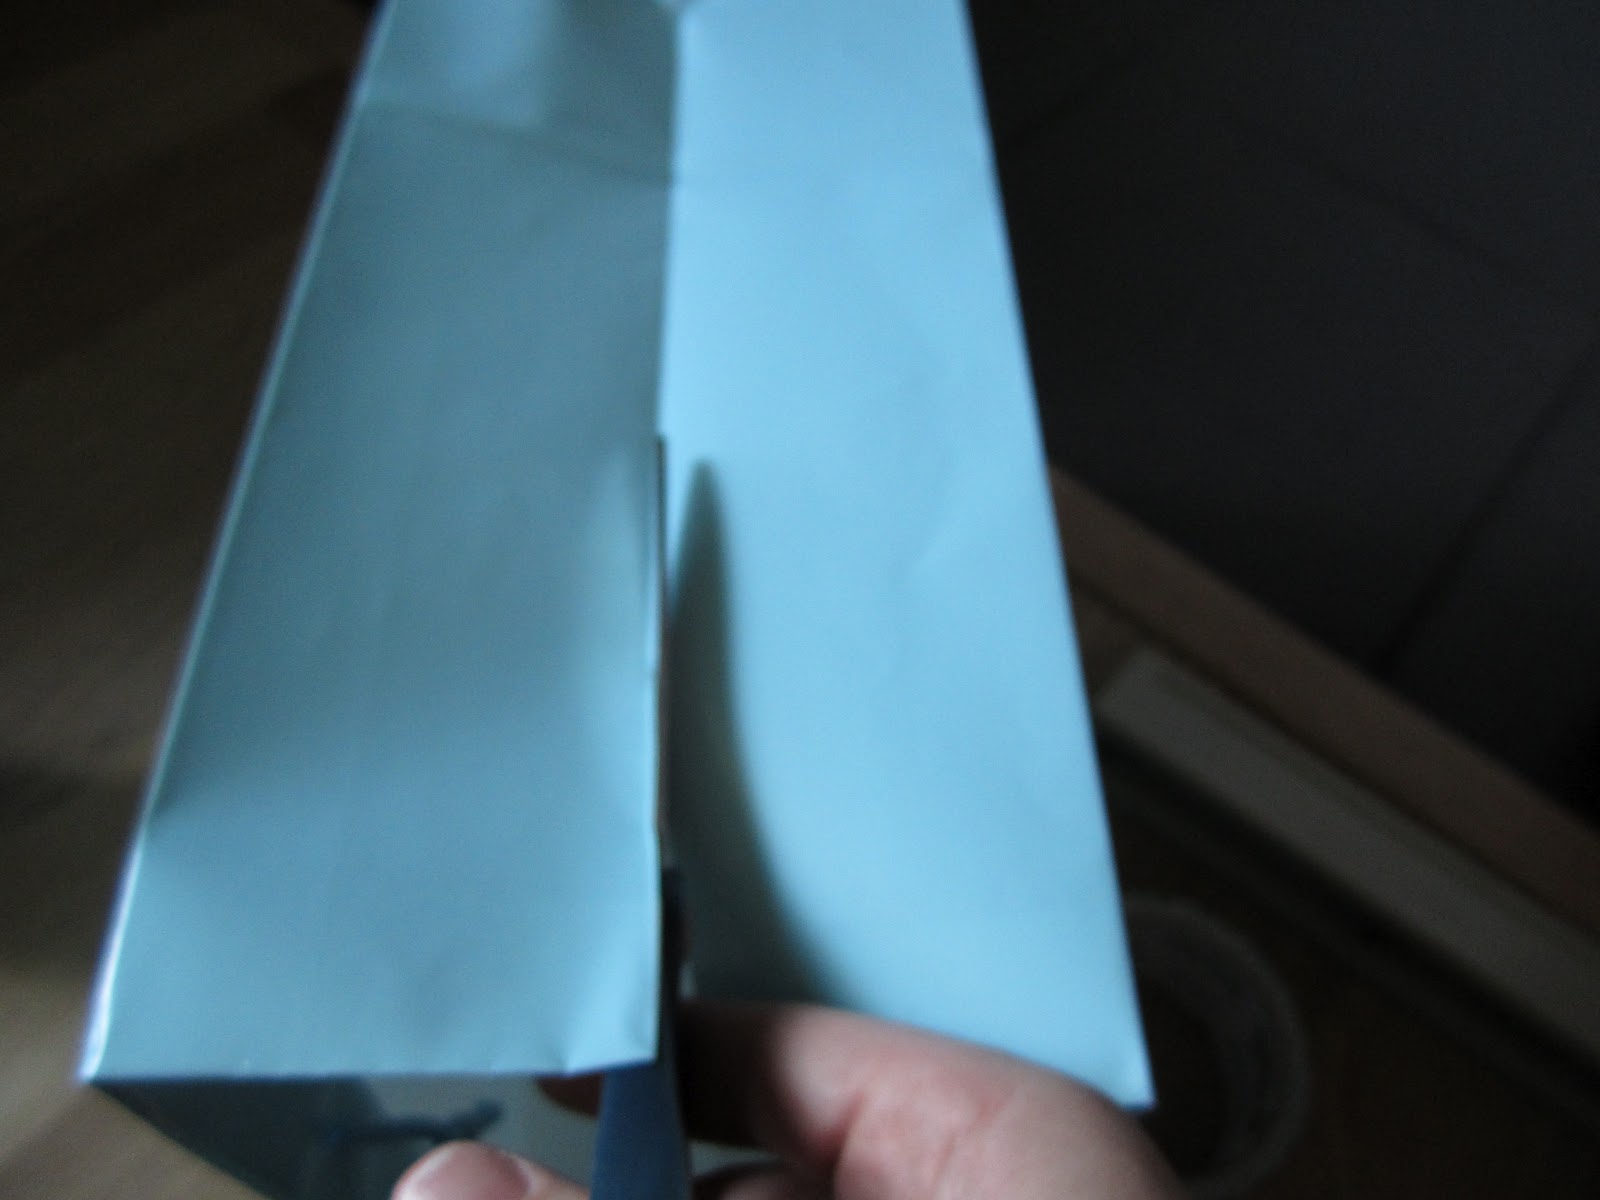
Open up your gift bag and remove the hard piece of cardboard from the bottom. Then tip the bag up on its side and cut down one of the sides, as shown in the pictures below.
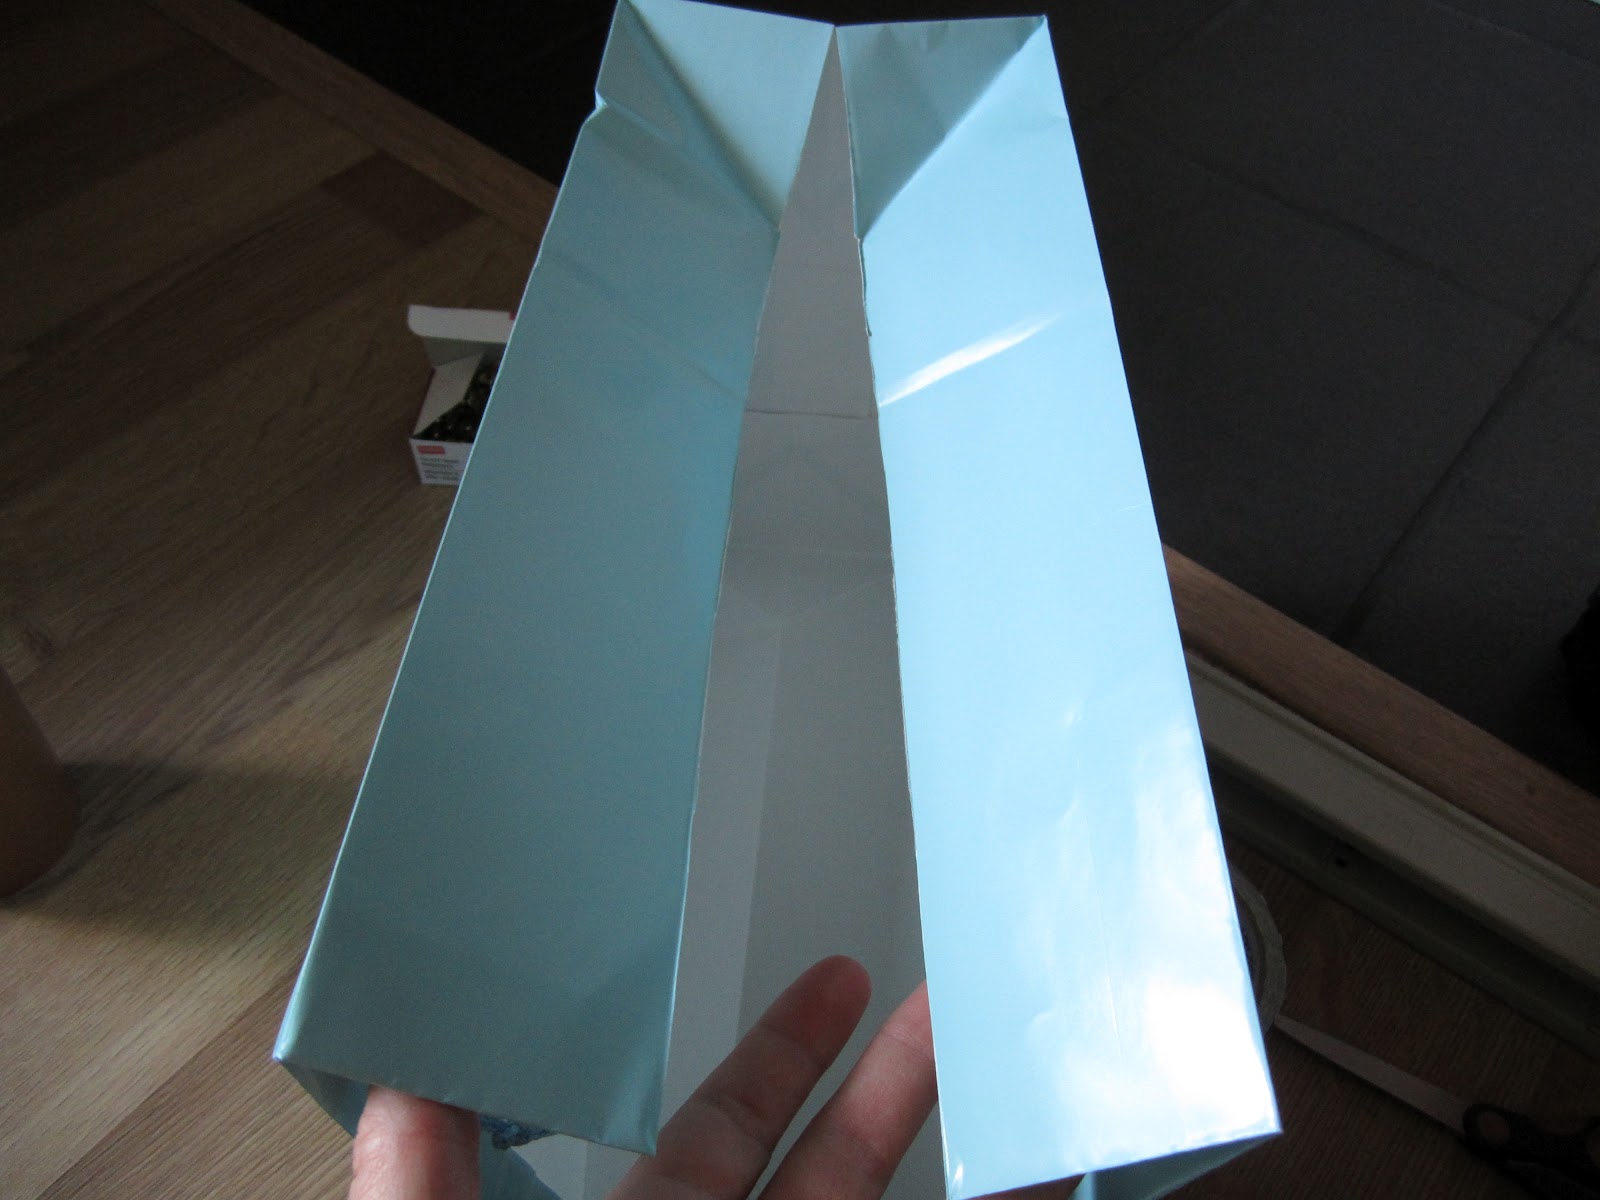
Now you need to cut on the folds of each bottom corner. You will need to do four cuts altogether, so that your gift bag will lay like this.
Next, fold up the bottom flap. I like to fold in the corners to make it a bit neater. Both bottom flaps should look like this:

Now tape down those flaps that you just folded.

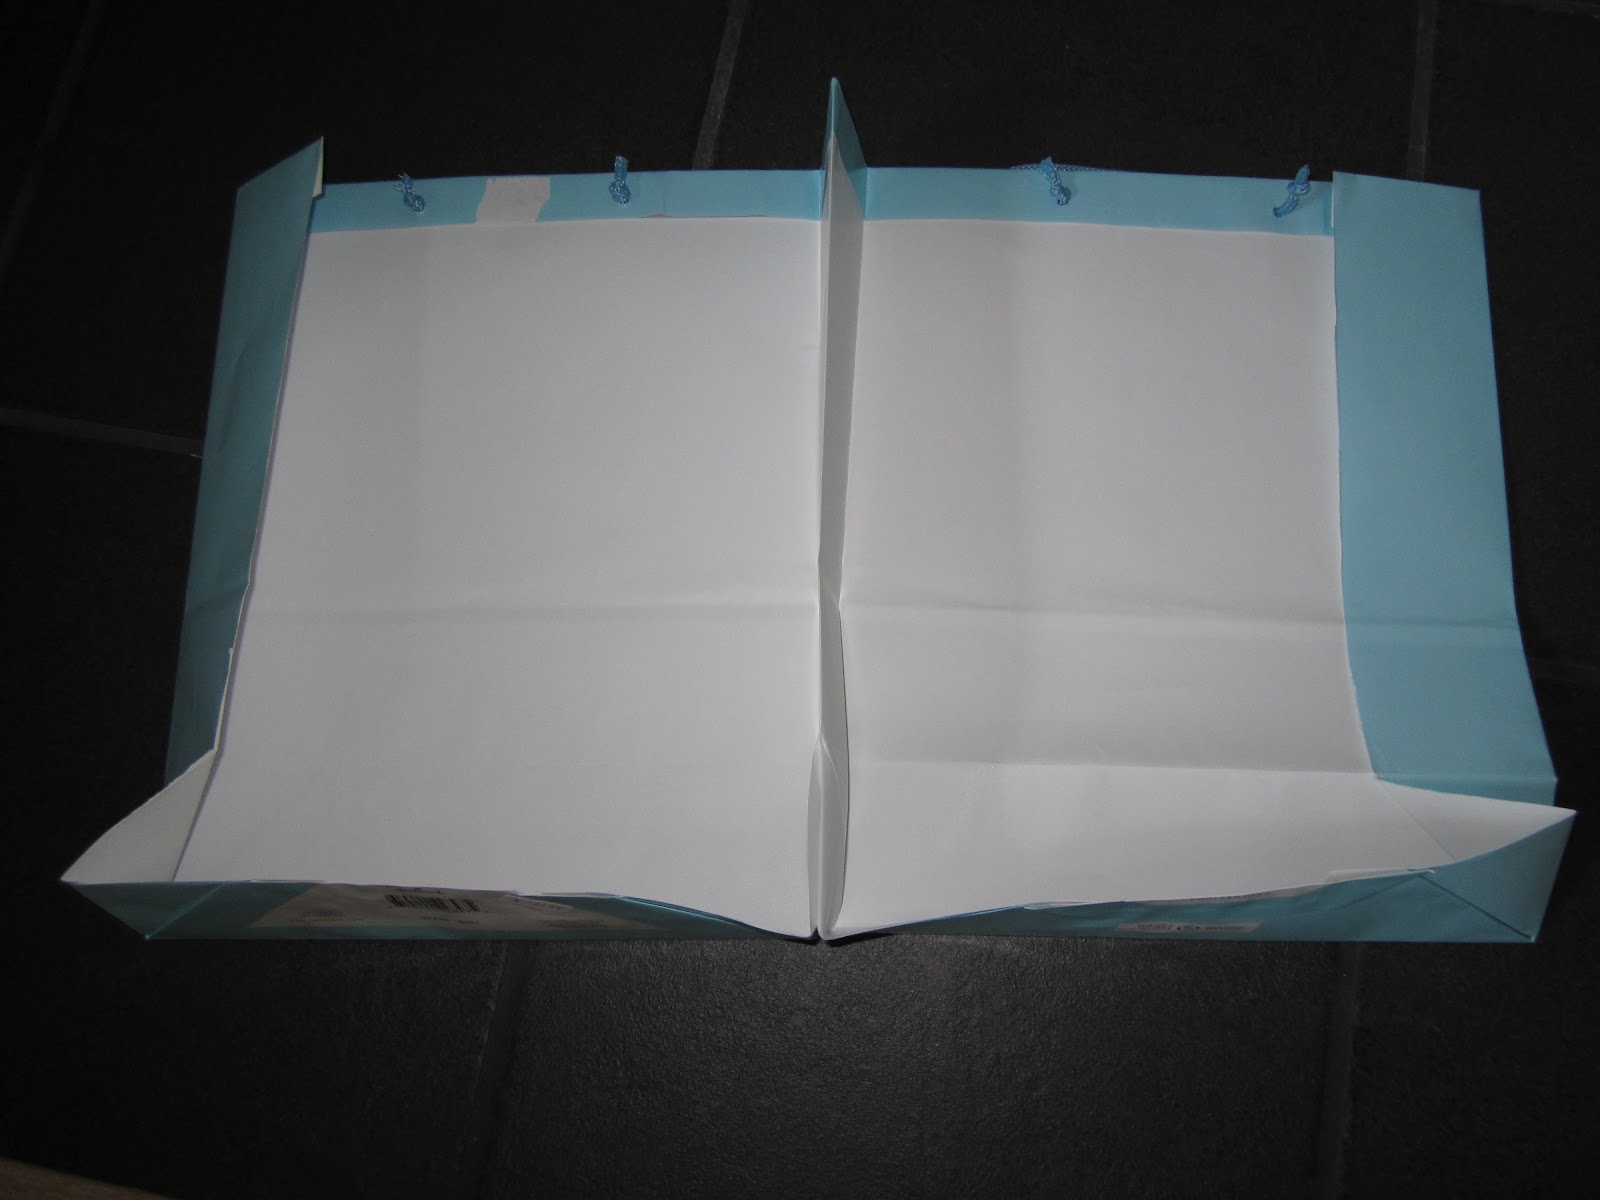
Now it is time to fold down the side flaps on each side. You will do exactly as you did with the bottom flaps:
…and then tape them so that it looks something like this:
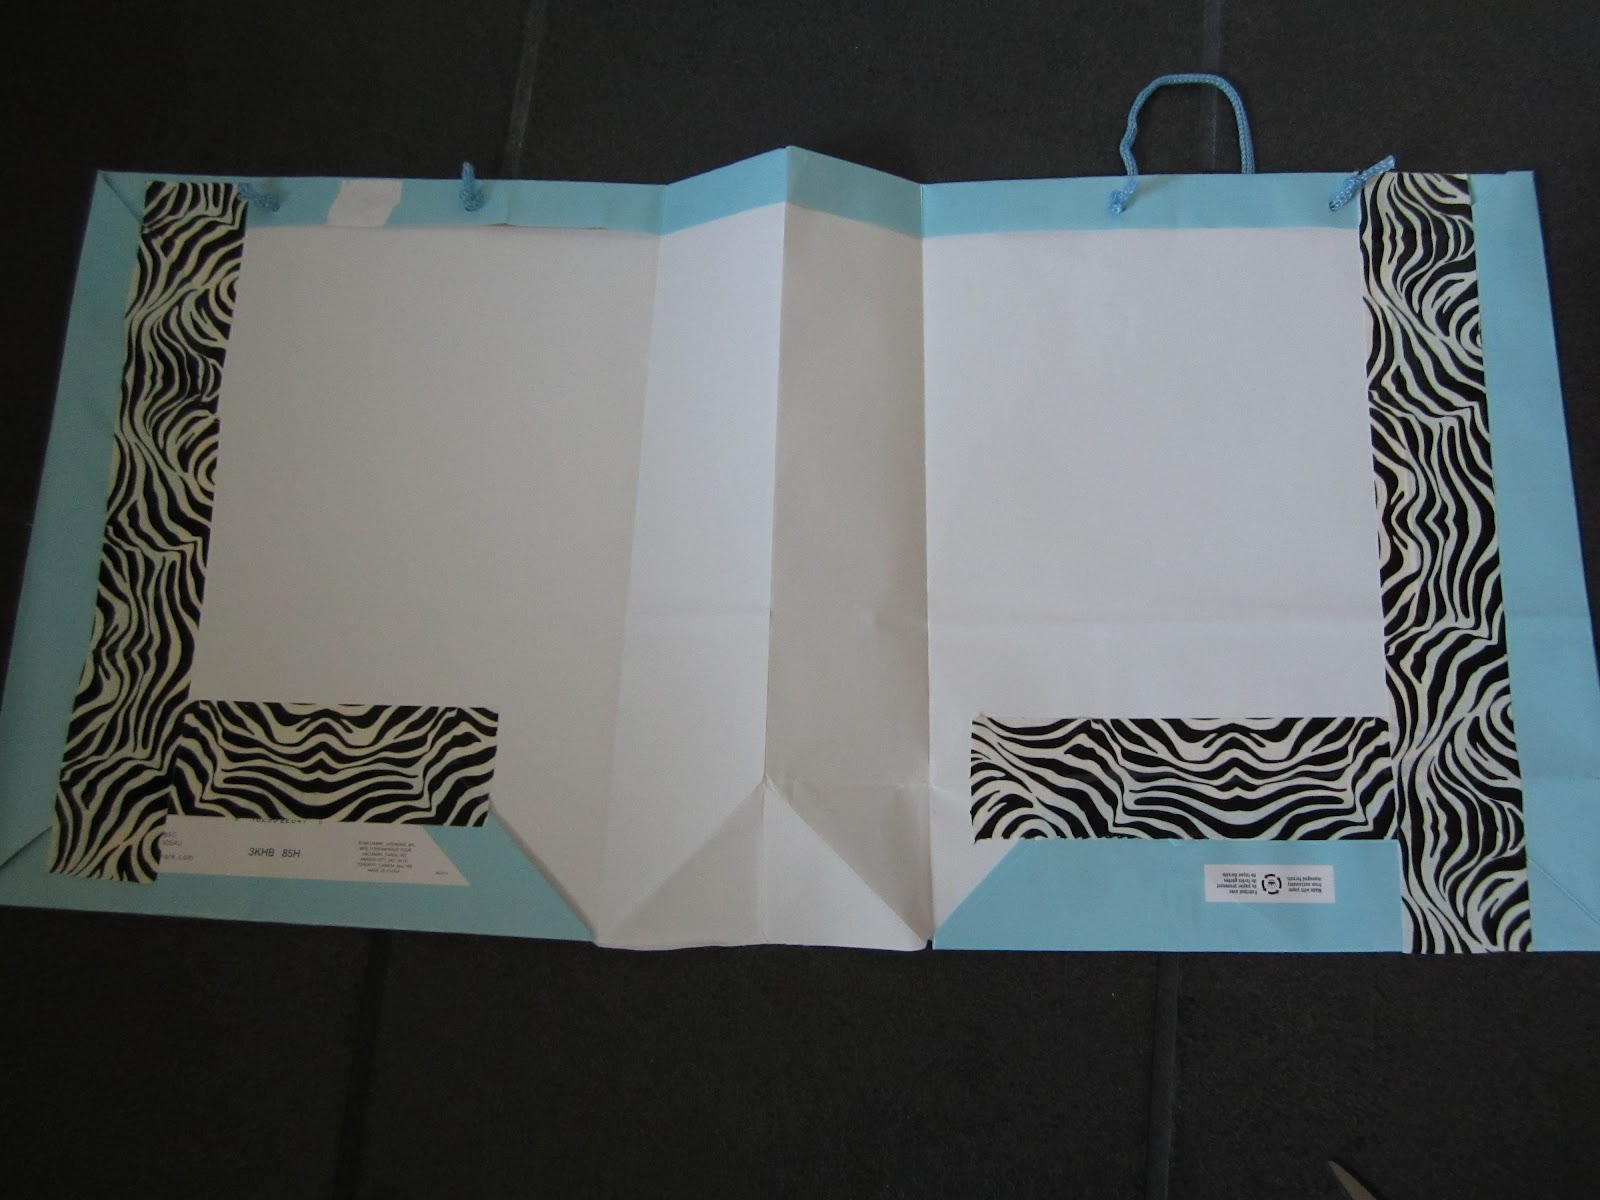
To get a more finished look, I added a few more strips of duct tape.

Okay, here comes the hard part. Stay with me here.
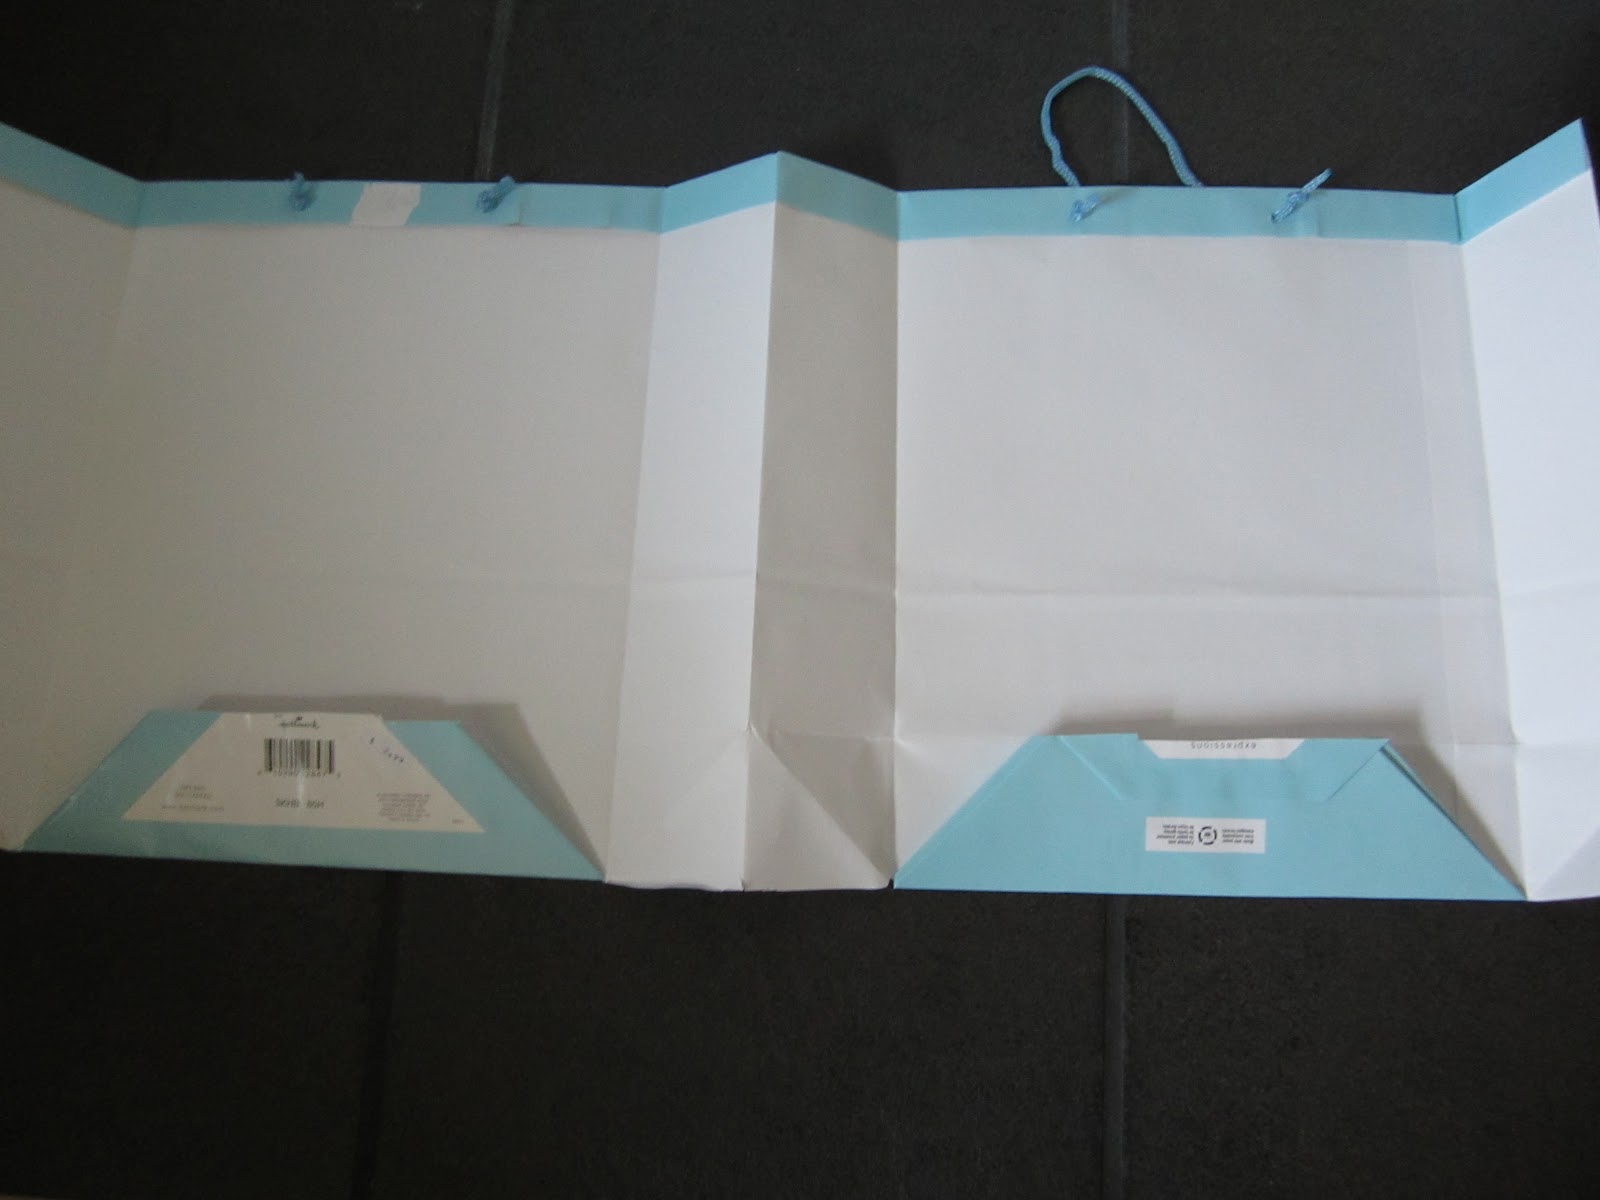
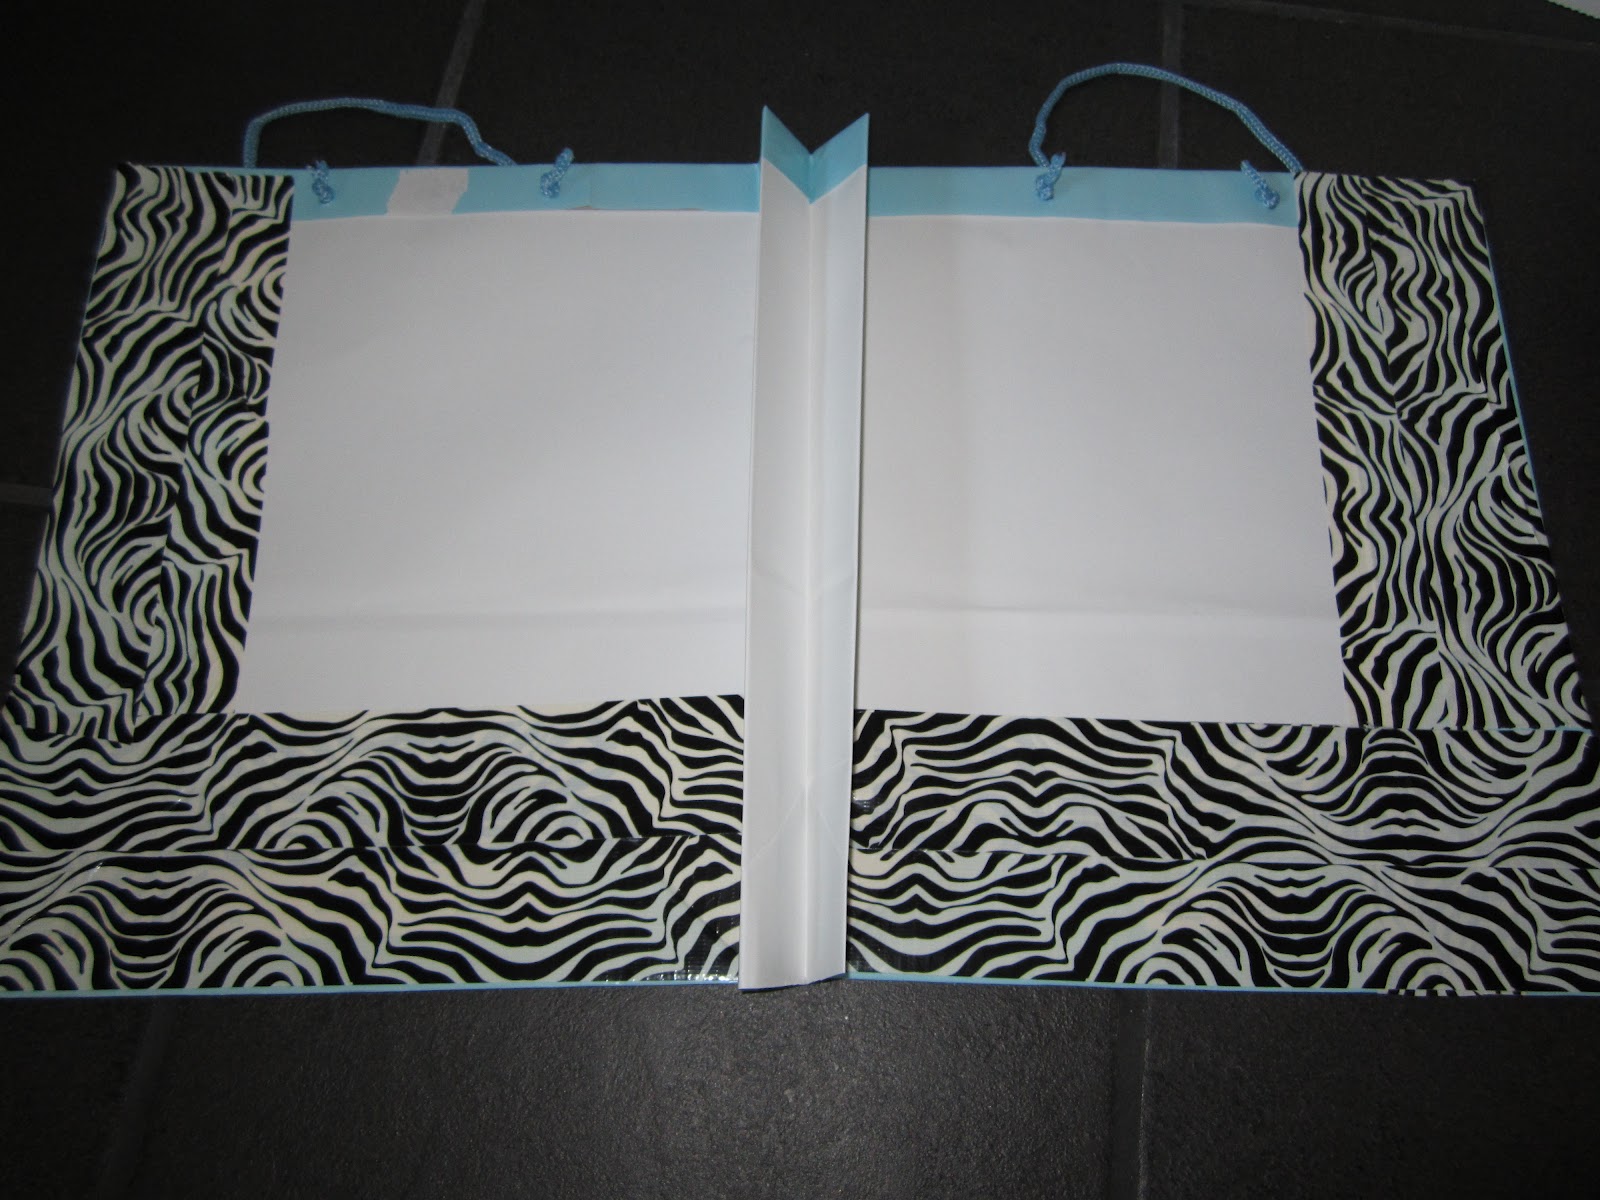
We are going to make the center of the gift bag into a duo-tang type holder so that it will hold paper. First fold the bag right in half like this:
Then you fold the right side back, leaving a small fold in the center. The pictures below will help this make more sense:
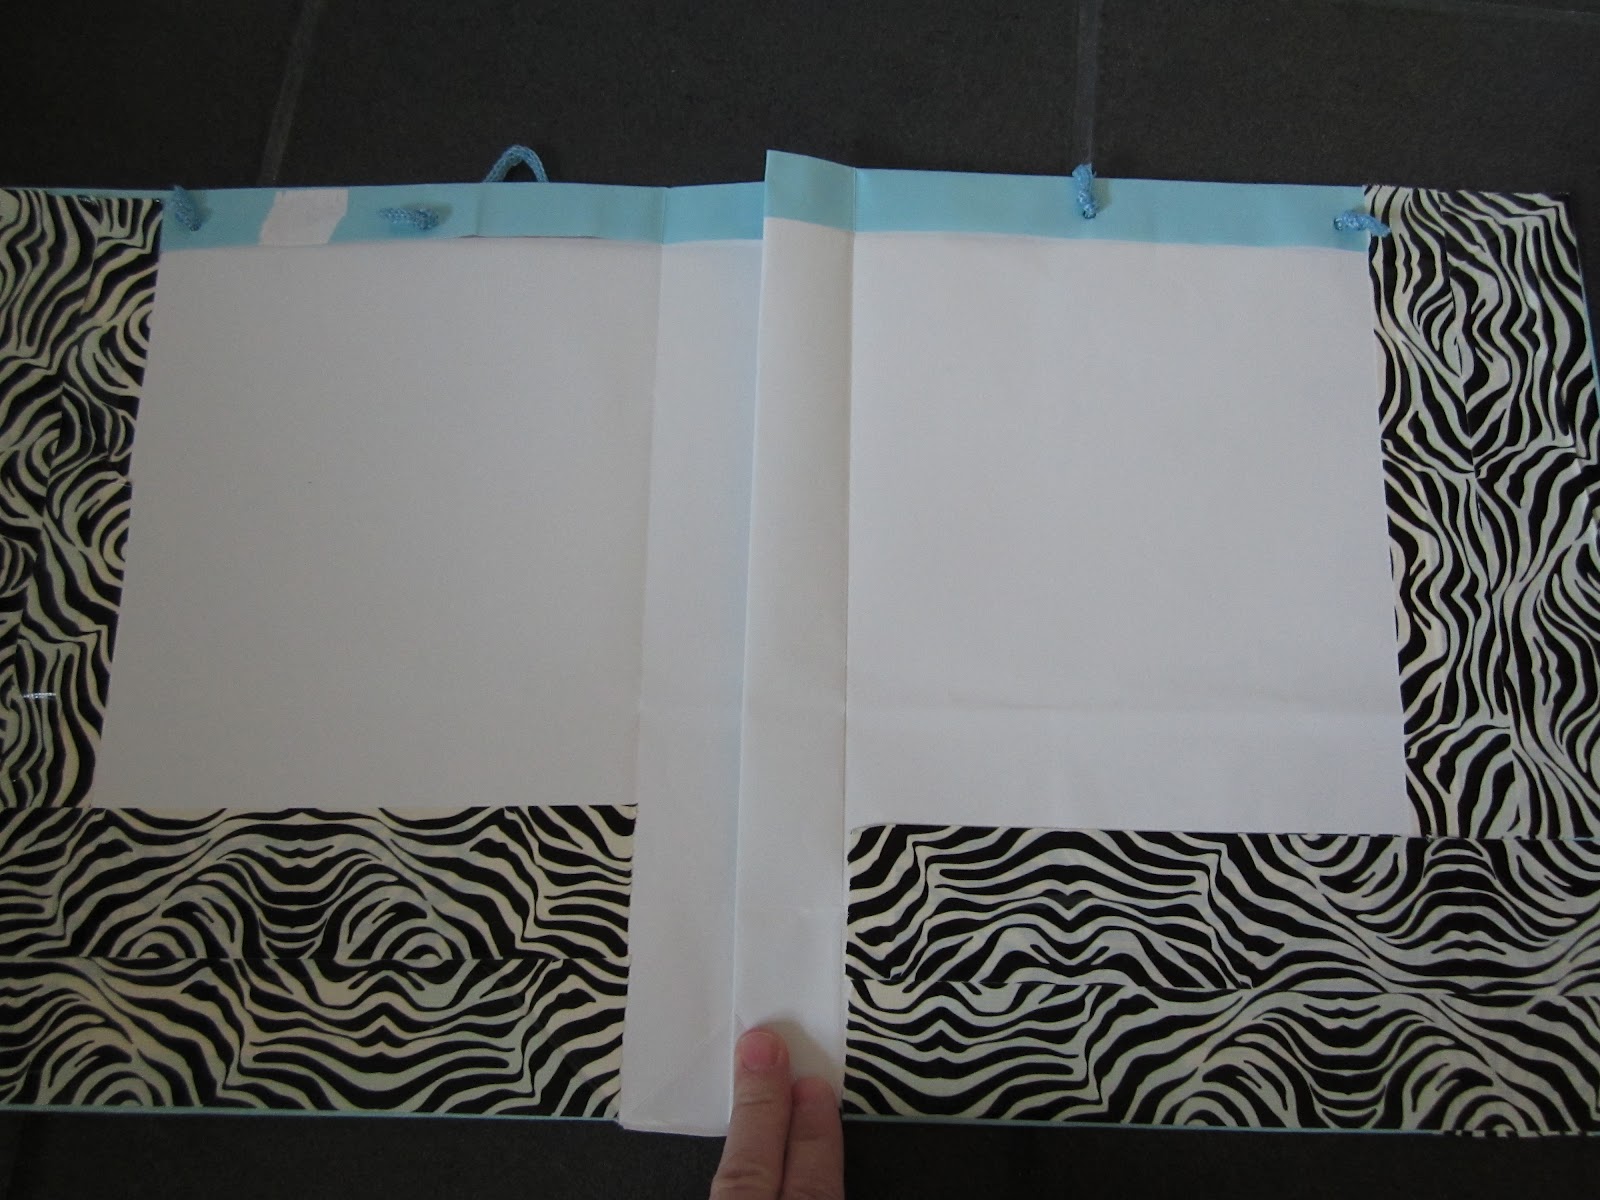
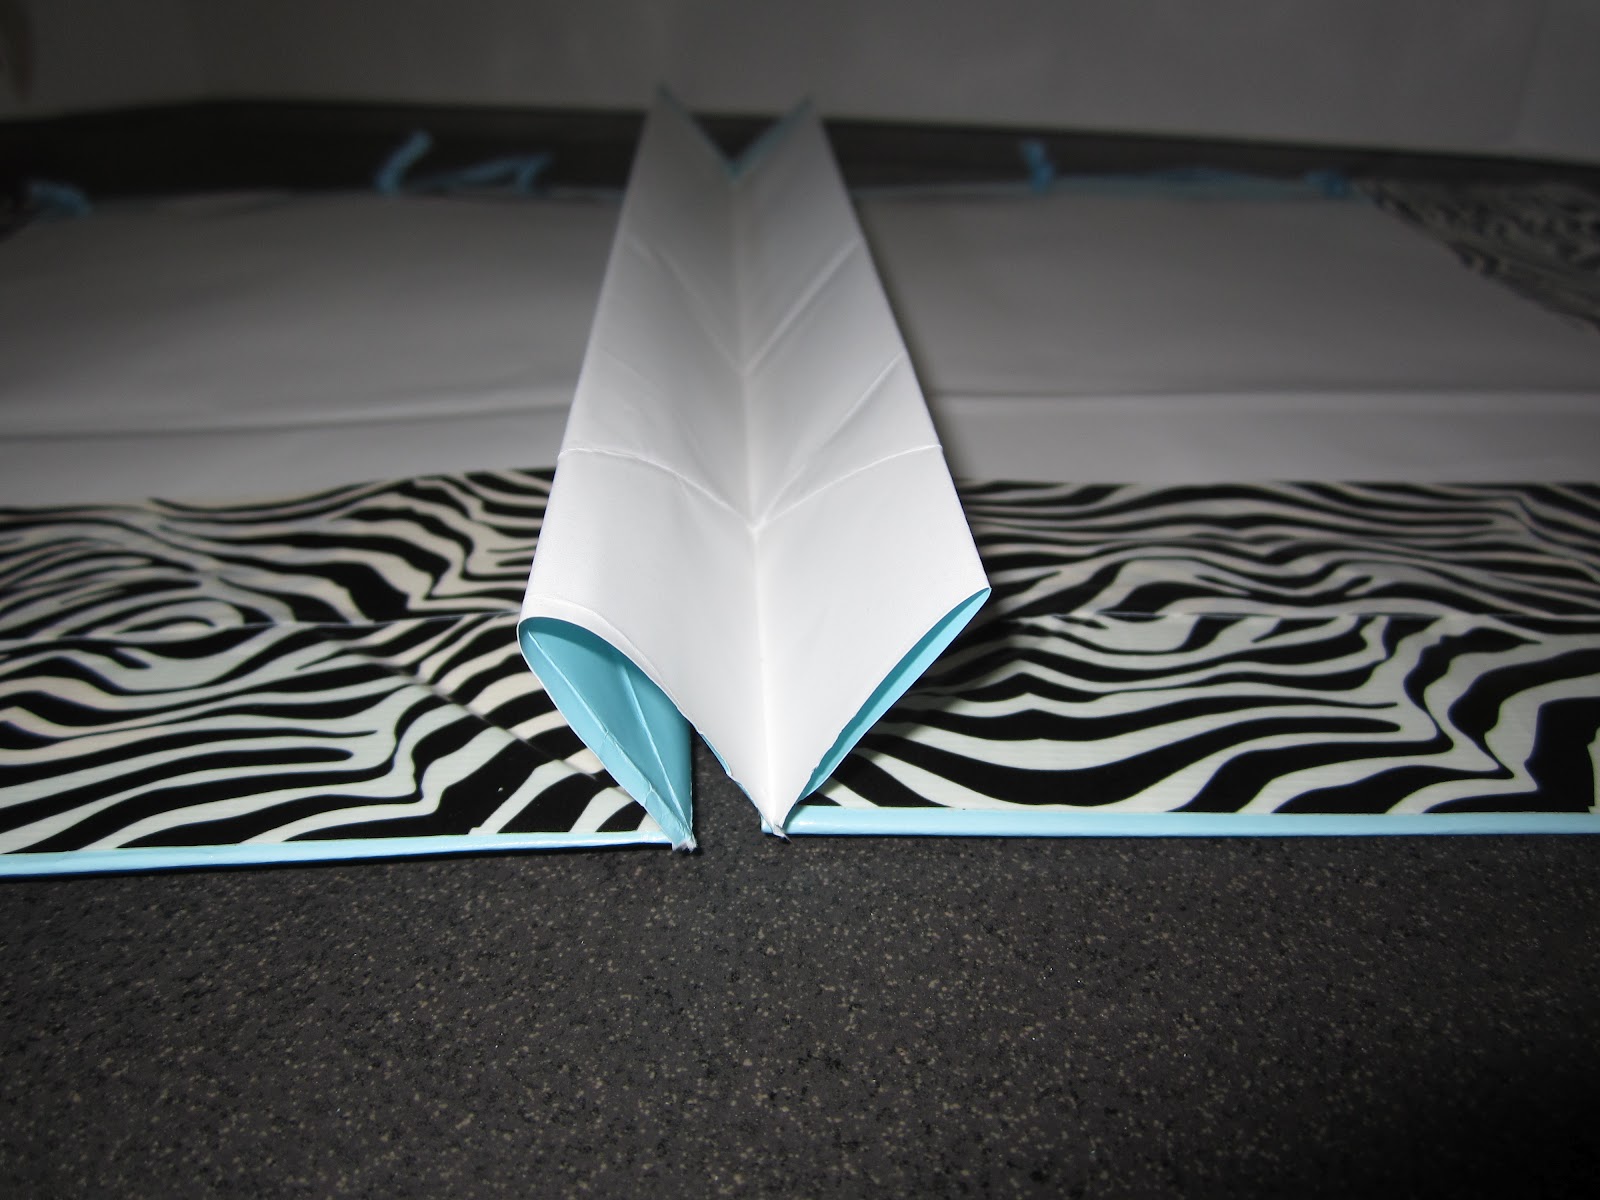
Now we need to do the same thing to the other side. In essence, you are folding half of the center piece in half again to create a spot for the paper to be held.
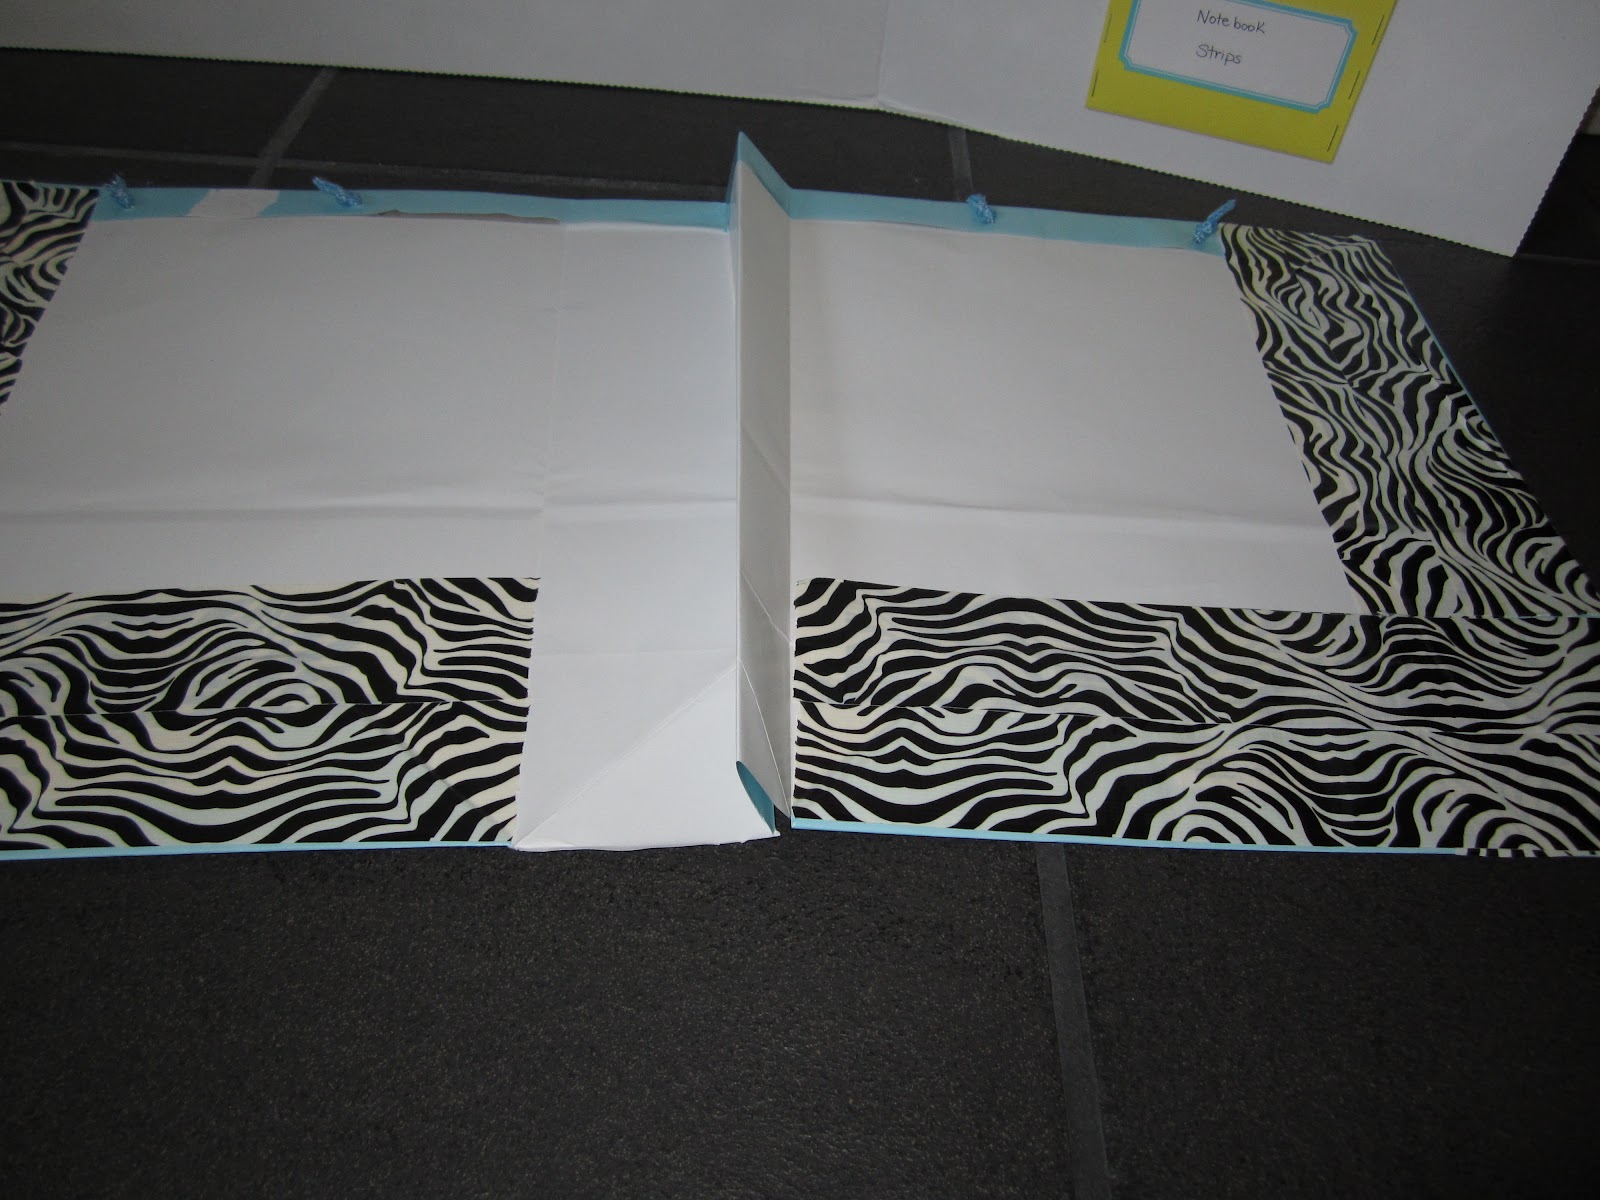
When you are done folding it should look like this:
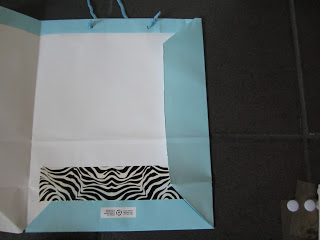
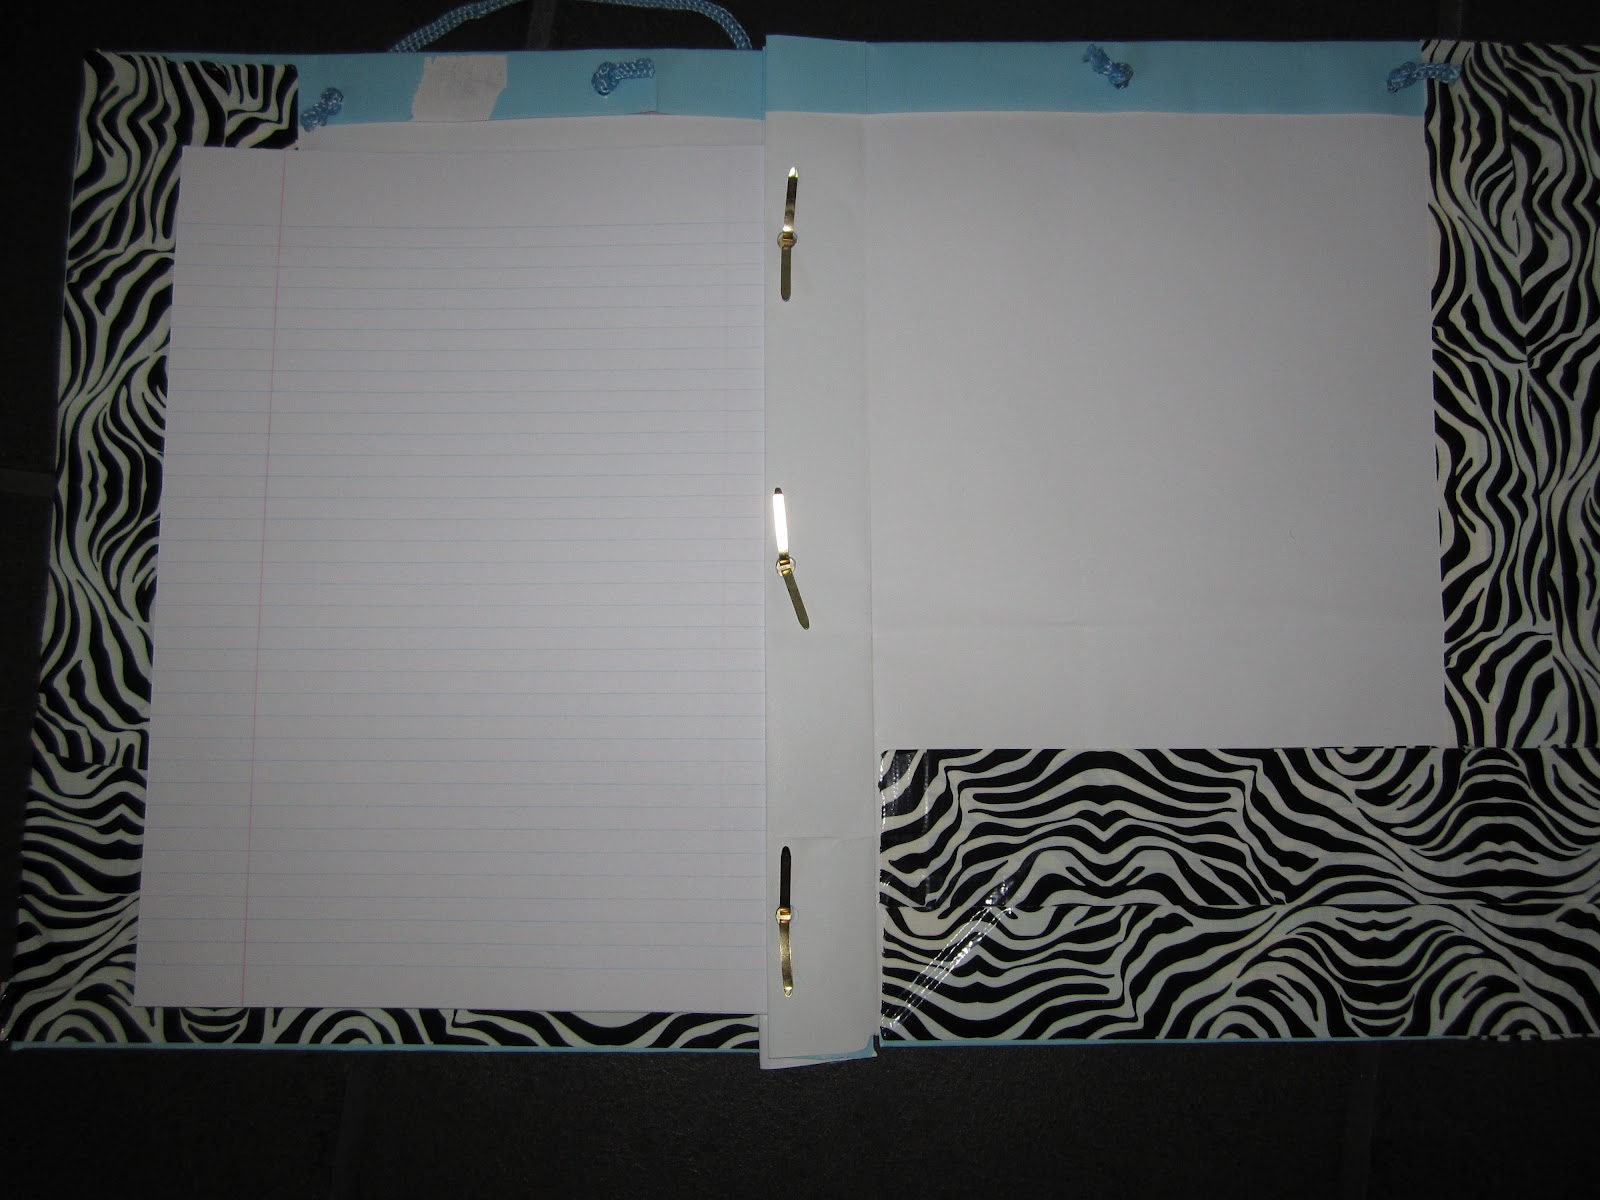
Now to create some holes. Simply hole punch the center folds using a three hole punch.

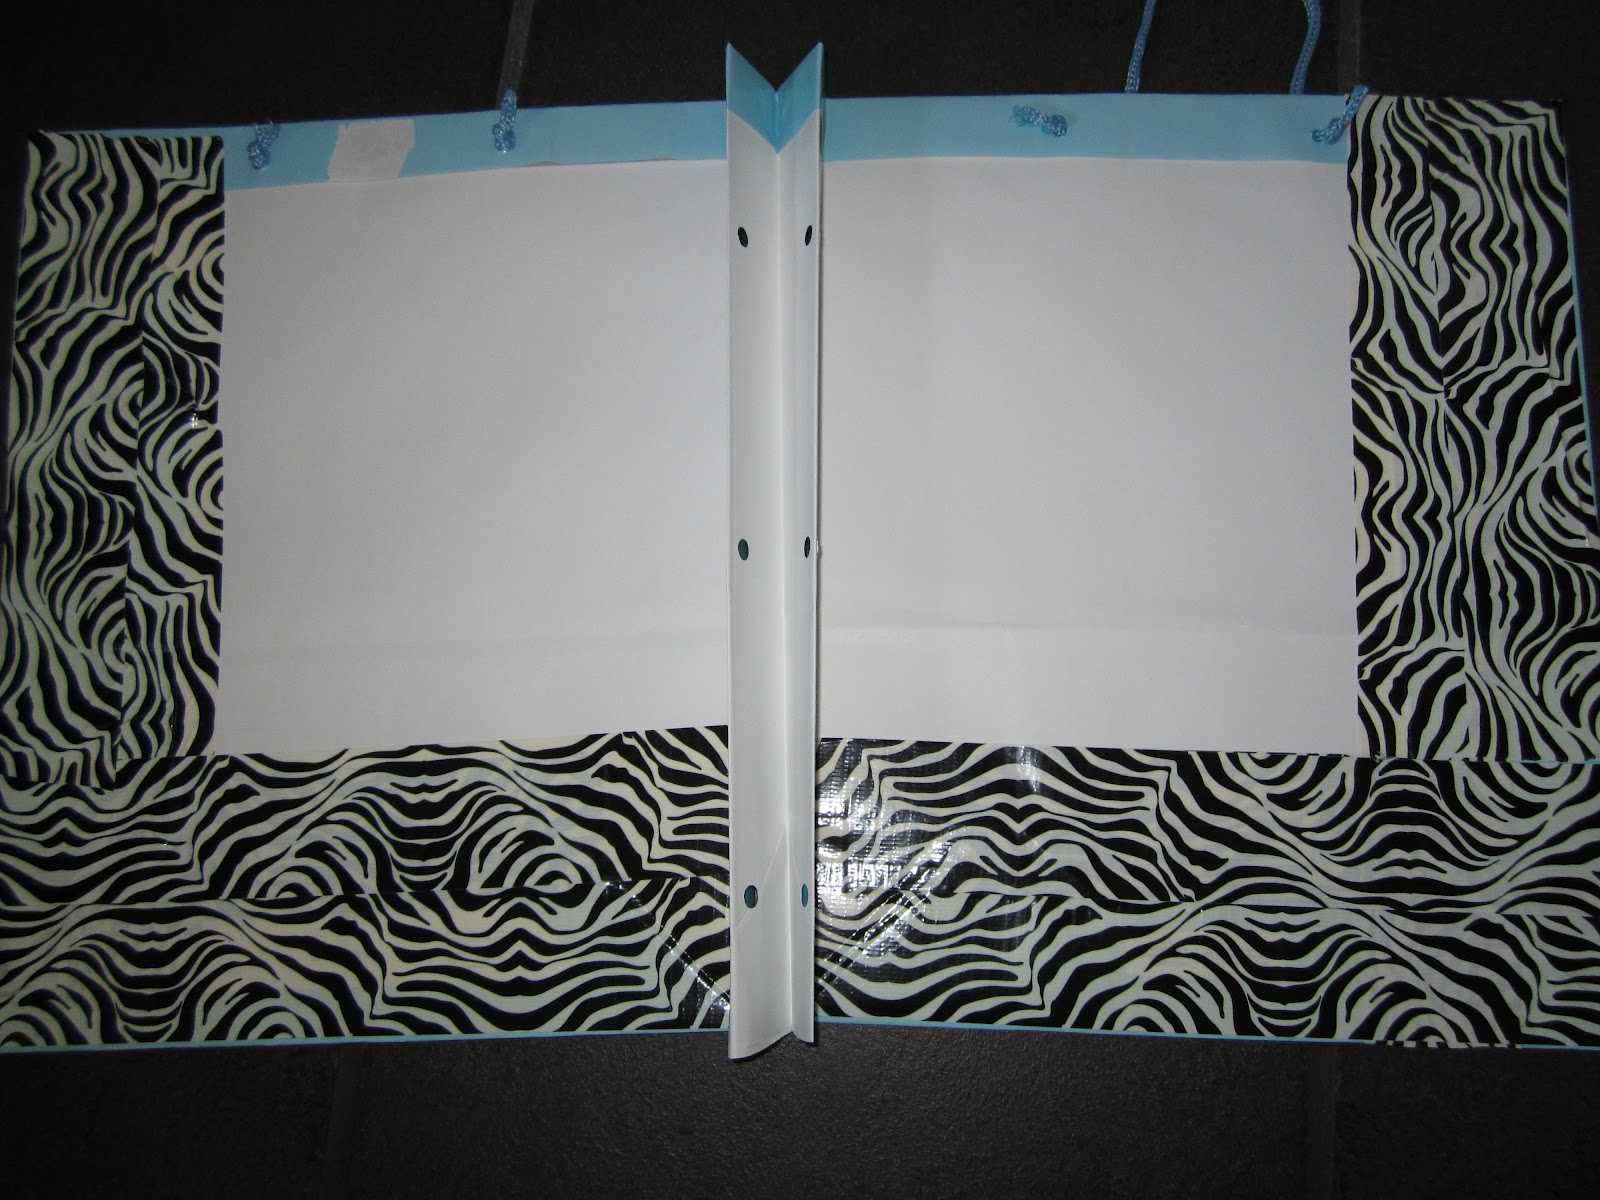
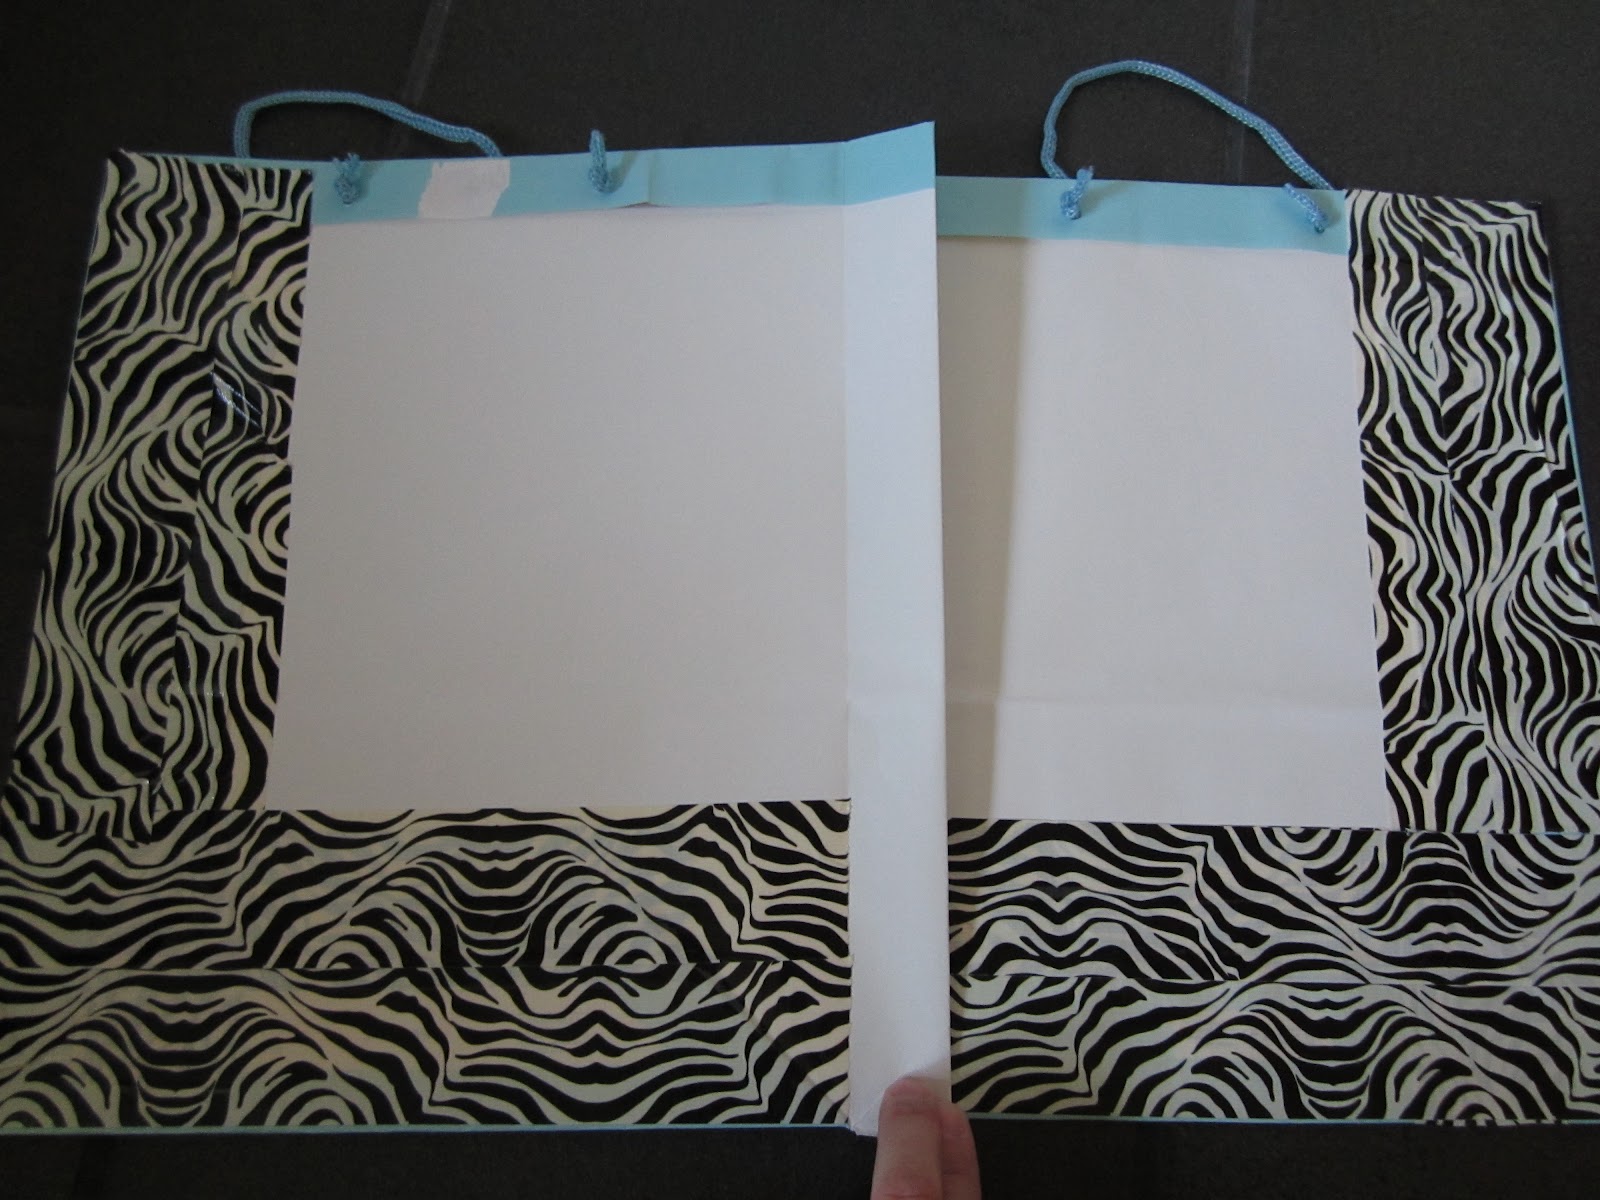
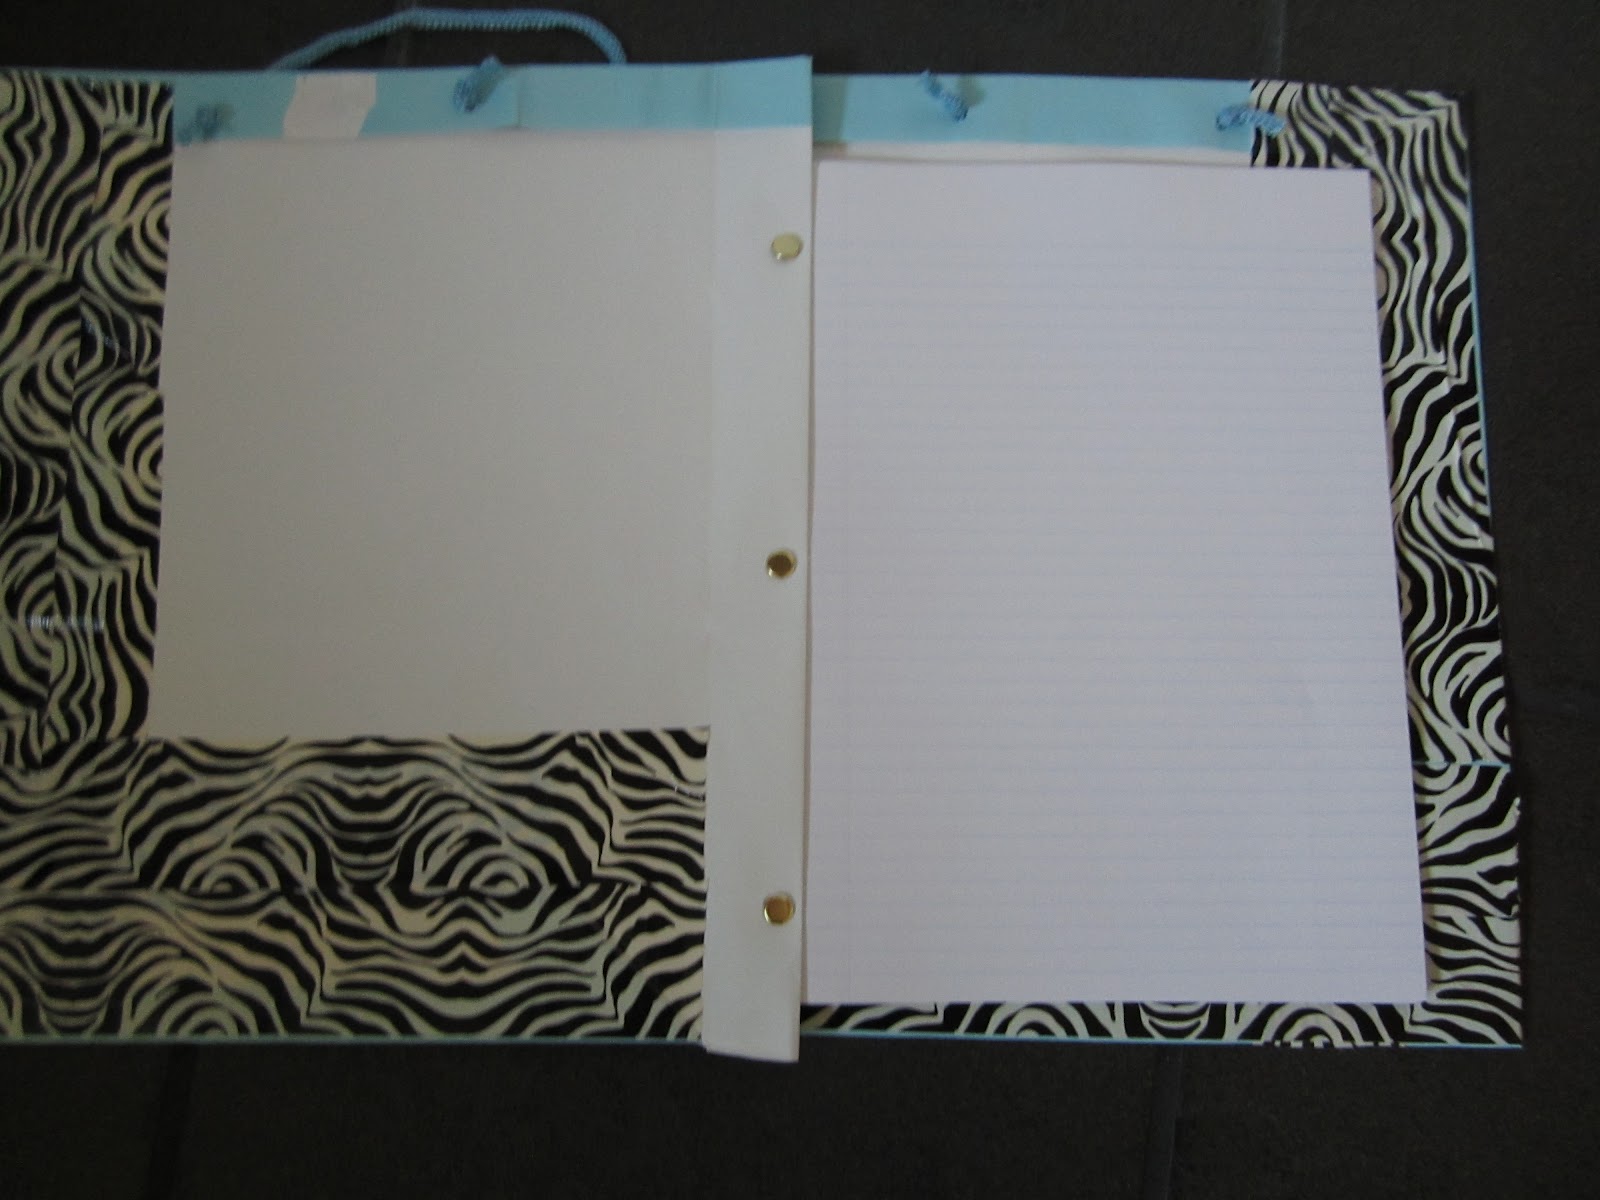
Now you can place paper between the folds, and hold it in with the three brass fasteners.
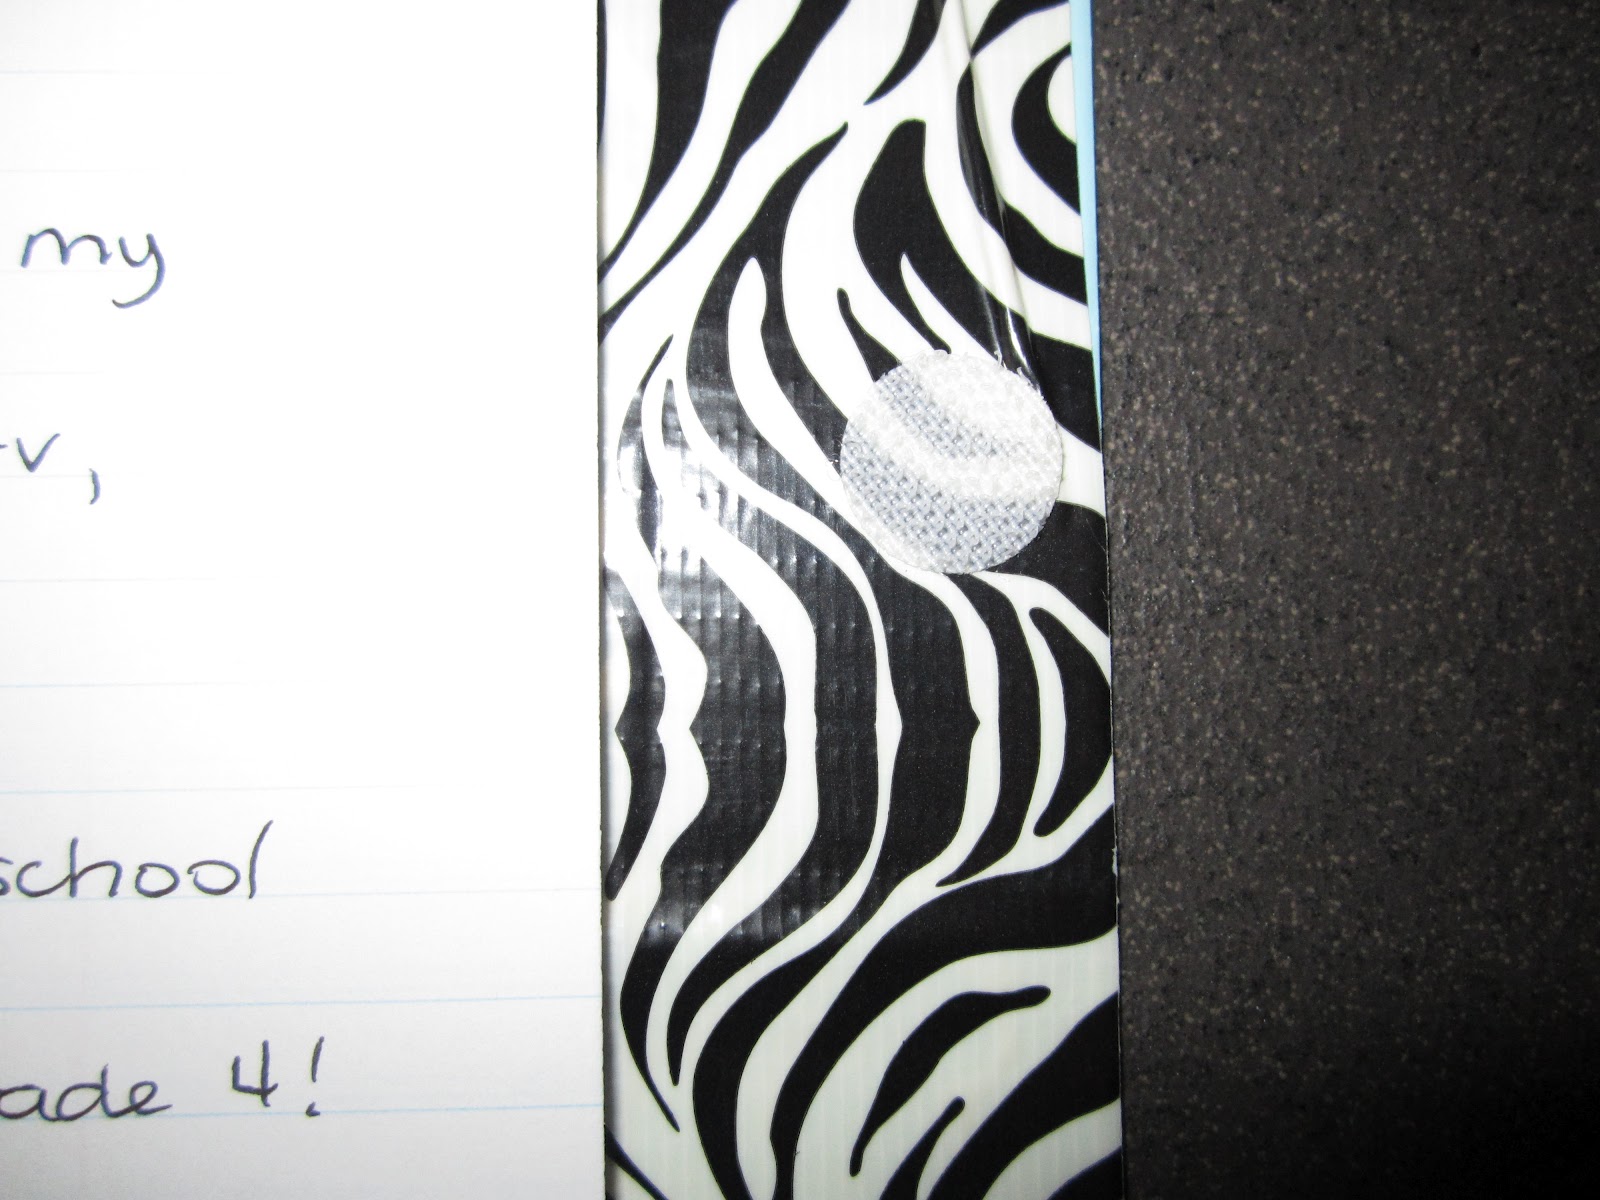
Lastly, add a velcro dot to the inside so that the bag will stay closed.
Ta daaaa! You have made a gift bag journal!
When I made these with my students, I fastened a hook to the side of each student’s desk which was used to hang the journals. Then they were handy for writing at all times. I also had students bring in their own gift bags so that they could have a Spiderman journal or a polka-dot journal, or whatever they wanted! Good luck with your journals!
Thanks for stopping by,
Shelley


29 Comments
That is a great idea!~ Thanks for sharing!
learnplayandhavefun.blogspot.com
Amazing and beautiful! I think I can do this! 🙂 Renee
I love this idea!
This is a really neat idea! Thanks for sharing 🙂
Sarah
funintitlemath.blogspot.com
ok stop!!!!!!!! seriously?!? such a cute idea!!!! So creative, I love it!!!
Def. a summer project to experiment with! You've been pinned!
❤
Oh my goodness – LOVE this, Shelley!!! Totally going to do this next year!
Jen
Runde's Room
This is awesome! I am sharing this at my teacher's meeting next week as an idea they can use next year.
Well, this is just fabulous! Thanks for the great tutorial!
Great idea! Definitely trying this out next year – my kids will love it!
So creative! And who knew they made zebra patterned duct tape???? That's definitely something I need to look for. 🙂
So awesome!
Adorable!
Great idea! Glad I started following your blog.
What an amazing idea!
Thank you so much for posting this! The best part might be that you can always take the used paper out and put more in! I love the personalization. At my school, the kids are supposed to bring something to the cafeteria to work on after they finish eating. I think these would be perfect!!!! Thanks!
Love this:)
OMG!This is AWESOME! I have SO many gift bags here at home…..I just found my next project! Thanks so much for sharing!
Wonderful journal idea. Thanks for the post.
This is awesome, Shelley! 🙂
Love it!
Love it thank you. Will be using it as a leaving gift to the class teacher I work with from the children.
Very good idea. I will try it!
Love this idea!
BEST IDEA I’ve seen all year! You must patent this! Then, call Staples or any office/school supply company!
Mind blown!! I love it…and so will my kids!! Thanks!
Thank you for the step by step photos and detailed directions. That looks like a fun project.
I cannot wait to try this!!!
Brilliant! My students are all into drawing. I’m going to make it a sketch folder for art and free time. I made a sample in under 5 minutes. Thank you so much for this idea!
I love this idea! Our school had $ for extra “wish list” items, but that has gone bye-bye, so this will be a great activity to do with the kids and it will only cost a few dollars per journal, at best! Thanks Shelley for this great idea!